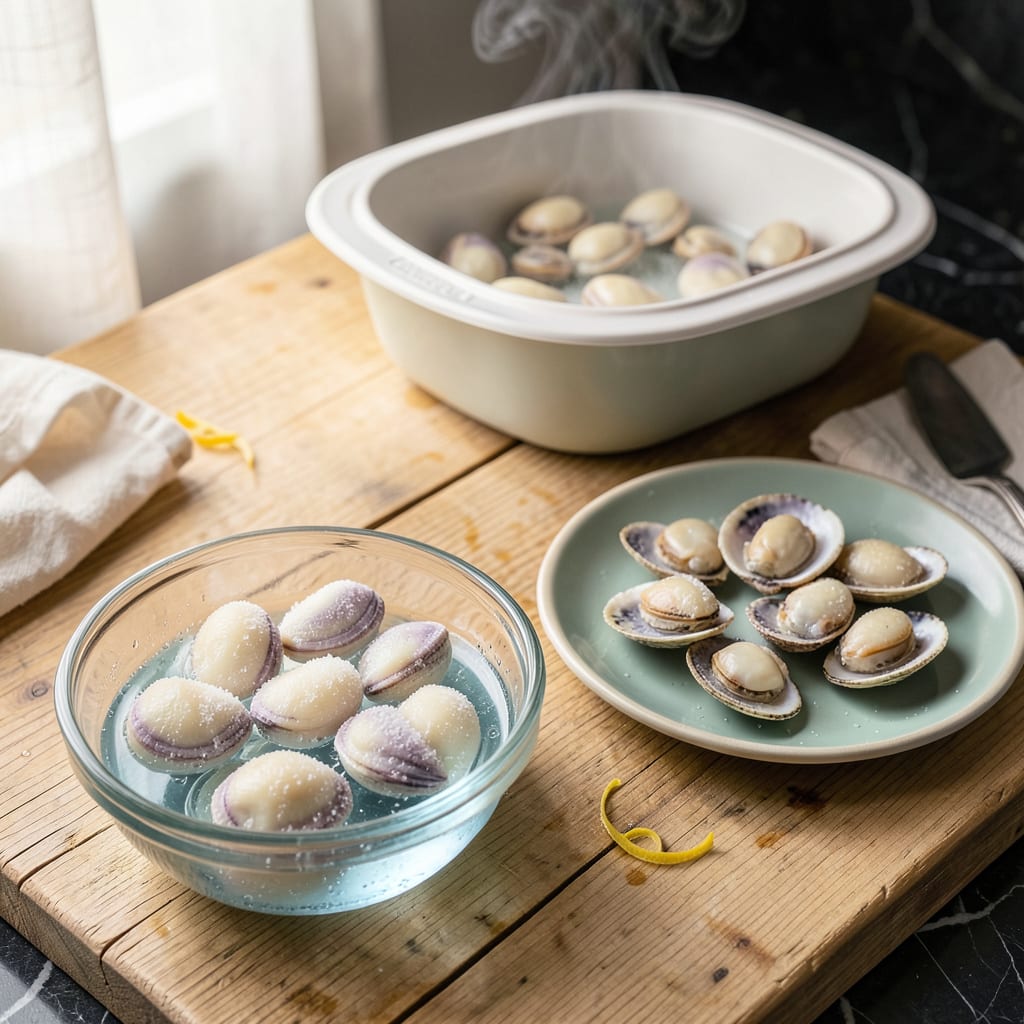
Working with frozen clams doesn’t have to be intimidating—when done right, you can achieve perfect results every time. I’ve been cooking with clams for years, and the thawing process is where most people go wrong. Too fast and you risk partial cooking; too slow and you’re left with mushy, flavorless clams. The good news? There are three foolproof methods that preserve both texture and safety.
Here’s the thing—clams are delicate creatures, and how you thaw them directly impacts their final quality. I always recommend the refrigerator method for best results (plan for 12-24 hours), but when you’re short on time, cold water or microwave methods work too—if you follow my exact steps. The key is maintaining that sweet spot where clams thaw evenly without starting to cook in their shells.
What you’re aiming for is clams that open easily during cooking, release their briny juice (which you’ll want to save for sauces), and maintain that perfect tender-chewy texture. I’ll walk you through exactly how to check for freshness post-thaw and why you should never—ever—thaw clams at room temperature. It’s the difference between restaurant-quality dishes and disappointing results.
Once your clams are properly thawed, you’re ready for the good stuff: think garlic butter steamed clams, linguine with white wine sauce, or even a smoky clam chowder. The right thawing method sets up all these dishes for success. Let’s get those clams ready the right way.
📚 In This Guide
- What You’ll Need
- Instructions
- Tips and Common Mistakes
What Youll Need
- ● Frozen clams: 1–2 lbs (or your desired quantity), preferably in their original vacuum-sealed packaging or airtight container. ❄️
- ● Cold water: Enough to fully submerge the clams in a large bowl (about 4–6 cups for 1 lb).
- ● Large mixing bowl or colander: Food-safe, deep enough to hold clams and water without spilling.
- ○ Zip-top plastic bag (optional): Heavy-duty, leak-proof bag for water-thawing method (quart or gallon size, depending on clam quantity).
- ● Plate or tray: To catch drips if thawing in the fridge.
- ○ Thermometer (optional but helpful): Instant-read, to check water temp (ideal: below 40°F).
- ● Timer: Phone or kitchen timer to track thawing time (30 mins–24 hours, depending on method). ⏰
- ● Paper towels: 2–3 sheets to pat clams dry post-thaw.
- ● Clean workspace: Sanitized counter or cutting board for prep.
- ○ Glove (optional): Single-use food-safe glove if handling clams directly for hygiene.
Instructions for Thawing Frozen Clams Safely
Here’s exactly how to thaw your clams properly—fast, safe, and foolproof every time.
Choose Your Thawing Method
You’ve got three safe options for thawing clams: refrigerator, cold water bath, or microwave. I always recommend the refrigerator method for best results, but the cold water method works when you’re short on time. Never thaw clams at room temperature—this promotes bacterial growth and ruins their delicate texture.
The refrigerator method takes the longest (about 12-24 hours) but preserves the clams’ natural briny flavor and firm texture. If you’re planning ahead, this is absolutely the way to go. The cold water method takes about 1-2 hours, while microwave thawing is fastest at 5-10 minutes but requires immediate cooking.
Thaw in the Refrigerator (Best Method)
Place the frozen clams in their original packaging (or transfer to a leak-proof bag) on a plate or shallow dish. This catches any liquid that might escape as they thaw. Position them on the bottom shelf of your refrigerator—this is the coldest spot and prevents any potential drips from contaminating other foods.
Let them thaw undisturbed for 12-24 hours, depending on the quantity. You’ll know they’re ready when they’re completely pliable and no ice crystals remain. The clams should feel firm to the touch and have a fresh, ocean-like aroma. If you detect any off smells, discard them immediately—this indicates spoilage.
Use the Cold Water Method (Quick Thaw)
Seal the frozen clams in a heavy-duty zip-top plastic bag, pressing out as much air as possible before sealing. Place the bag in a large bowl or clean sink and cover completely with cold water. I emphasize cold water—never use warm or hot water, as this can partially cook the clams and create unsafe temperature zones.
Change the water every 30 minutes to maintain a consistently cold temperature. The clams should be fully thawed in about 1-2 hours, depending on their size. They’re ready when they separate easily and feel flexible. Drain them immediately and cook within 1 hour—never refreeze clams thawed using this method.
Microwave Thawing (Last Resort)
If you’re in a real time crunch, you can use the microwave’s defrost setting. Place the clams in a microwave-safe dish and use the defrost function at 30% power. Check and rotate them every 2 minutes to ensure even thawing. This should take about 5-10 minutes total, depending on your microwave’s wattage.
The moment they’re pliable with no ice crystals, stop the microwave immediately. Microwave-thawed clams must be cooked right away—they can’t be refrozen or stored. I only recommend this method if you’re preparing the clams immediately for cooking, as it can slightly alter their texture if not handled properly.
Inspect and Prepare for Cooking
Regardless of your thawing method, always inspect the clams before cooking. They should be plump with tightly closed shells (or shells that close when tapped). Discard any clams with broken shells or that remain open—they’re unsafe to eat. Rinse them under cold running water to remove any sand or debris from the packaging.
Now your clams are ready for steaming, grilling, or adding to your favorite recipes! Remember that properly thawed clams cook faster than frozen ones, so adjust your cooking times accordingly. When steaming, they’re done when the shells open wide—usually in just 3-5 minutes—revealing tender, sweet meat inside.
Tips and Common Mistakes for Perfectly Thawed Clams
Here’s what I’ve learned from years of working with seafood—these little details make all the difference between good and perfect results.
Refrigerator Method Perfection: When using the 12-24 hour refrigerator method from Step 2, place your clams on the bottom shelf where it’s coldest. I always put a paper towel under the plate to absorb any excess moisture that escapes during thawing. This prevents that “fishy” refrigerator smell and keeps your clams tasting fresh as ocean breeze! The full 24 hours is ideal for larger quantities, while 12 hours works perfectly for a pound or less.
Cold Water Technique: For the 1-2 hour cold water method in Step 3, here’s my pro trick: use ice water instead of just cold tap water. Add a handful of ice cubes to keep the temperature consistently cold during the entire process. Change the water every 30 minutes as directed, but also give the bag a gentle swirl each time—this helps thaw the clams more evenly and prevents any spots from staying frozen.
Microwave Safety: If you must use the microwave method from Step 4, never skip the 30% power setting! I’ve seen too many people accidentally start cooking their clams at full power. Those 5-10 minutes at low power are crucial—check and rotate every 2 minutes without fail. The moment they’re pliable with no ice crystals, they’re done. Over-microwaving is the fastest way to ruin their delicate texture.
Post-Thaw Inspection: After any thawing method, Step 5’s inspection is non-negotiable. Here’s what I do: fill a bowl with cold water and give each clam a quick rinse while checking for cracks. Tap any open shells—if they don’t close within 10 seconds, they’re no good. Properly thawed clams should feel plump and heavy for their size, with shells that resist opening when handled.
Pro Tips for Thaw Frozen Clams
- Here’s what I’ve learned from years of working with seafood—these little details make all the difference between good…
- Refrigerator Method Perfection: When using the 12-24 hour refrigerator method from Step 2, place your clams on the bo…
- Cold Water Technique: For the 1-2 hour cold water method in Step 3, here’s my pro trick: use ice water instead of jus…
Frequently Asked Questions
Got questions about thawing frozen clams? You’re not alone! Here are the most common concerns—and quick answers—to help you handle clams like a pro.
How long does it take to thaw clams in the fridge?
Thawing clams in the fridge is the safest method but takes patience! Allow 8–12 hours for small clams (like littlenecks) or up to 24 hours for larger varieties (e.g., cherrystones or quahogs). Plan ahead—rushing can risk uneven thawing or bacterial growth.
Can I thaw clams in warm water to speed it up?
Never use warm or hot water—it promotes bacterial growth and can ruin texture. For a faster (but still safe) method, submerge sealed clams in cold water, changing it every 30 minutes. Small clams may thaw in 1–2 hours; larger ones take 3–4 hours.
What if my clams smell fishy after thawing?
A mild ocean scent is normal, but a strong, ammonia-like or rotten odor means they’ve spoiled. Discard them immediately—even if they’re partially thawed. Pro tip: Check for open shells that don’t close when tapped; those are dead and unsafe to eat.
Do I need to rinse clams after thawing?
Yes! Rinse thawed clams under cold running water to remove ice crystals, sand, or debris. Gently scrub shells with a brush if needed. Skip this step for shucked clams (just drain the liquid). Pat dry before cooking for better searing or steaming.
Can I refreeze clams after thawing?
Nope—refreezing is a big no-no! It degrades texture, flavor, and safety. Cook thawed clams within 1–2 days and store leftovers in the fridge (up to 3 days). For long-term storage, cook first, then freeze the meat (without shells) in an airtight container.
Thawing frozen clams safely is all about patience and the right method—whether you choose the fridge, cold water, or microwave. By avoiding hot water and cross-contamination, you’ll keep your clams fresh, flavorful, and safe to cook! 🍽️
Now that your clams are ready, why not put them to delicious use? Try steaming them with garlic butter or tossing them into a savory pasta dish. Happy cooking—your seafood feast awaits!

Trained in classic French technique but raised on slow-cooked ribs and spicy rubs, she blends culinary skill with smoke and soul.
- Recipe for Boneless Pork Chops in Cast Iron Skillet: Sear and Baste to Juicy Perfection - October 3, 2026
- Recipe for Boneless Cross Rib Roast: Slow-Roasted Beef with Herb Crust - October 3, 2026
- Hamburgers in Sauce Recipe Crock Pot: Slow-Cooked Savory Delight - October 3, 2026