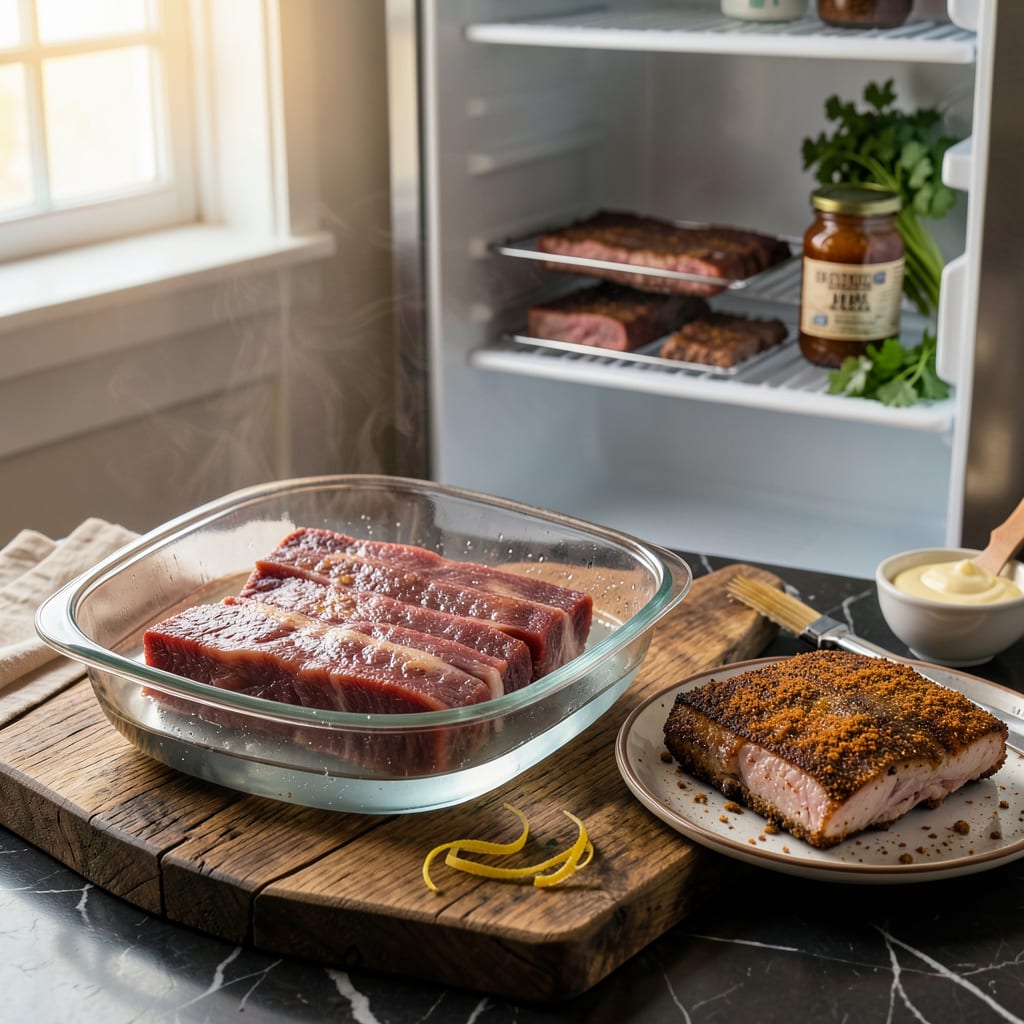
Nothing ruins a BBQ plan faster than forgetting to thaw your ribs—been there, done that. Here’s the thing—you don’t need to wait overnight if you know the right tricks. I’ve tested every method (including the ones that don’t work), and these are the quickest, safest ways to get your ribs ready for the smoker or grill.
The cold water bath method is my go-to for speed: ribs thaw in 2-3 hours without sacrificing texture. Why? Water conducts heat faster than air, so it pulls the chill out evenly. Just seal the ribs in a leakproof bag first—no one wants soggy meat. For smaller batches, the microwave works in 15-20 minutes, but you’ve got to cook them immediately after.
Safety first: never leave ribs at room temperature. Bacteria grow fastest between 40°F and 140°F, so cold water or fridge thawing keeps you in the safe zone. I learned this the hard way after ruining a batch of St. Louis ribs by rushing the process. Now, I plan ahead or use these foolproof shortcuts.
Once your ribs are thawed and patted dry, they’re ready for rubs and smoke. For next-level results, try my hickory-smoked ribs recipe—it’s the one that won me second place at the county fair last summer. Let’s get those ribs ready to cook!
📚 In This Guide
- What You’ll Need
- Instructions
- Tips and Common Mistakes
What Youll Need
- ● Frozen ribs: 1–2 racks (2–4 lbs each) —still in vacuum-sealed packaging if possible 🍖
- ● Cold water: Enough to fully submerge ribs in a large bowl or sink (gallon+ for 2 racks)
- ● Large leak-proof bag: 1–2 gallon-sized ziplock bags (or a food-safe vacuum seal bag) to prevent waterlogging
- ● Heavy plate/weight: 1–2 lbs (to keep ribs submerged in water)
- ● Microwave-safe dish: Large, shallow plate or tray (if using microwave method) ⚠️
- ○ Meat thermometer: Instant-read (optional but recommended for safety) 🌡️
- ● Paper towels: 4–6 sheets (for patting ribs dry post-thaw)
- ● Timer: Phone or kitchen timer (critical for water/microwave methods) ⏰
- ○ Colander: Medium-sized (optional, for draining water-thawed ribs)
- ○ Baking sheet: (optional, for air-thawing in fridge)
Instructions
Here’s how to safely thaw your ribs while keeping them tender and ready for cooking.
Choose Your Thawing Method
You have three safe options for quick thawing: cold water bath, microwave, or refrigerator. I recommend the cold water method for speed and even thawing. The refrigerator method takes the longest but gives the best texture results. Choose based on your time constraints.
For the cold water method, you’ll need a large bowl or sink that can accommodate your ribs while keeping them fully submerged. The microwave method works best if you plan to cook the ribs immediately after thawing. Never thaw ribs at room temperature – this promotes bacterial growth.
Cold Water Thawing (Fastest Method)
Place your frozen ribs in a leak-proof plastic bag, squeezing out as much air as possible before sealing. This prevents water from seeping in and diluting the meat’s natural flavors. Fill a large bowl or clean sink with cold water and submerge the bagged ribs completely.
Change the water every 30 minutes to maintain a cold temperature. This is crucial – as the water warms, it loses its ability to thaw the ribs safely. A 3-4 pound rack will typically thaw in about 2-3 hours using this method. You’ll know it’s ready when the ribs bend easily and no ice crystals remain in the center.
Microwave Thawing (Quickest but Requires Immediate Cooking)
Remove any packaging and place the ribs on a microwave-safe plate. Use the defrost setting on your microwave, which typically runs at about 30% power. For 3-4 pounds of ribs, start with 10-12 minutes, then flip and continue thawing in 2-minute intervals until pliable.
Check frequently and separate any pieces that begin to thaw first. The ribs are ready when they’re flexible but still cool to the touch. Important note: you must cook microwave-thawed ribs immediately after thawing to prevent bacterial growth. This method works best when you’re ready to start cooking right away.
Refrigerator Thawing (Best for Texture)
For the most tender results, thaw your ribs in the refrigerator. Place them on a tray or in a container to catch any drips. Allow 24 hours for every 5 pounds of ribs. This slow thaw preserves the meat’s cellular structure, resulting in more tender ribs after cooking.
The ribs are ready when completely flexible with no icy spots. You can keep refrigerator-thawed ribs in the fridge for 1-2 days before cooking. This method requires planning ahead but gives you the best texture and allows for more flexibility in your cooking schedule.
Pat Dry and Prepare for Cooking
Once thawed by any method, remove the ribs from their packaging and pat them completely dry with paper towels. This step is crucial for achieving good bark formation during cooking. Pay special attention to the bone side where moisture tends to collect.
At this point, you can apply your dry rub or seasoning. The surface should feel slightly tacky but not wet. If you notice any excess moisture after seasoning, pat dry again before cooking. Your ribs are now ready for your preferred cooking method, whether that’s smoking, grilling, or oven-roasting.
Tips and Common Mistakes
Here’s what I’ve learned from years of thawing ribs—these small details make a big difference in both safety and tenderness.
Water Temperature Control: When using the cold water method in Step 2, don’t just set a timer for those 30-minute water changes—actually check the temperature. The water should feel cold to the touch, like you’d want for a refreshing drink. I use a clean meat thermometer to verify it stays below 40°F. This prevents the outer layers from entering the danger zone while the center thaws.
Microwave Strategy: For Step 3’s microwave method, here’s what nobody tells you—arrange the ribs in a single layer if possible, with thicker sections toward the outside of the plate. The 30% power setting is crucial because it thaws evenly without cooking the edges. I always set my microwave’s defrost by weight (enter 3-4 pounds) and then manually check after the initial 10-12 minutes—this prevents those annoying partially-frozen spots.
Refrigerator Planning: The 24 hours per 5 pounds rule in refrigerator thawing isn’t just about time—it’s about placement. Put your ribs on the bottom shelf where it’s coldest (usually right above the crisper drawers). I learned this the hard way after finding the top shelf thawed my ribs unevenly. Also, place them on a wire rack over a tray—this allows cold air to circulate around the entire rack for consistent thawing.
Drying Technique: In Step 4, don’t just pat the ribs dry—use a clean kitchen towel to really absorb moisture. Pay special attention to the membrane side and between the bones where water collects. I run my fingers along each bone to check for hidden moisture. This extra effort ensures your dry rub adheres properly and creates that perfect bark during cooking. Between us, this is where most home cooks lose points on texture.
Pro Tips for Thaw Frozen Ribs Quickly
- Here’s what I’ve learned from years of thawing ribs—these small details make a big difference in both safety and tend…
- Water Temperature Control: When using the cold water method in Step 2, don’t just set a timer for those 30-minute wat…
- Microwave Strategy: For Step 3’s microwave method, here’s what nobody tells you—arrange the ribs in a single layer if…
Frequently Asked Questions
Can I thaw ribs in hot water to speed up the process?
No! Hot water can cook the outer layers of the ribs while the inside stays frozen, leading to uneven thawing and potential bacterial growth. Stick to cold water (below 40°F) for safe, quick thawing—change it every 30 minutes for best results.
How long does it take to thaw ribs in the fridge vs. cold water?
Fridge thawing takes 12–24 hours (slow but safest). Cold water thawing cuts it to 1–3 hours (faster but requires attention). For a 3-pound rack, expect ~2 hours in cold water or overnight in the fridge.
Is it safe to cook ribs from frozen if I’m in a hurry?
Technically yes, but it’s risky! Frozen ribs cook unevenly, often drying out or staying raw inside. If you must, use a low-and-slow method (like smoking at 225°F) and add 50% more cooking time. Thawing first is always better for texture and safety.
What’s the fastest safe way to thaw ribs without a microwave?
The cold water bath is your best bet! Seal ribs in a leak-proof bag, submerge in cold water, and change the water every 30 minutes. A 2-pound rack thaws in ~1.5 hours. Avoid warm water—it promotes bacterial growth.
Why do my ribs taste funny after thawing in water?
If the ribs absorb water, they can turn soggy or dilute in flavor. Prevent this by:
- Using a vacuum-sealed or ziplock bag (squeeze out air!).
- Patting ribs very dry before seasoning/cooking.
- Avoiding soaking longer than needed.
Thawing frozen ribs quickly and safely doesn’t have to be a hassle—whether you use cold water, the microwave, or a little planning with the fridge, you’re now equipped to get juicy, tender results every time. 🍖 Remember, food safety first to keep flavors (and your health!) in top shape.
Ready to fire up the grill or smoker? Check out our rib cooking guide next for foolproof tips to turn those thawed ribs into a showstopping meal! 🔥

Trained in classic French technique but raised on slow-cooked ribs and spicy rubs, she blends culinary skill with smoke and soul.
- Recipe for Oven Baked Halibut: Buttery White Fish with Zesty Lemon Topping - October 3, 2026
- Meatball Curry Recipe Kerala Style: Coconut-Spiced Gravy With Tender Bites - October 3, 2026
- Recipe for Curried Tofu: Aromatic Spices With Crispy Edges - October 3, 2026