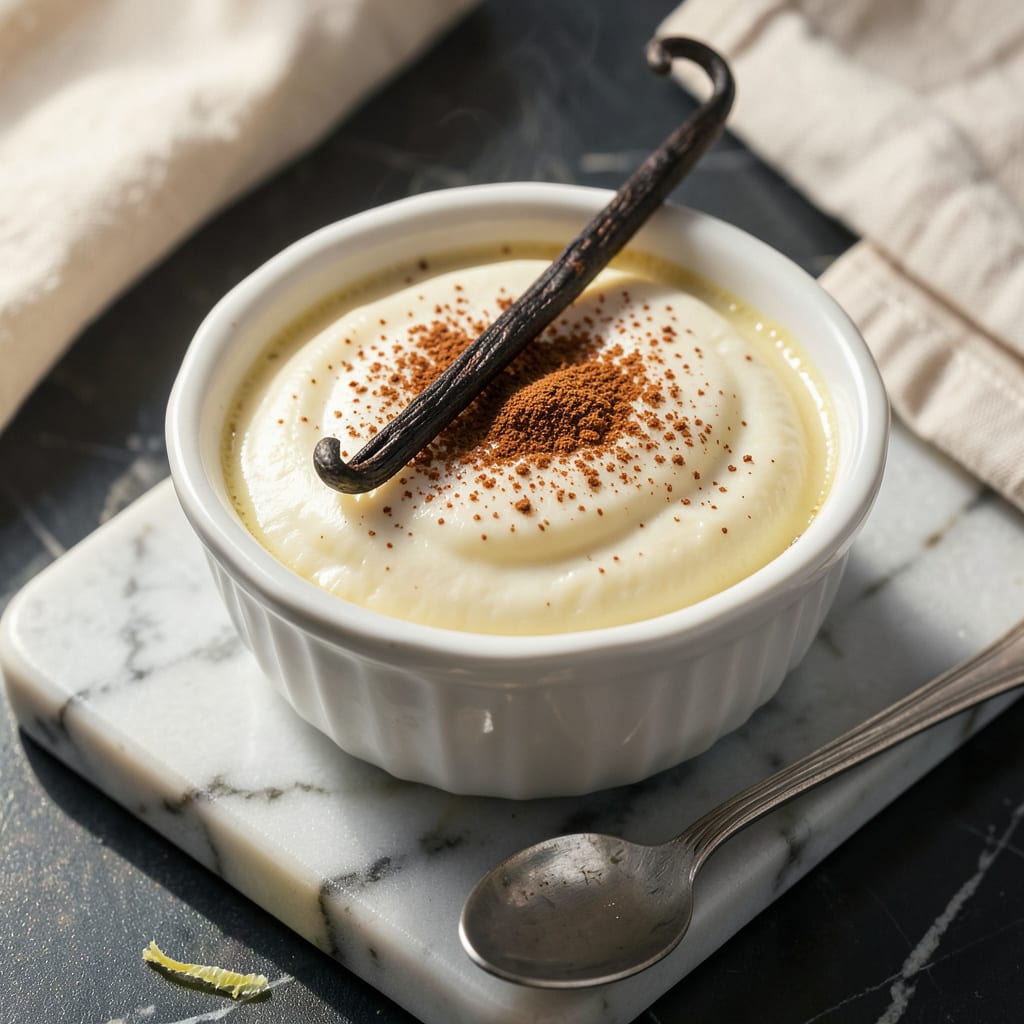
Achieving the perfect custard texture requires precision, but the right thickening method transforms a runny base into velvety perfection. After years of testing ratios and temperatures in professional kitchens, I’ve refined a foolproof approach that works every time—whether you’re preparing a filling for tarts or a standalone dessert.
The science is simple: custard thickens through protein coagulation (eggs) or starch gelatinization (cornstarch, flour). Temperature control is critical—too low, and it stays thin; too high, and it curdles. My preferred method uses egg yolks for richness, but I’ll also cover vegetarian-friendly alternatives like cornstarch slurries or gelatin for stability without compromising texture.
What separates amateur custard from professional results is patience. Low, steady heat and constant stirring prevent lumps while allowing the mixture to gradually reach the ideal 170–175°F range. You’ll know it’s ready when the custard coats the back of a spoon, leaving a clean trail when you drag your finger through it.
This technique adapts to any custard application—from silky pastry cream to firm flan. Troubleshooting thin or lumpy results becomes effortless once you understand these core principles. Let’s break down the exact steps to guarantee success.
📚 In This Guide
- What You’ll Need
- Instructions
- Tips and Common Mistakes
What Youll Need
- ● Pre-made custard – 2–4 cups (homemade or store-bought, chilled or warm) 🥛
- ● Thickening agent – Choose one: Cornstarch – 1–2 tbsp (mixed with 2 tbsp cold water or milk)
- ● All-purpose flour – 1–2 tbsp (toasted lightly for smoother texture)
- ● Egg yolks – 1–2 (whisked, for rich, classic thickening)
- ● Arrowroot powder – 1–1.5 tbsp (gluten-free, mix with cold liquid first)
- ● Instant pudding mix – 1 small box (3.4 oz, for quick fixes)
- ● Liquid for slurry – ¼ cup cold milk, water, or cream (if using starch-based thickeners)
- ● Saucepan – Medium-sized, heavy-bottomed (prevents scorching)
- ● Whisk – Silicone or wire (essential for lump-free mixing)
- ● Spatula – Heat-resistant (to scrape the pan edges)
- ● Measuring spoons/cups – For precise thickener ratios
- ○ Fine-mesh strainer (optional) – For ultra-smooth texture
- ○ Thermometer (optional) – To monitor temp (ideal: 160–180°F)
- ○ Vanilla extract or zest (optional) – ½ tsp, to enhance flavor post-thickening
Instructions
Here’s exactly how to transform thin custard into velvety perfection with foolproof techniques.
Assess Your Custard’s Current State
Before taking action, evaluate your custard’s temperature and consistency. If it’s still warm but too thin, you’re in the ideal position for thickening. Cold custard requires gentle reheating first—place it over a double boiler on low heat until it reaches 140°F, stirring constantly to prevent scorching.
Check the texture by dipping a spoon and lifting it—if the custard coats the back smoothly but runs off quickly, it needs thickening. If it’s completely liquid, you’ll need a more aggressive approach. This assessment prevents over-thickening, which can create a rubbery texture instead of that luxurious, spoon-coating consistency we’re after.
Employ the Egg Yolk Technique for Richness
For custard that’s close to the right consistency but needs body, whisk together 1-2 additional egg yolks per cup of custard in a separate bowl. Temper these yolks by slowly drizzling in ½ cup of your warm custard while whisking vigorously—this prevents curdling when you combine them.
Return the tempered yolk mixture to the main custard pot and cook over low heat, stirring constantly with a silicone spatula. Watch for the first signs of thickening—when you can draw a clear line through the custard on the back of your spoon that holds for 2-3 seconds, it’s done. Remove immediately from heat; residual cooking will continue to thicken it slightly.
Create a Slurry for Immediate Results
When you need faster results, make a cornstarch slurry by whisking 1 tablespoon cornstarch with 2 tablespoons cold milk until completely smooth. The key here is ensuring no lumps remain—strain it through a fine-mesh sieve if necessary. Cold liquid prevents the cornstarch from clumping when it hits the hot custard.
With your custard at a gentle simmer, slowly pour in the slurry while whisking constantly in a figure-eight motion. You’ll notice immediate thickening within 30-60 seconds. Continue cooking for 1 additional minute to fully activate the starch and eliminate any raw taste. The custard should now coat your whisk and drip slowly in thick ribbons.
Utilize the Reverse Sous Vide Method for Delicate Custards
For particularly finicky custards that scorch easily, try this professional technique: Transfer your custard to a heatproof bowl and set it over a pot of simmering water (the bowl shouldn’t touch the water). The indirect heat creates a gentle, even cooking environment that prevents curdling while allowing gradual thickening.
Stir occasionally with a heatproof spatula, scraping the bottom and sides of the bowl to prevent any skin from forming. This method typically takes 15-20 minutes but produces exceptionally smooth results. You’re aiming for the custard to reach 170°F—at this temperature, the egg proteins have fully set but haven’t overcooked. The texture should resemble warm honey in consistency.
Finish and Test for Perfect Consistency
Once thickened, immediately strain the custard through a fine-mesh sieve into a clean container. This removes any potential cooked egg bits or lumps, ensuring that silky-smooth texture we’re after. Press plastic wrap directly onto the surface to prevent a skin from forming as it cools.
Perform the final consistency test: Dip a spoon into the custard and run your finger through it on the spoon’s back. If the trail holds clearly for 3-4 seconds before slowly filling in, you’ve achieved the perfect thickness. For serving, chill for at least 4 hours—this resting period allows the custard to set completely and develop its full, creamy potential.
Tips and Common Mistakes
Mastering custard thickness is all about understanding the science behind each technique. Here’s what I’ve learned through years of perfecting this delicate process.
Temperature Precision: The 140°F target in Step 1 isn’t arbitrary—it’s the sweet spot where custard is warm enough to work with but not so hot it risks curdling. Use an instant-read thermometer for accuracy, as visual cues can be misleading. When reheating cold custard, maintain that constant stirring over low heat to prevent any part from reaching above 140°F, which would start cooking the eggs prematurely.
The Technique That Changed Everything: In Step 2, when tempering those additional egg yolks, the ½ cup of warm custard you slowly whisk in should be added at a rate of about 1 tablespoon every 5 seconds. This gradual incorporation prevents shocking the yolks and creating those dreaded curdled bits. I’ve found that using a silicone spatula rather than a whisk for the final cooking gives better control over the heat distribution at the bottom of the pot.
Slurry Success: The 30-60 second window mentioned in Step 3 is critical—this is when the cornstarch molecules begin to swell and absorb liquid. The subsequent 1 additional minute of cooking isn’t just about thickening; it’s about fully hydrating those starch granules to eliminate any gummy or pasty texture. For best results, use cold whole milk in your slurry—the fat helps create a smoother final texture than water or skim milk would.
What to Watch For: During the 15-20 minutes of the reverse sous vide method in Step 4, resist the urge to stir constantly. Occasional stirring every 3-4 minutes is sufficient and actually produces better results by allowing heat to distribute more evenly. The 170°F target is non-negotiable—this is where egg proteins coagulate just enough to thicken without turning grainy. A digital probe thermometer is worth its weight in gold for this step.
Pro Tips for Thicken Custard
- Mastering custard thickness is all about understanding the science behind each technique. Here’s what I’ve learned th…
- Temperature Precision: The 140°F target in Step 1 isn’t arbitrary—it’s the sweet spot where custard is warm enough to…
- The Technique That Changed Everything: In Step 2, when tempering those additional egg yolks, the ½ cup of warm custar…
Frequently Asked Questions
How long does it take for custard to thicken?
Custard typically thickens in 5–10 minutes over medium-low heat, but timing depends on the recipe. Stir constantly to avoid lumps—patience is key! If using cornstarch or flour, expect a slightly faster thicken (3–5 minutes). For egg-based custards, low-and-slow heat prevents curdling.
Can I thicken custard without heat?
Yes! For no-cook options, whisk in 1–2 tsp cornstarch or arrowroot powder per cup of custard, then chill for 2+ hours. Greek yogurt or mascarpone (2–3 tbsp) also adds thickness—just fold in gently. Note: Texture may differ slightly from cooked custard.
Why is my custard lumpy after thickening?
Lumps usually mean overheating or uneven stirring. Fix it by straining through a fine-mesh sieve or blending briefly. To prevent: Temper eggs (mix hot liquid into them slowly) and stir constantly with a silicone spatula. Never boil custard!
What’s the best thickener for dairy-free custard?
For plant-based custards, try agar-agar (½ tsp per cup) for a firm set or tapioca starch (1 tbsp) for a silkier texture. Coconut milk’s natural fat also helps—simmer longer (10–12 minutes) for thickness. Avoid gelatin if vegan.
Can I fix runny custard after chilling?
Reheat gently while stirring in 1 tsp cornstarch slurry (mix with cold water first). For egg-based custards, add 1 extra yolk, then cook on low until just thickened. Avoid overworking to keep it creamy. Pro tip: Chill in shallow dishes for faster setting!
Mastering how to thicken custard is all about patience and the right technique—whether you’re using heat, starches, or eggs. With these simple methods, you’ll achieve that dreamy, velvety texture every time! 🎉 Now that you’re armed with the know-how, why not put it to the test? Whip up a batch of homemade custard and experiment with your favorite flavors—vanilla, chocolate, or even fruit-infused. Happy cooking!

Trained in classic French technique but raised on slow-cooked ribs and spicy rubs, she blends culinary skill with smoke and soul.
- Recipe for Boneless Pork Chops in Cast Iron Skillet: Sear and Baste to Juicy Perfection - October 3, 2026
- Recipe for Boneless Cross Rib Roast: Slow-Roasted Beef with Herb Crust - October 3, 2026
- Hamburgers in Sauce Recipe Crock Pot: Slow-Cooked Savory Delight - October 3, 2026