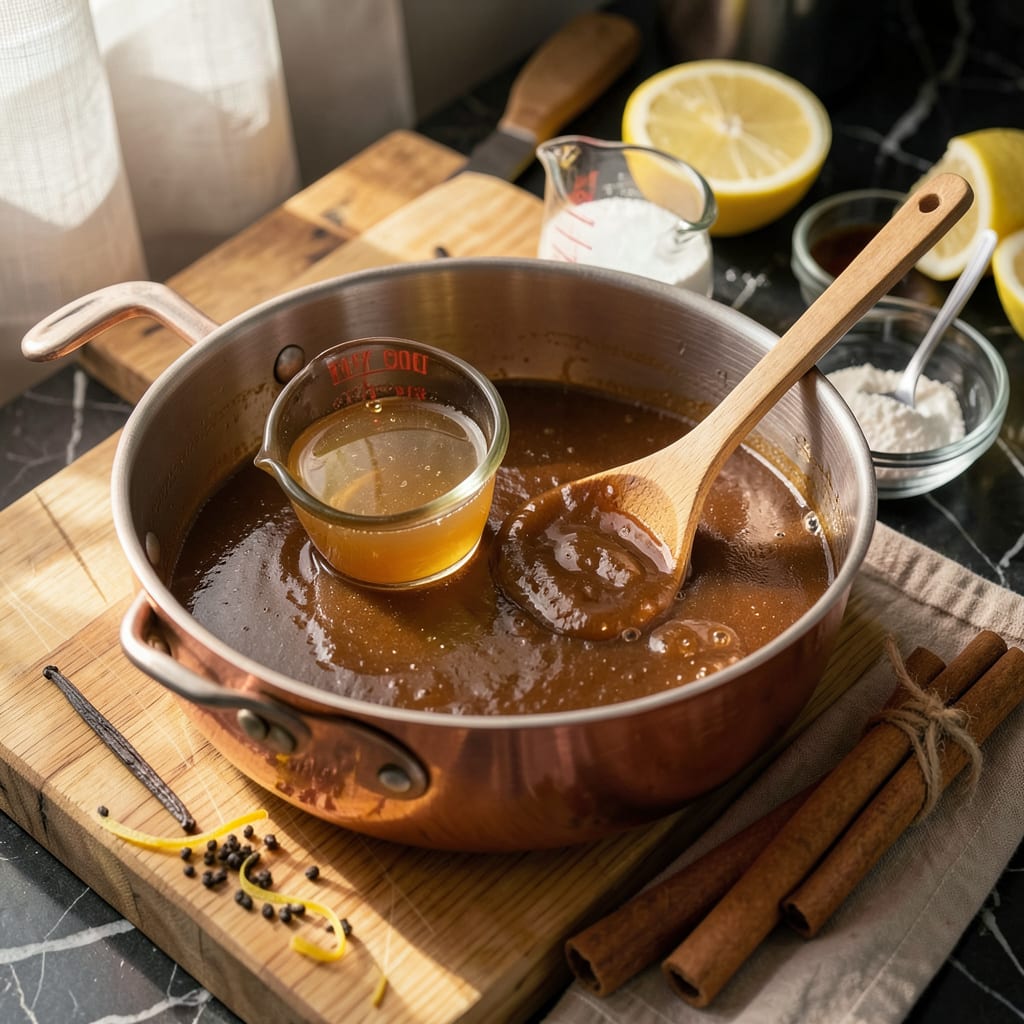
Achieving the ideal syrup consistency transforms homemade creations from runny disappointments to professional-quality results. After years of experimenting with fruit syrups and pancake toppings, I’ve perfected a foolproof method that works for any liquid sweetener—whether you’re reducing maple sap or salvaging a too-thin simple syrup.
The science is simple: thickening requires increasing sugar concentration or adding stabilizers. My preferred approach combines controlled heat reduction with precise starch ratios, eliminating guesswork. This technique prevents crystallization while maintaining flavor integrity, whether you’re working with berry syrups or honey-based mixtures. The process takes less than 20 minutes with proper temperature management.
What sets this method apart is its adaptability. Need a vegan option? Xanthan gum replaces gelatin without texture compromise. Prefer natural solutions? Apple pectin creates silky body in fruit syrups. Each variation maintains the perfect pour consistency that clings to pancakes or drizzles beautifully over desserts.
Storage becomes effortless with properly thickened syrups. Your creations will maintain ideal viscosity for up to 3 months refrigerated, without separation or sugar crystallization. Let’s examine the precise techniques that guarantee consistent results every time.
📚 In This Guide
- What You’ll Need
- Instructions
- Tips and Common Mistakes
What Youll Need
- ● Homemade syrup – 1–2 cups (already prepared, cooled or warm) 🍯
- ● Thickening agent – Choose one: Cornstarch – 1–2 tbsp (mixed with 2 tbsp cold water)
- ● Arrowroot powder – 1–2 tsp (mixed with 1 tbsp water)
- ● Xanthan gum – ¼–½ tsp (sprinkled lightly)
- ● Reduction method – no extra ingredients needed (just time! ⏰)
- ● Saucepan – Medium-sized, non-stick recommended
- ● Whisk or spoon – For stirring (silicone works best)
- ● Measuring spoons – Precise amounts matter!
- ● Small bowl – For mixing slurry (if using starch)
- ● Candy thermometer – For reduction method (target 220–230°F)
- ● Fine-mesh strainer – If your syrup has pulp/particles
- ● Vanilla extract or citrus zest – For flavor boost (½ tsp)
- ● Glass jar – For storing your thickened syrup
Instructions
Here’s the no-fail method I use every time—simple steps, perfect results, no guesswork.
Assess Your Current Syrup Consistency
Before you do anything, evaluate what you’re working with. Pour your syrup into a measuring cup and let it cool to room temperature. The texture should be your first clue—if it’s watery and runs off a spoon like water, you’ve got work to do. I like to dip a clean spoon in and let it drip back into the cup. Perfect syrup should coat the spoon and drip slowly in thick ribbons, not individual drops.
Take note of the temperature too. Warm syrup always appears thinner than it actually is, so cooling it first gives you a more accurate assessment. This step prevents over-thickening later, which can turn your syrup into candy. Trust me, I’ve ruined batches by skipping this simple check.
Choose Your Thickening Method Based on Flavor Goals
Now decide how you want to thicken it. For neutral flavor, a simple reduction works best—just simmer the syrup over medium heat until it reaches your desired consistency. This concentrates the flavors while thickening naturally. I use this method for fruit syrups where I want the pure flavor to shine.
If you need faster results or want to preserve delicate flavors, a slurry of cornstarch and cold water (1:1 ratio) works wonders. Mix 1 tablespoon cornstarch with 1 tablespoon cold water for every cup of syrup, then whisk it in while the syrup simmers. The key here is to add the slurry to warm (not boiling) syrup and stir constantly to prevent clumping. For maple or honey-based syrups, I sometimes use arrowroot powder instead—it gives a glossier finish without clouding the syrup.
Execute Your Chosen Thickening Technique
For reduction method: Pour your syrup into a wide, heavy-bottomed saucepan (the wider surface area speeds up evaporation). Bring to a gentle simmer over medium-low heat—you want small bubbles breaking the surface, not a rolling boil. Stir occasionally with a silicone spatula, scraping the bottom to prevent scorching. This process takes patience; expect 15-30 minutes depending on your starting consistency.
For slurry method: Bring your syrup to a low simmer first, then slowly drizzle in your cornstarch slurry while whisking vigorously. The syrup will thicken almost immediately as it returns to a simmer. Let it cook for 1-2 minutes to fully activate the starch and eliminate any raw taste. You’ll notice the texture change from watery to velvety as it thickens—remove from heat as soon as it coats the back of a spoon.
Test and Adjust for Perfect Viscosity
Here’s the professional trick: Use the “sheeting test” to check doneness. Dip a metal spoon into the syrup, then lift it high above the pot. Let the syrup drip back in—perfect consistency will form a thin, translucent sheet that briefly holds together before dissolving. If it’s still dripping in individual drops, it needs more time. For pancake syrup, I aim for a texture that’s thick enough to stay put on a stack but still pours easily.
If you overshoot and the syrup becomes too thick, don’t panic. Simply whisk in 1-2 teaspoons of hot water at a time until it loosens. Remember that syrups continue to thicken as they cool, so I always pull mine off the heat just before it reaches the perfect consistency. The carryover cooking will bring it to that ideal pour.
Cool and Store for Long-Lasting Quality
Transfer your thickened syrup to a clean glass jar or bottle while it’s still warm. I prefer wide-mouth mason jars for easy pouring. Let it cool completely at room temperature before sealing—this prevents condensation from forming inside the container, which can thin your syrup over time.
Store in the refrigerator for up to 3 months. The cold will make it slightly thicker, so you might need to warm it gently before using. For long-term storage, I sometimes add 1 teaspoon of lemon juice per cup of syrup—it helps preserve the color and prevents sugar crystallization. Always give it a good shake before using, as some separation is natural.
Tips and Common Mistakes
After years of thickening syrups (and ruining a few batches along the way), I’ve learned these game-changing tricks that make all the difference between candy and perfect consistency.
Heat Control: When using the reduction method in Step 3, that medium-low heat is absolutely critical. Too high and you’ll scorch the syrup; too low and you’ll wait forever. I use a wide, heavy-bottomed pan and watch for small, gentle bubbles—not a rolling boil. The 15-30 minutes range accounts for different starting consistencies, so don’t rush it. Stir occasionally with a silicone spatula, scraping the bottom to prevent any hot spots from forming.
Slurry Success: For the cornstarch method, the 1-2 minutes of cooking after adding the slurry isn’t just for thickening—it’s crucial for eliminating that raw starch taste. I always mix my slurry (1 tablespoon cornstarch + 1 tablespoon cold water per cup of syrup) right before using it, as it separates quickly. Add it to warm—not boiling—syrup while whisking constantly. You’ll see it transform from watery to velvety right before your eyes.
Testing Technique: The “sheeting test” in Step 4 changed everything for me. Here’s the pro move: use a metal spoon (it conducts heat better than wood or plastic) and lift it at least 12 inches above the pot. Perfect syrup should form a thin, translucent sheet that briefly holds before dissolving. If it’s still dripping in individual drops, give it another minute or two. Remember, syrups thicken as they cool, so pull it off the heat just before it reaches your ideal consistency.
Storage Wisdom: That 3 months refrigerator storage in Step 5 assumes you’re using clean utensils every time. I’ve ruined syrups by using a dirty spoon that introduced bacteria. For long-term storage, add 1 teaspoon of lemon juice per cup of syrup—it preserves the color and prevents sugar crystallization. Always let the syrup cool completely before sealing to avoid condensation that could thin it over time.
Pro Tips for Thicken Homemade Syrup
- After years of thickening syrups (and ruining a few batches along the way), I’ve learned these game-changing tricks t…
- Heat Control: When using the reduction method in Step 3, that medium-low heat is absolutely critical. Too high and yo…
- Slurry Success: For the cornstarch method, the 1-2 minutes of cooking after adding the slurry isn’t just for thickeni…
Frequently Asked Questions
How long does it take to thicken syrup on the stovetop?
Thickening time varies based on heat and syrup type, but most homemade syrups take 10–30 minutes on medium-low heat. Stir frequently to avoid burning! A quick test: Dip a spoon in—the syrup should coat the back smoothly. Patience is key for that perfect drizzle!
Can I thicken syrup without cornstarch or flour?
Try these alternatives:
- Reduction method: Simmer longer to evaporate excess liquid.
- Arrowroot powder (1:1 ratio with cornstarch) for a glossy finish.
- Xanthan gum (¼ tsp per cup) for a gluten-free boost.
Each adds a unique texture—experiment to find your favorite!
Why did my syrup turn grainy after thickening?
Graininess usually means the starch (like cornstarch) clumped or wasn’t fully dissolved. Fix it by:
- Straining through a fine-mesh sieve.
- Reheating gently while whisking in 1–2 tbsp of water.
Pro tip: Mix starch with cold liquid first to prevent lumps!
How do I store thickened syrup, and how long does it last?
Cool completely, then transfer to an airtight container (glass jars work great!). Refrigerated, it lasts 2–4 weeks. For longer shelf life, add 1 tbsp lemon juice (natural preservative) or freeze for up to 6 months. Label with the date!
Can I fix syrup that’s too thick after cooling?
No stress! Thin it with 1–2 tsp of warm water or fruit juice (match the syrup’s flavor). Stir over low heat until smooth. Avoid boiling—just warm enough to blend. If it’s way too thick, start with 1 tbsp and adjust gradually.
Thickening homemade syrup doesn’t have to be tricky—now you’ve got the tools, techniques, and confidence to nail the perfect consistency every time! 🎯 Whether you’re reducing it on the stove, using a thickener like cornstarch, or letting time work its magic, a little patience goes a long way. The best part? You can tweak it to match your favorite dishes, from fluffy pancakes to decadent desserts.
Ready to put your new skills to the test? Grab that saucepan and start experimenting—your next batch of syrup might just be your best one yet! 🍯✨

Trained in classic French technique but raised on slow-cooked ribs and spicy rubs, she blends culinary skill with smoke and soul.
- Recipe for Boneless Pork Chops in Cast Iron Skillet: Sear and Baste to Juicy Perfection - October 3, 2026
- Recipe for Boneless Cross Rib Roast: Slow-Roasted Beef with Herb Crust - October 3, 2026
- Hamburgers in Sauce Recipe Crock Pot: Slow-Cooked Savory Delight - October 3, 2026