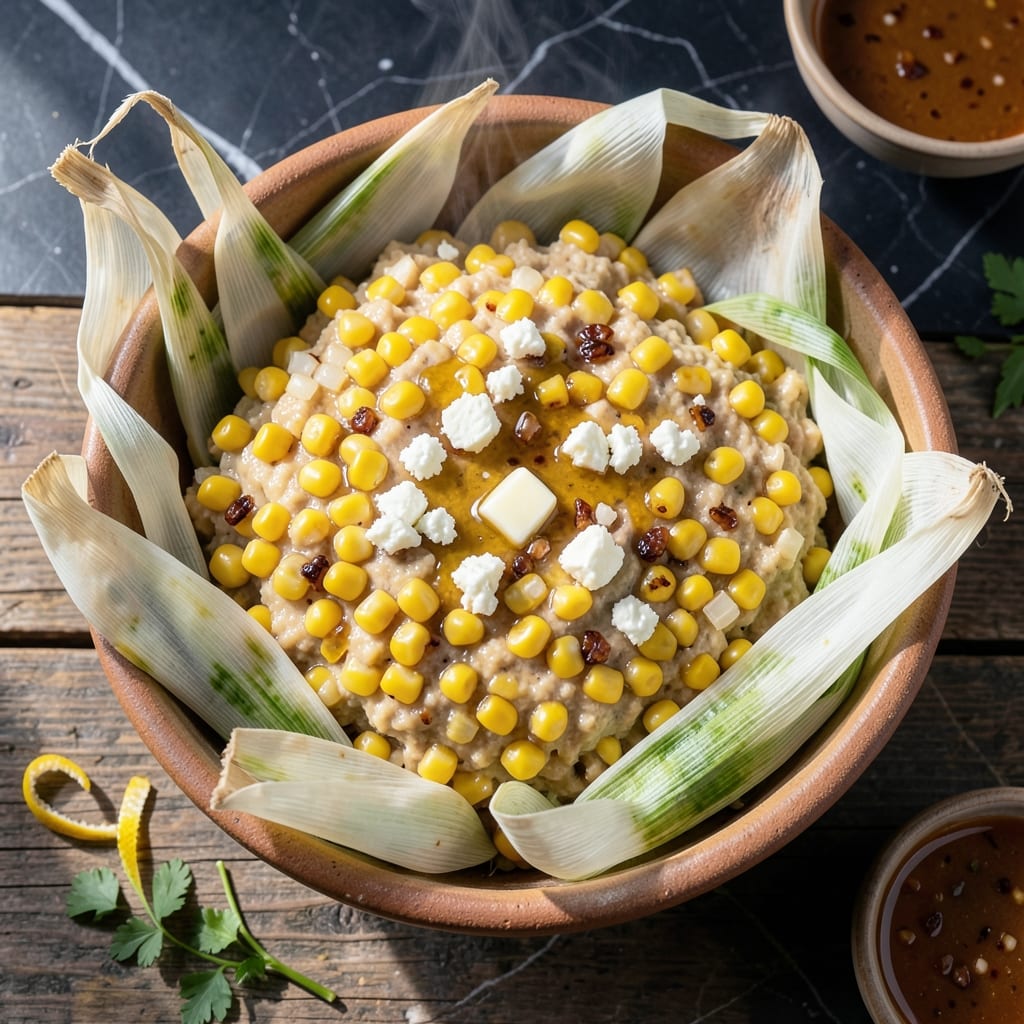
There’s something special about fresh corn and melted cheese wrapped in its own husk, baking to perfect tenderness. This traditional dish transforms simple ingredients into a creamy, savory delight that feels like a taste of Latin American heritage.
The magic happens when the corn mixture steams inside its natural wrapper, locking in moisture and flavor. The texture is custard-like, rich with cheese and a hint of sweetness from the kernels. It’s a dish that celebrates the season’s best produce.
Each bite delivers a balance of creamy, cheesy, and slightly sweet flavors, all held together by the earthy aroma of the husk. The result is comforting yet elegant, a dish that feels both rustic and refined.
Whether served as a side or a main, this creation brings warmth and tradition to any table.
Ingredients for Humita
Fresh corn, melted cheese, and simple pantry staples create this traditional Latin American delight.
| Ingredient | Amount | Notes |
|---|---|---|
| Fresh Corn Kernels 🌽 | 4 cups | From 4-5 ears, sweet corn preferred |
| Corn Husks 🌽 | 8 pieces | For wrapping, soaked in warm water |
| Queso Fresco 🧀 | 1 ½ cups | Crumbled, or substitute farmer's cheese |
| Unsalted Butter 🧈 | ½ cup | Melted, for richness |
| Yellow Onion 🧅 | 1 whole | Finely diced, about 1 cup |
| Garlic Cloves 🧄 | 2 cloves | Minced, for depth |
| All-Purpose Flour 🌾 | ¼ cup | For binding the mixture |
| Sugar 🍚 | 1 tbsp | Optional, enhances sweetness |
| Salt 🧂 | 1 tsp | Adjust to taste |
| Ground Black Pepper 🌶️ | ½ tsp | Freshly ground preferred |
| Heavy Cream 🥛 | ¼ cup | For creamier texture |
| Fresh Cilantro 🌿 | ¼ cup | Chopped, for garnish |
[recipe_ingredient_scaler]
The corn is everything here. Use peak-season sweet corn—the fresher, the better. Farmers markets are ideal, but any grocery store with good turnover works. The husks need to be flexible for wrapping, so soak them in warm water for 30 minutes before assembling. For the cheese, queso fresco gives the authentic texture, but farmers cheese or even ricotta saladata work in a pinch.
No queso fresco? Feta or mild goat cheese can stand in, though the saltiness will differ. Corn not sweet enough? Add an extra tablespoon of sugar. The husks can be tricky to find intact—Latin markets often sell them separately if your corn comes pre-shucked. Heavy cream is optional but worth the extra richness if you’re serving this as a main.
These keep 2-3 days in the fridge, though they’re best fresh. Reheat by steaming or microwaving with a damp towel over them. The mixture can also be baked in ramekins (without husks) for 20 minutes at 375°F.
Why You’ll Love This Recipe
- No-Fuss Assembly: I just blend the fresh corn with onion and butter, spoon it into husks, and let the oven do the rest.
- Melted Cheese Magic: That gooey queso fresco pockets in the sweet corn? Honestly, it’s the bite I make them for.
- Crowd-Pleasing Packages: I pack these for picnics, potlucks, even lunchboxes—and they’re always the first to disappear.
- Budget Corn Star: A few ears of corn and a block of cheese stretch into a dozen little bundles without breaking the bank.
Step-by-Step Instructions for Humita
This method delivers perfectly tender, flavorful results wrapped in fragrant corn husks.
Step 1: Prepare the Corn Husks and Filling Base
Soak the 8 pieces corn husks in warm water for 30 minutes to soften. While soaking, melt the 0.5 cup unsalted butter in a large skillet over medium heat. Add the finely diced 1 whole yellow onion and cook for 5 minutes until translucent and soft.
Stir in the minced 2 cloves garlic cloves and cook for an additional 1 minute until fragrant. This aromatic base builds the flavor foundation for your filling. Remove from heat and let cool slightly before proceeding.
Step 2: Create the Corn and Cheese Mixture
In a large bowl, combine the 4 cups fresh corn kernels, crumbled 1.5 cups queso fresco, 0.25 cup all-purpose flour, 1 tbsp sugar, 1 tsp salt, and 0.5 tsp ground black pepper. Mix until the ingredients are evenly distributed and the cheese begins to melt into the corn.
Pour in the 0.25 cup heavy cream and the slightly cooled onion mixture. Stir until the filling reaches a thick, batter-like consistency. The mixture should hold together when pressed but remain slightly loose for wrapping.
Step 3: Assemble and Wrap the Humitas
Drain the soaked corn husks and pat dry. Lay a husk flat on your work surface and spoon about ½ cup of the corn mixture onto the center. Fold the sides of the husk inward, then roll it up from the bottom to create a secure packet, similar to a burrito.
Repeat with the remaining husks and filling. If any husks tear, double up with a second husk to ensure the filling stays contained during cooking. The packets should be snug but not overstuffed to prevent bursting.
Step 4: Steam to Perfection
Arrange the wrapped humitas seam-side down in a steamer basket set over boiling water. Cover and steam for 45-50 minutes until the filling is firm and set. Check one by carefully unwrapping—it should hold its shape when sliced.
If the water level drops during steaming, add more hot water to maintain consistent heat. Avoid overcrowding the steamer, as this can lead to uneven cooking. The husks will darken slightly, which is normal.
Step 5: Serve Warm with Fresh Garnish
Remove the humitas from the steamer and let cool for 5 minutes before serving. Unwrap each packet carefully, as the steam will be hot. Garnish with chopped 0.25 cup fresh cilantro for a bright, fresh contrast to the rich, creamy filling.
Serve warm, with the husk still partially wrapped for presentation. The texture should be creamy with a slight bounce, and the aroma of sweet corn and melted cheese should be prominent in every bite.
Pro Tips For Making Humita
- Soak the Husks: I learned this the hard way—dry corn husks crack and tear. Submerge them in warm water for at least 30 minutes before using to make them pliable and easy to work with.
- Grind Corn Fresh: Skip pre-ground cornmeal; use fresh kernels pulsed in a food processor for that authentic, sweet, and creamy texture humitas are known for.
- Drain Excess Liquid: After mixing the corn batter, let it sit for 10 minutes then pour off any separated liquid—this prevents soggy humitas that fall apart when unwrapped.
- Use Room-Temp Queso: Cold queso fresco clumps and doesn’t distribute evenly. Pull it out 20-30 minutes before mixing for smooth, melty pockets throughout the filling.
Creative Variations of humita
Peruvian Green Humita
In Peru, this dish takes on a vibrant green hue by blending 1 cup fresh basil and ½ cup spinach into the corn mixture. The herbs add a fresh, aromatic quality that pairs beautifully with the cheese. I love this version for its bright color and extra nutrients. 💚
Sweet Dessert Version
Transform this into a sweet treat by replacing the cheese with 1 cup cream cheese and adding ½ cup granulated sugar and 1 tsp cinnamon. The result is like a creamy corn custard. Serve with a drizzle of honey or fresh berries.
Chilean Spicy Twist
Add 1 finely chopped jalapeño and ½ tsp smoked paprika to the filling for a spicy kick. This variation is popular in Chile, where they enjoy a bit of heat. The spice complements the sweetness of the corn beautifully.
Baked Humita Casserole
If wrapping seems tedious, spread the mixture in a baking dish, top with extra cheese, and bake at 375°F for 25-30 minutes. This casserole-style version is perfect for feeding a crowd. It loses the husk aroma but gains a golden, crispy top.
Vegan Adaptation
Swap the cheese for 1 cup crumbled tofu and use coconut cream instead of heavy cream. Add 1 tbsp nutritional yeast for a cheesy flavor. The texture changes slightly but still delivers that comforting, creamy bite.
Stuffed Peppers Variation
Use the filling to stuff bell peppers instead of husks. Bake at 375°F for 30-35 minutes until the peppers are tender. This method adds a colorful presentation and a slightly different texture to the dish.
Nutrition Facts
Frequently Asked Questions
Can I use frozen corn instead of fresh?
Fresh corn is ideal, but thawed frozen kernels work in a pinch. Drain well and pat dry to remove excess moisture, which could make the filling too wet. The texture may be slightly less sweet and creamy.
How do I prevent the husks from tearing?
Soak husks in warm water for 30 minutes to make them pliable. Double up thinner husks or patch tears with extra pieces before wrapping. Handle gently to avoid splits.
Can I bake these instead of steaming?
Yes! Wrap as usual, then bake at 375°F for 40-45 minutes. Add ¼ cup water to the baking dish and cover with foil to trap steam. Uncover the last 5 minutes for a firmer texture.
Why is my filling runny after steaming?
This usually means it needed more cooking time or binding. Use 1-2 extra tablespoons of flour next time, and ensure it steams for the full 45-50 minutes. Let it rest 10 minutes before unwrapping.

Trained in classic French technique but raised on slow-cooked ribs and spicy rubs, she blends culinary skill with smoke and soul.
- Recipe for Boneless Pork Chops in Cast Iron Skillet: Sear and Baste to Juicy Perfection - October 3, 2026
- Recipe for Boneless Cross Rib Roast: Slow-Roasted Beef with Herb Crust - October 3, 2026
- Hamburgers in Sauce Recipe Crock Pot: Slow-Cooked Savory Delight - October 3, 2026