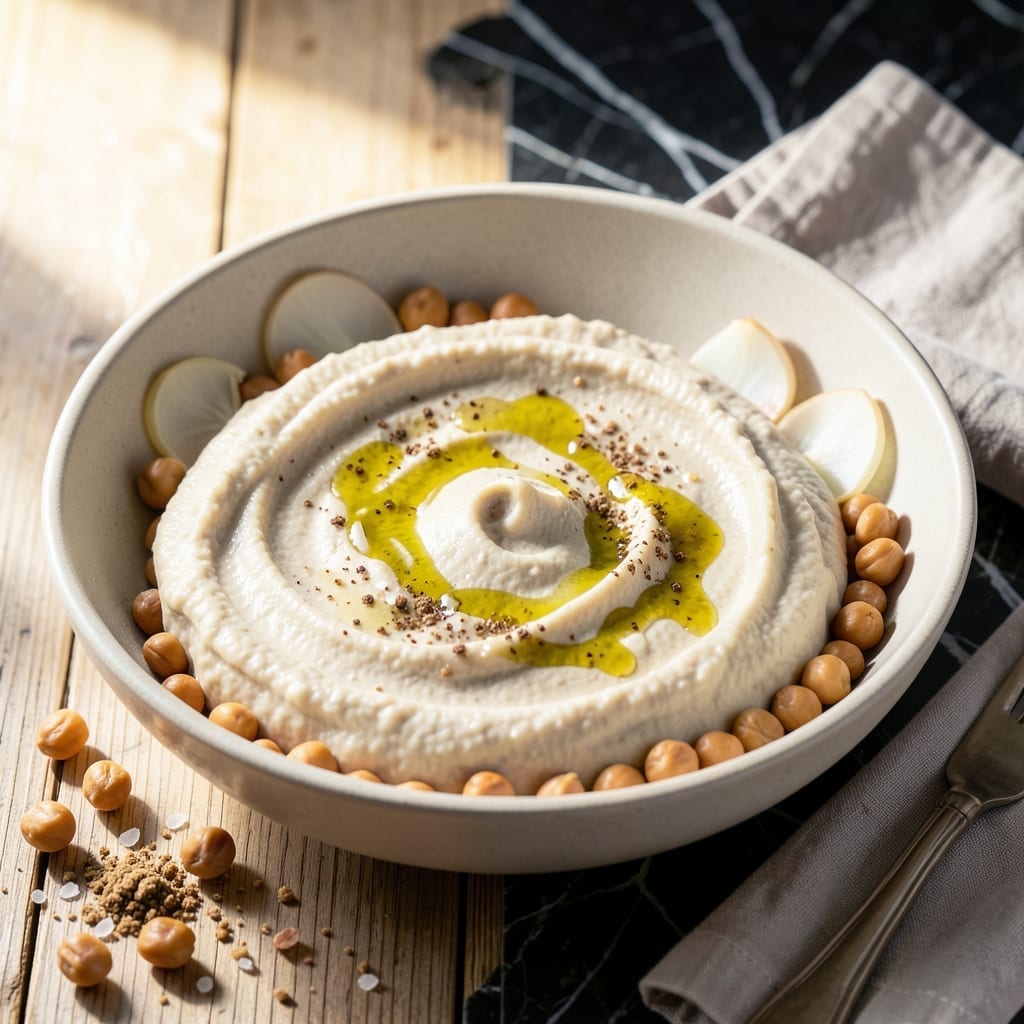
This oil-free hummus achieves silky smoothness through a clever ingredient swap that maintains richness without compromise. The secret lies in using aquafaba, the liquid from canned chickpeas, which replaces traditional tahini and oil.
What results is a light yet creamy spread perfect for dipping or sandwiches. This method proves that delicious hummus doesn’t require added fats to be satisfying and flavorful.
Ingredients for Hummus Recipe Without Oil
Eight simple ingredients transform into a silky smooth spread without added fats.
| Ingredient | Amount | Notes |
|---|---|---|
| Canned Chickpeas 🥘 | 2 cans | 15 oz each, liquid reserved |
| Aquafaba 💧 | ½ cup | Liquid from canned chickpeas |
| Fresh Lemon Juice 🍋 | ¼ cup | About 2-3 lemons |
| Garlic Cloves 🧄 | 3 cloves | Peeled and minced |
| Ground Cumin 🌿 | 1 ½ tsp | Freshly ground preferred |
| Sea Salt 🧂 | 1 tsp | Fine grain, adjust to taste |
| Smoked Paprika 🌶️ | ½ tsp | Optional, for depth |
| Fresh Cilantro 🍃 | ¼ cup | Chopped, for garnish |
[recipe_ingredient_scaler]
The chickpeas are critical here—Goya or Eden Organic brands yield the creamiest texture. Aquafaba from these brands is thicker, which helps achieve that luscious consistency. For best results, chill the aquafaba before use (it whips better cold). If buying canned, check for added preservatives that might affect flavor. Most grocery stores carry multiple options in the international aisle.
No aquafaba? Reserved liquid from white beans works as a substitute, though the flavor will differ slightly. Out of fresh lemons? Bottled lemon juice at half the amount in a pinch (fresh is always superior). Cumin can be swapped for coriander if preferred. For extra creaminess, blend in 2-3 tbsp unsweetened almond milk—it maintains the oil-free promise while adding richness.
Store in an airtight container with a thin layer of water on top to prevent drying. Keeps for 5 days in the fridge or 3 months frozen. Portion into ice cube trays for easy single servings. The flavors meld beautifully after a day, so make it ahead if possible.
Why You’ll Love This Recipe
- 5-Minute Blend: I dump everything in the blender, hit pulse, and it’s done—no cooking, no fuss.
- Zingy & Fresh: The lemon juice and garlic give it that bright, tangy kick I crave with every bite.
- Meal Prep Hero: I make a big batch on Sunday and it’s my lunchbox star all week long.
- Pantry Stretch: Canned chickpeas and aquafaba mean I can whip this up without a last-minute grocery run.
Step-by-Step Instructions for Hummus Without Oil
This method leverages aquafaba for an emulsified, silky texture without traditional oil additions.
Step 1: Prepare the Chickpeas and Aquafaba
Drain the 2 cans canned chickpeas, reserving all liquid. You should have approximately 1½ cups of aquafaba from the two cans. Measure out exactly 0.5 cup aquafaba for this recipe—the remaining can be saved for other uses.
Rinse the chickpeas under cold water to remove any excess starch, which can make the hummus bitter. I always peel the chickpeas for ultra-smooth texture, though this step is optional. Simply rub them between your fingers under running water to remove the thin skins.
Step 2: Blend the Base Ingredients
In a high-powered blender or food processor, combine the peeled chickpeas, 0.5 cup aquafaba, 0.25 cup fresh lemon juice, and 3 cloves minced garlic cloves. Pulse until the mixture becomes relatively smooth, scraping down the sides as needed.
The aquafaba replaces oil by providing natural emulsifiers that bind the ingredients together. At this stage, the mixture will look slightly grainy—that’s normal before adding the seasonings.
Step 3: Incorporate Spices and Seasonings
Add the 1.5 tsp ground cumin, 1 tsp sea salt, and 0.5 tsp smoked paprika to the blender. Process for an additional 2-3 minutes until the hummus is completely smooth and creamy, stopping to scrape the sides as necessary.
Taste and adjust the seasoning if needed, though I find this balance perfect. The smoked paprika adds a subtle depth that complements the earthy cumin. The texture should be light and fluffy, not dense or pasty.
Step 4: Adjust Consistency and Finish
If the hummus is too thick, add 1-2 tablespoons of the reserved aquafaba and blend until it reaches your desired consistency. For a restaurant-style smooth hummus, I process it for an additional 1-2 minutes until it’s ultra-creamy.
Transfer to a serving bowl and let it rest for 10 minutes to allow the flavors to meld. The surface should be glossy and smooth, with no visible chunks of chickpeas.
Step 5: Garnish and Serve
Create a shallow well in the center of the hummus with the back of a spoon. Drizzle with a small amount of reserved aquafaba for visual appeal, then sprinkle with 0.25 cup chopped fresh cilantro. The cilantro adds a fresh, bright contrast to the rich hummus.
Serve immediately with warm pita bread, fresh vegetables, or as a spread for sandwiches. The hummus will keep in an airtight container in the refrigerator for up to 5 days, though it’s best enjoyed fresh.
Pro Tips For Making Hummus Recipe Without Oil
- Blend While Warm: Use chickpeas straight from the can without draining the liquid first—the residual heat makes them blend smoother, and the starchy aquafaba replaces oil for creaminess.
- Peel the Chickpeas: I learned this the hard way—rubbing the chickpeas between your fingers under running water removes the skins, giving ultra-smooth hummus without oil.
- Skip the Cold Aquafaba: After a few grainy batches, I finally figured out that room-temperature aquafaba emulsifies better with the lemon juice and cumin.
- Rest the Garlic: Sounds weird, but it works: crush the garlic cloves and let them sit for 5 minutes before blending to mellow the harshness and avoid overpowering the hummus.
Common Mistakes When Making This Dish
🥘 Using Cold Ingredients
Cold chickpeas or aquafaba can prevent your hummus from achieving that signature silky texture. Blending cold ingredients often results in a grainy or stiff consistency, as the natural oils and starches don’t emulsify properly.
Fix: Use room-temperature chickpeas and aquafaba. If you’re using canned chickpeas, rinse and drain them, then let them sit for 10-15 minutes before blending.
🔪 Skipping the Peeling Step
Leaving the skins on chickpeas can give your hummus a bitter taste and a slightly gritty texture. The skins don’t blend as smoothly as the soft interior, which affects the overall creaminess.
Fix: Rub the chickpeas between your fingers under running water to remove the skins. It takes a few extra minutes but makes a huge difference in texture.
⏰ Over-Blending or Under-Blending
Blending for too long can overheat the hummus, causing it to thicken or develop a bitter flavor. On the other hand, under-blending leaves it chunky and uneven. Timing is key to that perfect smoothness.
Fix: Blend in short bursts, scraping down the sides as needed, until the mixture is creamy but not overheated. Aim for 2-3 minutes total.
🌡️ Ignoring Aquafaba Consistency
Aquafaba replaces oil, but its thickness matters. Too much can make hummus watery, while too little leaves it dry and pasty. The liquid should complement, not dominate, the chickpeas.
Fix: Start with 2-3 tablespoons of aquafaba per can of chickpeas, then adjust as needed. Add more gradually until you reach the desired creaminess.
Nutrition Facts

Trained in classic French technique but raised on slow-cooked ribs and spicy rubs, she blends culinary skill with smoke and soul.
- Recipe for Boneless Pork Chops in Cast Iron Skillet: Sear and Baste to Juicy Perfection - October 3, 2026
- Recipe for Boneless Cross Rib Roast: Slow-Roasted Beef with Herb Crust - October 3, 2026
- Hamburgers in Sauce Recipe Crock Pot: Slow-Cooked Savory Delight - October 3, 2026