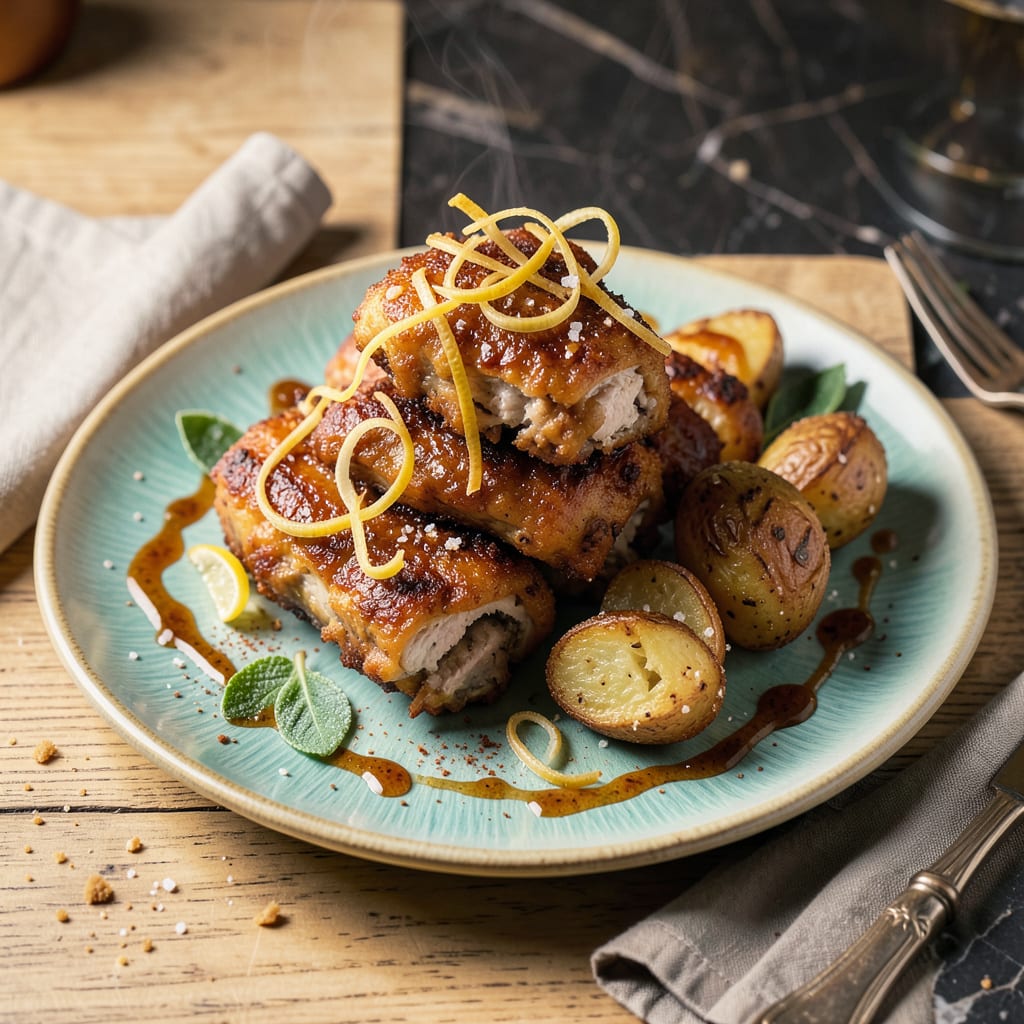
That first bite of perfectly crispy food is pure magic—when the outside shatters and gives way to tender goodness inside. I’ve spent years chasing that ideal crunch, from backyard BBQs to French kitchens, and finally cracked the code for foolproof results. No more soggy disappointments or hit-or-miss techniques.
The secret starts with heat—real heat. Whether you’re frying, baking, or air-frying, temperature makes or breaks your crisp. I always preheat my oil or oven longer than you’d think (yes, even when impatient). Then comes the texture trick: a light coating of cornstarch or rice flour creates that restaurant-quality crunch that stays put.
But here’s where most recipes fail you—the after-cooking part. Draining on paper towels? That’s your crispiness killer. Use a wire rack instead so air circulates all around. And if you’re serving later, keep pieces separate and reheat in a dry skillet or toaster oven—never the microwave.
This method works for everything—wings that crackle, fries that stay firm, even veggies with that satisfying bite. Pair with something cool and creamy (ranch, aioli, or sour cream) for the perfect contrast. Crispy success is closer than you think.
📚 In This Guide
- What You’ll Need
- Instructions
- Tips and Common Mistakes
What Youll Need
- ● Food item: 1–2 lbs of protein (chicken wings, fries, tofu, etc.) or veggies (Brussels sprouts, zucchini)
- ● Oil: 2–4 cups high-smoke-point oil (peanut, canola, or avocado) for frying or 2 tbsp for air frying
- ● Drying agent: Paper towels or a wire rack (for pre-fry patting)
- ● Coating (pick one): 1 cup all-purpose flour + 1 tsp cornstarch (for classic crisp)
- ● 1 cup panko breadcrumbs + ½ tsp garlic powder (for extra crunch)
- ● ½ cup potato starch (for gluten-free options)
- ● Tools: Deep fryer, heavy pot, or air fryer (with basket)
- ● Tongs or slotted spoon (for safe flipping)
- ● Candy/food thermometer (to hit that 350–375°F sweet spot)
- ○ Optional boosts: 1 tsp baking powder (for extra lift) or 1 egg (for binding)
Step-by-Step Instructions for Keeping Food Crispy
Here’s how to achieve that perfect golden crunch every time—no soggy disappointments here.
Start with the Right Temperature
Preheat your oven or oil to the proper temperature before adding your food. For oven-baked items, I always set my oven to 400°F or higher—this initial blast of heat creates that crucial crispy exterior right away. If you’re frying, heat your oil to 350-375°F and use a thermometer to check. Cold oil absorbs into food instead of creating that beautiful crust we want.
Here’s the thing—I never skip this step, even when I’m in a hurry. Adding food to insufficiently hot oil or a cool oven is the fastest way to end up with greasy, limp results instead of that satisfying crunch. You’ll hear the food sizzle immediately when it hits the right temperature—that’s your audio cue that you’re on track.
Remove Excess Moisture Completely
Pat your food dry with paper towels before cooking, and I mean really dry. Any surface moisture creates steam when it hits hot oil or a hot pan, and steam is the enemy of crispiness. For vegetables, I’ll even let them air-dry on a wire rack for 10-15 minutes after patting to ensure maximum dryness.
Real talk: this step makes a bigger difference than you might think. I’ve tested it side-by-side—wet food comes out steamed and soft, while properly dried food develops that gorgeous golden crust. For extra insurance with vegetables, I’ll sometimes toss them with a bit of cornstarch before cooking to absorb any lingering moisture.
Use the Right Technique for Your Method
For oven-baked crispiness, arrange food in a single layer on a wire rack set over a baking sheet. This allows hot air to circulate all around, preventing any soggy spots from trapped steam. I always leave space between pieces too—crowding creates steam pockets that will soften your food.
When frying, don’t overcrowd the pan either. Add food in batches if needed, maintaining the oil temperature between 350-375°F. The food should bubble actively but not violently. If the bubbling stops, your oil temperature has dropped too much—remove the food and let the oil recover before continuing.
Drain and Rest Properly
For fried foods, drain on a wire rack rather than paper towels. Paper towels trap steam against the food’s surface, which can make even perfectly fried items lose their crispness. The wire rack allows air to circulate and heat to escape, keeping everything crunchy.
Let your crispy creations rest for just 2-3 minutes after cooking—this brief pause allows the interior to finish cooking without sacrificing texture. But don’t wait too long to serve! Most crispy foods are best enjoyed immediately while they’re at their peak texture. If you must hold them, keep fried items warm in a 200°F oven on a wire rack.
Serve with Crispiness in Mind
Plate your crispy food on warm plates to prevent condensation from forming. If serving with sauces or dips, offer them on the side rather than drizzled on top—this puts you in control of the moisture. I like to serve crispy items on a bed of shredded lettuce or herbs, which provides a dry barrier between the food and the plate.
For leftovers, reheat in a 375°F oven for 5-10 minutes until heated through and crispy again. The microwave will turn even the crispiest results soggy, so avoid it at all costs. With these techniques, you’ll maintain that perfect crunch from first bite to last—just like it came fresh from the fryer or oven.
Tips and Common Mistakes
These practical insights will help you master the art of crispy perfection every single time.
Temperature Precision: When heating your oil to that critical 350-375°F range mentioned in Step 1, use a clip-on candy thermometer for accuracy. I’ve found that oil temperature can drop quickly when adding food, so work in small batches to maintain that ideal frying zone. The difference between perfectly crispy and disappointingly greasy often comes down to these few degrees.
Drying Technique: For Step 2, I’ve discovered that salting vegetables after patting them dry (but before the 10-15 minutes of air-drying) helps draw out even more moisture. Just be sure to brush off any excess salt before cooking. This extra step creates an even crisper crust, especially for items like Brussels sprouts or zucchini that tend to hold onto water.
Equipment Upgrade: Invest in a good wire rack for both baking and draining – it’s the secret weapon mentioned in Steps 3 and 4. I prefer the heavy-duty stainless steel ones that won’t warp under heat. For oven-baked items, placing the rack directly on your baking sheet (rather than using the sheet alone) allows air to circulate underneath, preventing that dreaded soggy bottom.
Reheating Strategy: When reviving leftovers as described in Step 5, don’t just toss them in the 375°F oven and walk away. Place them on that same wire rack over a baking sheet, and check at the 5-minute mark. The rack prevents the bottom from steaming while the top crisps back up beautifully.
Pro Tips for Keep It Crispy
- These practical insights will help you master the art of crispy perfection every single time.
- Temperature Precision: When heating your oil to that critical 350-375°F range mentioned in Step 1, use a clip-on cand…
- Drying Technique: For Step 2, I’ve discovered that salting vegetables after patting them dry (but before the 10-15 mi…
Frequently Asked Questions
How long does it take to keep food crispy after cooking?
Timing depends on the method! Air-fried or deep-fried foods stay crispy for 1-2 hours if kept uncovered on a wire rack. Oven-baked items last 30-60 minutes—re-crisp in a 350°F oven for 5-10 minutes if needed. Pro tip: Avoid steam traps like lids or foil!
What’s the best way to store crispy food for later?
Skip the containers! Let food cool completely, then store in a single layer on paper towels inside an airtight container (leave the lid slightly ajar). For fries or chips, a brown paper bag works wonders. Reheat in an air fryer (3-5 mins at 375°F) or oven for best results.
Can I make crispy food without deep frying?
Absolutely! Try these alternatives:
- Air fryer: Uses 70-80% less oil with similar crunch.
- Oven bake: Toss food in cornstarch or baking powder (¼ tsp per cup flour) before baking at 400°F+.
- Pan-fry: Use minimal oil in a nonstick skillet on medium-high heat.
Why does my crispy food turn soggy so fast?
Sogginess usually comes from moisture buildup. Common culprits:
- Stacking hot food (traps steam).
- Using wet ingredients (pat dry meat/veggies first!).
- Covering with foil or lids post-cooking.
Does salt or sugar help keep food crispy?
Salt: Yes! A light sprinkle after cooking draws out surface moisture for extra crunch. Sugar: Only for caramelized crispiness (e.g., candied nuts)—too much can make food sticky. Use sparingly (½ tsp per cup of coating).
Mastering the art of keeping it crispy is all about precision—whether it’s the right temperature, timing, or technique. With these tips, you’re now equipped to turn soggy disappointments into golden, crunchy perfection every time! 🎉
Ready to put your skills to the test? Grab your favorite recipe, fire up that oven or fryer, and experiment with confidence. And hey—if you nail it, snap a pic and tag us! We’d love to see (and hear) that crisp. 📸✨

Trained in classic French technique but raised on slow-cooked ribs and spicy rubs, she blends culinary skill with smoke and soul.
- Recipe for Boneless Pork Chops in Cast Iron Skillet: Sear and Baste to Juicy Perfection - October 3, 2026
- Recipe for Boneless Cross Rib Roast: Slow-Roasted Beef with Herb Crust - October 3, 2026
- Hamburgers in Sauce Recipe Crock Pot: Slow-Cooked Savory Delight - October 3, 2026