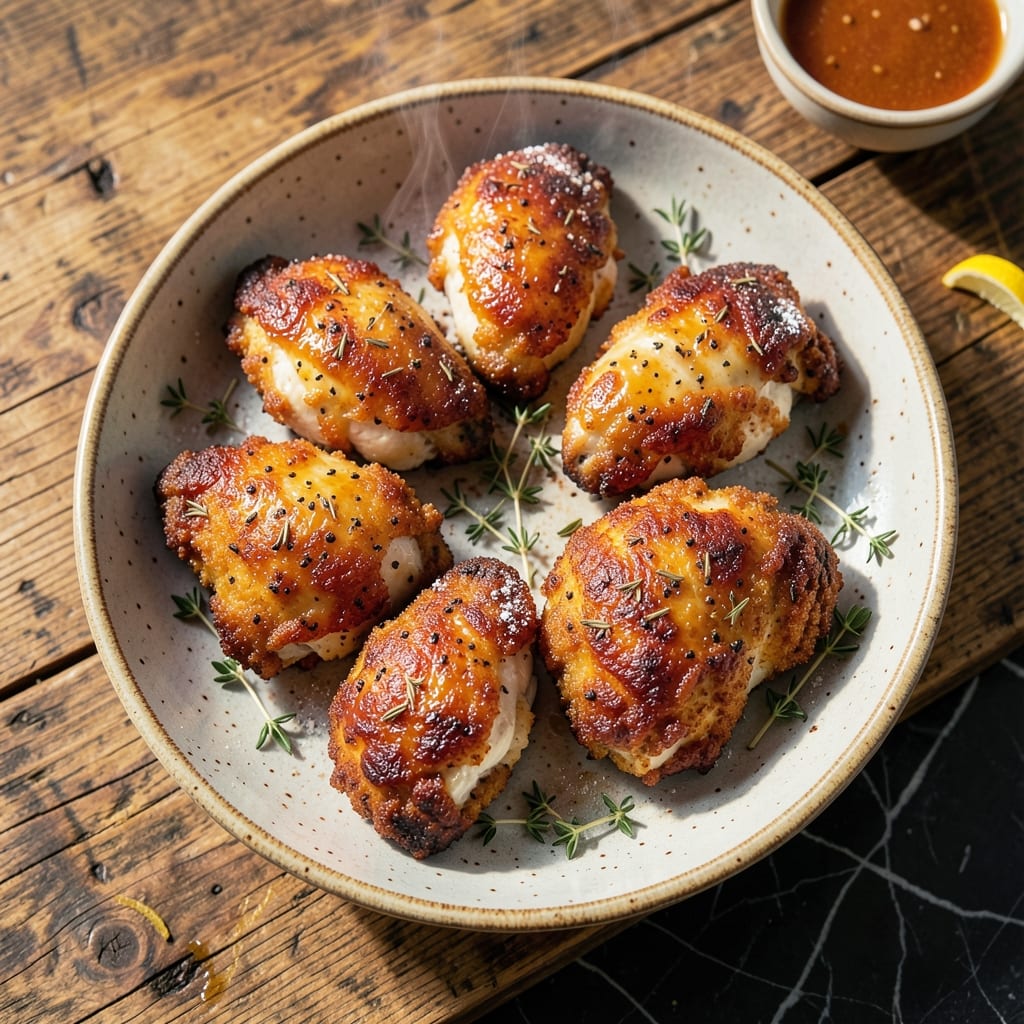
I’ve spent years perfecting this recreation of the Colonel’s legendary spice blend and frying method. The secret lies in a precise combination of 11 herbs and spices applied to crisp, juicy chicken breast.
This technique delivers that signature crispy coating and tender meat we all know. The double-dredging process ensures every bite carries maximum flavor and crunch.
The result is restaurant-quality fried chicken with that unmistakable KFC taste. The golden-brown exterior gives way to perfectly seasoned, moist chicken inside.
Ready to recreate this classic at home? Here’s exactly how to do it.
Ingredients for Kentucky Fried Chicken Original Recipe Chicken Breast
Eleven herbs and spices plus crisp, juicy chicken breast recreate the Colonel’s legendary flavor at home.
| Ingredient | Amount | Notes |
|---|---|---|
| Chicken Breast 🍗 | 2 lb | Boneless, skinless, pounded to even thickness |
| Buttermilk 🥛 | 2 cups | Full-fat for best tenderizing |
| All-Purpose Flour 🌾 | 2 ½ cups | Divided for double-dredging |
| Salt 🧂 | 1 ½ tbsp | Diamond Crystal kosher preferred |
| Black Pepper 🌶️ | 1 tbsp | Freshly ground for optimal flavor |
| Dried Thyme 🍃 | 1 tsp | Rubbed between fingers to release oils |
| Dried Basil 🌿 | 1 tsp | Crushed to enhance aroma |
| Dried Oregano 🌿 | 1 tsp | Mediterranean variety preferred |
| Celery Salt 🧂 | 1 tsp | Essential for signature flavor profile |
| Dried Mustard 🌶️ | 1 tsp | Ground mustard powder works too |
| Garlic Powder 🧄 | 1 tsp | Not garlic salt substitution |
| Paprika 🌶️ | 1 tsp | Sweet variety for color and mild heat |
| White Pepper 🧂 | ½ tsp | Milder than black pepper |
| MSG 🧂 | ½ tsp | Optional but authentic to original |
| Vegetable Oil 🫒 | 4 cups | Peanut oil traditional, for deep frying |
[recipe_ingredient_scaler]
The spice blend demands precision. Penzeys offers exceptional quality for individual herbs, but McCormick works perfectly for a budget-friendly approach. The chicken breast must be uniformly pounded to ensure even cooking and proper coating adhesion. Whole Foods often carries organic, air-chilled breasts that yield superior texture. For the buttermilk, full-fat is non-negotiable—it tenderizes and adds richness that low-fat cannot replicate.
No buttermilk? Whole milk with 1 tbsp lemon juice or vinegar per cup works in a pinch. Missing celery salt? Combine 1/4 tsp celery seed with 3/4 tsp salt. For those avoiding MSG, increase salt by 1/4 tsp—though the authentic flavor won’t be identical. The flour can be swapped with a gluten-free blend, but the coating texture will differ. King Arthur makes a reliable 1:1 substitute if needed.
The spice blend keeps in an airtight container for up to 6 months. Store chicken in the coldest part of your refrigerator and use within 2 days of purchase for optimal freshness. Leftover fried chicken reheats best in a 375°F oven for 10-12 minutes to restore crispness—microwaving will make it soggy.
Why You’ll Love This Recipe
- One Bowl Magic: I toss the chicken in buttermilk, then straight into the flour—no fancy steps, just my kind of simple.
- Crispy Perfection: That buttermilk soak makes the crust shatter with every bite while the inside stays juicy.
- Meal Prep Hero: I make a double batch on Sunday, and those leftovers reheat beautifully for lunches.
- Budget Winner: Chicken breast stretches further than you’d think, and the pantry staples keep costs low. Honestly, it’s my wallet’s favorite meal.
Step-by-Step Instructions for Kentucky Fried Chicken Original Recipe Chicken Breast
This method delivers authentic flavor and texture with precise technique and proper timing.
Step 1: Tenderize and Season the Chicken
Begin by cutting the 2 lb Chicken Breast into 8-10 even-sized pieces. Submerge them completely in the 2 cups Buttermilk in a large bowl. The buttermilk’s acidity breaks down proteins for maximum tenderness while adding subtle richness.
Cover and refrigerate for at least 4 hours, or preferably overnight. This extended marinating time allows the buttermilk to penetrate deeply, ensuring every bite remains juicy after frying. The pieces should look slightly swollen when ready for the next step.
Step 2: Prepare the Signature Spice Blend and Dredge
In a large shallow dish, combine the 2.5 cups All-Purpose Flour with all the spices: 1.5 tbsp Salt, 1 tbsp Black Pepper, 1 tsp Dried Thyme, 1 tsp Dried Basil, 1 tsp Dried Oregano, 1 tsp Celery Salt, 1 tsp Dried Mustard, 1 tsp Garlic Powder, 1 tsp Paprika, 0.5 tsp White Pepper, and 0.5 tsp MSG. Whisk until evenly distributed and no streaks remain.
Remove each piece of chicken from the buttermilk, letting excess drip off, then dredge thoroughly in the spiced flour. Press firmly to ensure the coating adheres completely. For extra crispiness, repeat the dredging process after letting the first coat set for 5 minutes—this creates that signature crunch.
Step 3: Heat the Oil and Fry to Golden Perfection
Pour the 4 cups Vegetable Oil into a heavy Dutch oven or deep fryer, ensuring it’s at least 2 inches deep. Heat over medium-high heat to 350°F. Use a deep-fry thermometer for accuracy—oil that’s too cool will create greasy chicken, while oil that’s too hot will burn the coating before the meat cooks through.
Working in batches to avoid crowding, carefully lower the dredged chicken into the hot oil. Fry for 12-15 minutes, turning occasionally, until the coating is deep golden brown and the internal temperature reaches 165°F. The pieces should float freely when done, and the crust will have a satisfying crunch when tested with tongs.
Step 4: Drain and Rest Before Serving
Transfer the fried chicken to a wire rack set over a baking sheet to drain excess oil. This elevation prevents the bottom pieces from becoming soggy. Let the chicken rest for 5-10 minutes before serving—this brief pause allows the juices to redistribute and the coating to set.
The finished product should have a shatteringly crisp exterior with a moist, tender interior. The spice blend will be visible in the crust, and each bite should deliver the perfect balance of seasoning and juiciness that made the original famous. Serve immediately while hot and crispy.
Pro Tips For Making Kentucky Fried Chicken Original Recipe Chicken Breast
- Double-Dredge the Chicken: After the buttermilk soak, dredge the chicken in flour, dip it back in buttermilk, then dredge again—this creates that extra-crispy, shatteringly good crust the original is known for. I learned this the hard way when my first batch came out sad and thin.
- Soak Overnight: Let the chicken breasts sit in buttermilk for at least 12 hours, or even overnight. Sounds like a pain, but it actually changes the outcome—tender, juicy meat every time.
- Skip the Overcrowding: Fry in batches, even if it takes longer. I used to cram the pan and ended up with soggy, steamed chicken instead of that golden, crispy finish.
- Rest Before Frying: Let the dredged chicken rest for 10 minutes before frying—this gives the coating time to set, so it doesn’t flake off in the oil. My grandmother swore by this, and she was right.
Common Mistakes When Making kentucky fried chicken original recipe chicken breast
Skipping the Marinade
Never skip the buttermilk marinade—it’s essential for tenderness and flavor penetration. I’ve tried shortcuts, and the chicken always ends up dry and bland. The acid in buttermilk breaks down proteins, making the meat juicier and more receptive to the spice blend. 💡
Incorrect Oil Temperature
Frying at the wrong temperature ruins everything. Too cool (below 325°F) and your chicken absorbs oil, becoming greasy. Too hot (above 375°F) and the coating burns before the meat cooks. Use a thermometer—I trust my ThermoWorks model for precision.
Overcrowding the Fryer
Adding too many pieces at once lowers the oil temperature dramatically, leading to uneven cooking. Fry in batches with space between pieces. I use a Dutch oven and never exceed 4 pieces at a time in my 5-quart pot.
Skipping the Double Dredge
The signature crunch comes from double-dredging. After the first coat, let it rest for 5 minutes, then dredge again. This creates layers of flavorful crust. I press the flour mixture firmly into the meat to ensure maximum adherence.
Ignoring Resting Time
Serving immediately after frying causes the juices to escape, leaving dry meat. Always rest on a wire rack for 5-10 minutes. This lets the coating crisp up fully while the juices redistribute. The difference is noticeable in every bite.
I learned this the hard way—my first attempts were good, but not great. Now, I never skip this step.
Nutrition Facts
Frequently Asked Questions
How long should I marinate the chicken?
Marinate the chicken in buttermilk for at least 4 hours. For the best results, let it soak overnight. This ensures maximum tenderness and flavor infusion.
Can I use a different type of oil?
Yes, peanut oil is traditional, but vegetable or canola oil work well too. Maintain 350°F for frying to achieve the perfect golden-brown crust. Avoid olive oil—it has a low smoke point.
What if I don’t have buttermilk?
Mix 1 tbsp lemon juice or vinegar into 1 cup whole milk. Let it sit for 5 minutes to thicken. This makes a suitable substitute for buttermilk.
How do I keep the chicken crispy after frying?
Place fried pieces on a wire rack, not paper towels. Keep them in a 375°F oven for up to 15 minutes while finishing batches. This preserves the crunch.

Trained in classic French technique but raised on slow-cooked ribs and spicy rubs, she blends culinary skill with smoke and soul.
- Recipe for Boneless Pork Chops in Cast Iron Skillet: Sear and Baste to Juicy Perfection - October 3, 2026
- Recipe for Boneless Cross Rib Roast: Slow-Roasted Beef with Herb Crust - October 3, 2026
- Hamburgers in Sauce Recipe Crock Pot: Slow-Cooked Savory Delight - October 3, 2026