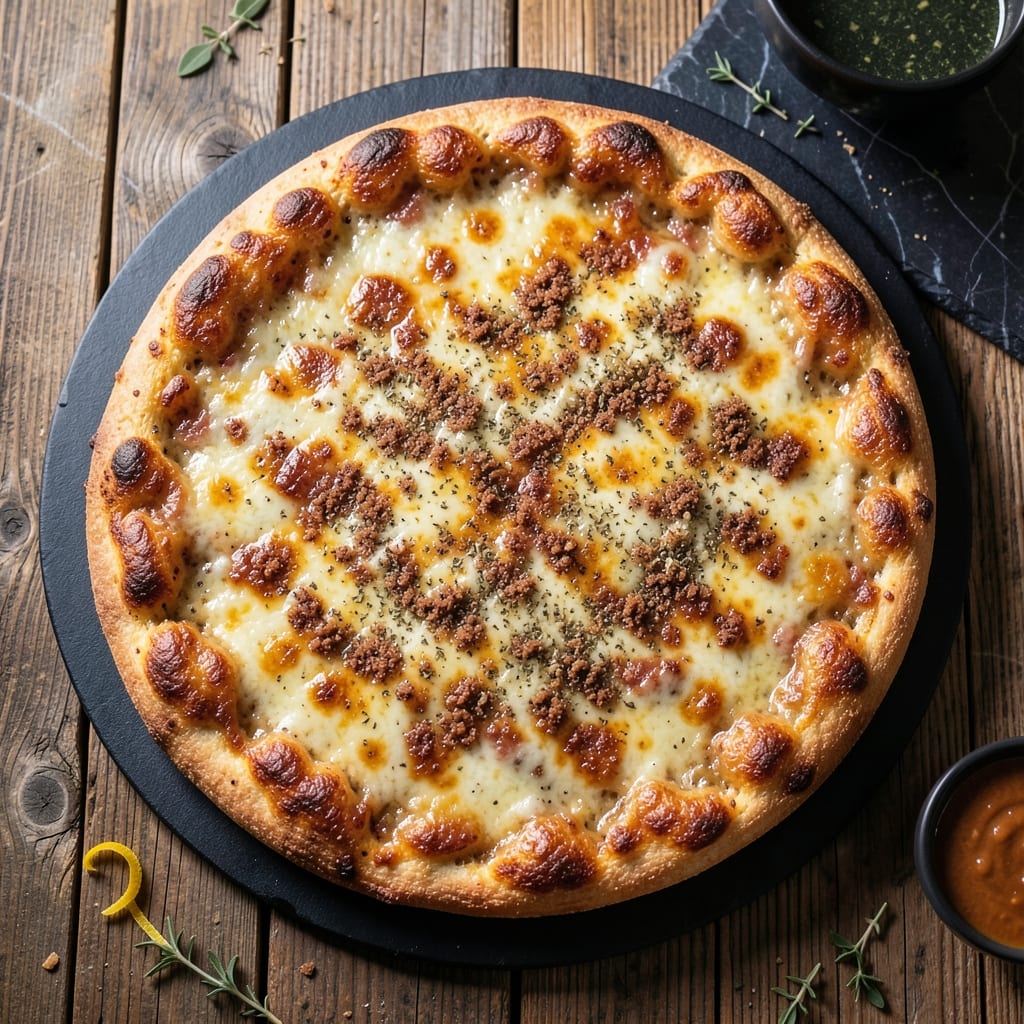
This low-carb pizza crust delivers the crispy texture you crave without the guilt. I developed this method after testing countless keto alternatives that turned out gummy or bland. The pork rind base creates a sturdy foundation that holds up to toppings.
The secret lies in combining finely ground pork rinds with eggs and cheese for a dough-like consistency. Baked at high heat, it transforms into a golden, crispy crust that rivals traditional pizza bases. It’s the perfect solution for satisfying pizza cravings on a keto diet.
What you’ll achieve is a sturdy, flavorful crust that supports all your favorite toppings. The high heat ensures it gets properly crispy, while the cheese binds everything together. It’s the base that finally makes keto pizza feel indulgent, not like a compromise.
Ready in under 30 minutes, this recipe proves you don’t need flour to enjoy pizza night. The crust maintains its structure even when loaded with sauce and cheese, making it a reliable choice for your low-carb lifestyle.
Ingredients for Keto Pizza Crust Recipe with Pork Rinds
Pantry raid plus a quick cheese aisle stop. Nothing exotic, just keto-friendly goodness.
| Ingredient | Amount | Notes |
|---|---|---|
| Pork Rinds 🍖 | 2 cups | Finely ground, plain unsalted |
| Shredded Mozzarella Cheese 🧀 | 2 cups | Low-moisture, part-skim preferred |
| Large Eggs 🥚 | 2 whole | Room temperature for best binding |
| Parmesan Cheese 🧀 | ½ cup | Freshly grated from block |
| Almond Flour 🌰 | ½ cup | Fine, blanched variety |
| Baking Powder 🧂 | 1 tsp | Ensures crispy texture |
| Garlic Powder 🧄 | 1 tsp | Adds savory depth |
| Dried Oregano 🌿 | 1 tsp | Italian seasoning works too |
| Salt 🧂 | ½ tsp | Fine sea salt preferred |
| Black Pepper 🌶️ | ¼ tsp | Freshly ground preferred |
| Olive Oil 🫒 | 1 tbsp | For brushing crust edges |
| Cream Cheese 🧀 | 2 oz | Softened, for elasticity |
[recipe_ingredient_scaler]
The pork rinds are non-negotiable here. Epic or Mac’s brand are my go-tos—look for plain, unsalted, and as finely ground as possible. Most grocery stores carry them in the chip aisle. The mozzarella needs to be low-moisture (the pre-shredded kind works fine, but block cheese grated at home is even better). Almond flour from Bob’s Red Mill is consistently good, but any fine, blanched variety will do the trick.
No pork rinds? Crushed parmesan crisps work in a pinch but won’t be as sturdy. Swap almond flour for coconut flour at one-quarter the amount—it absorbs more liquid. Freshly grated parm can replace the pre-shredded, but avoid the green can stuff (it doesn’t melt well). The eggs are key for binding, but if you’re out, flax eggs at a 1:1 ratio might work in a test batch.
The crust bakes best fresh but holds up well. Store leftovers in an airtight container for up to 3 days. Reheat in a dry skillet or 350°F oven for 5 minutes to restore crispness. Freeze uncooked dough balls for 1 month—thaw before using.
Why You’ll Love This Recipe
- 5-Minute Mix: I just dump crushed pork rinds, melted mozzarella, an egg, and a handful of parmesan in a bowl—no resting, no waiting, press and bake.
- Cheesy Crunch: That first bite where the crispy pork rind edge meets the gooey mozzarella center? Ridiculously good.
- Gluten-Free Crowd Pleaser: I’ve served this to my gluten-free niece, my carb-counting uncle, and my picky nephew—everyone cleans their plate.
- Budget Stretch: A bag of pork rinds costs pennies and makes two crusts, so I stock up and freeze the extras for next week’s pizza night.
Step-by-Step Instructions for Keto Pizza Crust With Pork Rinds
This method delivers a crispy, low-carb base that holds up to all your favorite toppings.
Step 1: Prepare the Dry Mixture
First, I take the 2 cups Pork Rinds and pulse them in a food processor until they become a fine, sand-like texture. This is crucial—large pieces won’t bind properly with the cheese.
In a large bowl, I whisk together the ground pork rinds with the 0.5 cup Almond Flour, 1 tsp Baking Powder, 1 tsp Garlic Powder, 1 tsp Dried Oregano, 0.5 tsp Salt, and 0.25 tsp Black Pepper. The baking powder ensures the crust gets that desirable crispiness, while the herbs add depth to every bite.
Step 2: Melt and Combine Cheeses
In a microwave-safe bowl, I combine the 2 cups Shredded Mozzarella Cheese and 2 oz Cream Cheese. Microwave in 30-second bursts, stirring between each, until fully melted and smooth—this usually takes about 1 minute 30 seconds total.
The cream cheese adds elasticity, which helps the crust hold together without being brittle. Once melted, I stir in the 2 whole Large Eggs one at a time, mixing thoroughly after each addition until the mixture is uniform and slightly sticky.
Step 3: Form the Dough and Shape the Crust
I pour the melted cheese mixture into the bowl with the dry ingredients and stir with a silicone spatula until a cohesive dough forms. If it’s too sticky, I wet my hands slightly to handle it more easily.
Then, I place the dough between two sheets of parchment paper and roll it out to a ¼-inch thickness. For a perfect circle, I use a 12-inch pizza pan as a guide, pressing the dough to the edges. The uniform thickness ensures even cooking and crispiness throughout.
Step 4: Pre-Bake for Structure
I preheat the oven to 400°F and line a baking sheet with parchment paper. Carefully, I transfer the rolled-out dough onto the sheet, then use a fork to dock the surface—this prevents air bubbles from forming during baking.
I bake the crust for 10-12 minutes until the edges start to turn golden brown and the center is set. At this point, it should hold its shape but still be pale in the middle. This pre-bake gives the crust structure before adding toppings.
Step 5: Finish and Crisp the Edges
I remove the crust from the oven and brush the edges lightly with the 1 tbsp Olive Oil. Then, I sprinkle the 0.5 cup Parmesan Cheese evenly over the surface—this adds flavor and helps create a crispy, golden top layer.
Return the crust to the oven for another 5-7 minutes until the cheese is melted and the edges are deeply golden brown and crisp. Let it cool for 5 minutes before adding toppings. The crust should be sturdy enough to hold up to sauce, cheese, and any extras without getting soggy.
Pro Tips For Making Keto Pizza Crust Recipe With Pork Rinds
- Pre-Bake the Crust: Pop the crust in the oven for 8-10 minutes at 400°F before adding toppings—I learned this the hard way after ending up with a soggy bottom more times than I care to admit.
- Crush Pork Rinds Finely: Pulse them in a food processor until they’re almost powdered, not just crumbled. Sounds tedious, but it gives the crust a uniform texture that actually holds together.
- Skip the Extra Egg: More eggs make the crust gummy, not crispier. Stick to 1 large egg per cup of mozzarella—any more and you’ll be disappointed by the chewy result.
- Press Thin and Even: Use a piece of parchment to press the dough out to ¼-inch thickness. This isn’t the prettiest method, but it’s the only way to guarantee an even bake without dense spots.
Pro Cooking Tips for Great keto pizza crust recipe with pork rinds
Pulse Pork Rinds Properly
Don’t rush the food processor—pulse the 2 cups pork rinds in 5-second bursts until they resemble fine sand. I learned this the hard way when my first attempt had chunky bits that made the crust crumble. A fine grind ensures proper binding with the cheese. 💡
Melt Cheese Gradually
Microwave the mozzarella and cream cheese in 30-second intervals, stirring between each. This prevents separation and creates a smooth, elastic base. I use room temperature eggs to avoid shocking the melted cheese, which could cause clumping.
Roll Evenly Thin
Use parchment paper to roll the dough to a consistent ¼-inch thickness. A 12-inch pizza pan as a guide helps achieve a perfect circle. Press firmly to the edges—this prevents thin spots that burn or thick areas that stay doughy.
Dock the Surface
Before baking, use a fork to poke holes across the crust. This “docking” releases steam, preventing air bubbles that can create uneven surfaces. I do this right before transferring to the oven to avoid premature drying.
Pre-Bake for Structure
Bake at 400°F for 10-12 minutes until edges just start to brown. This pre-bake sets the crust so it holds toppings without getting soggy. I check at 10 minutes—it should hold its shape but still look pale in the center.
Crisp the Edges
Brush edges with olive oil and sprinkle Parmesan before the final bake. Return to oven for 5-7 minutes until deeply golden. The oil promotes browning while the Parmesan adds a salty, crispy finish. 🔥
Nutrition Facts
Frequently Asked Questions
Can I substitute almond flour for another type?
Yes, you can use coconut flour instead, but reduce the amount to 1/8 cup since it absorbs more liquid. Keep in mind the texture may be slightly denser.
Why does my crust turn out soggy?
Sogginess usually happens if you skip pre-baking the crust or overload it with wet toppings. Bake for 10-12 minutes first, then add toppings sparingly.
How do I store leftovers?
Keep in an airtight container for up to 3 days. Reheat in a 350°F oven for 5 minutes to restore crispness. Avoid microwaving as it makes the crust chewy.
Can I make this without a food processor?
Yes! Place pork rinds in a sealed bag and crush with a rolling pin until finely ground. It may take more effort, but it works just as well.

Trained in classic French technique but raised on slow-cooked ribs and spicy rubs, she blends culinary skill with smoke and soul.
- Recipe for Boneless Pork Chops in Cast Iron Skillet: Sear and Baste to Juicy Perfection - October 3, 2026
- Recipe for Boneless Cross Rib Roast: Slow-Roasted Beef with Herb Crust - October 3, 2026
- Hamburgers in Sauce Recipe Crock Pot: Slow-Cooked Savory Delight - October 3, 2026