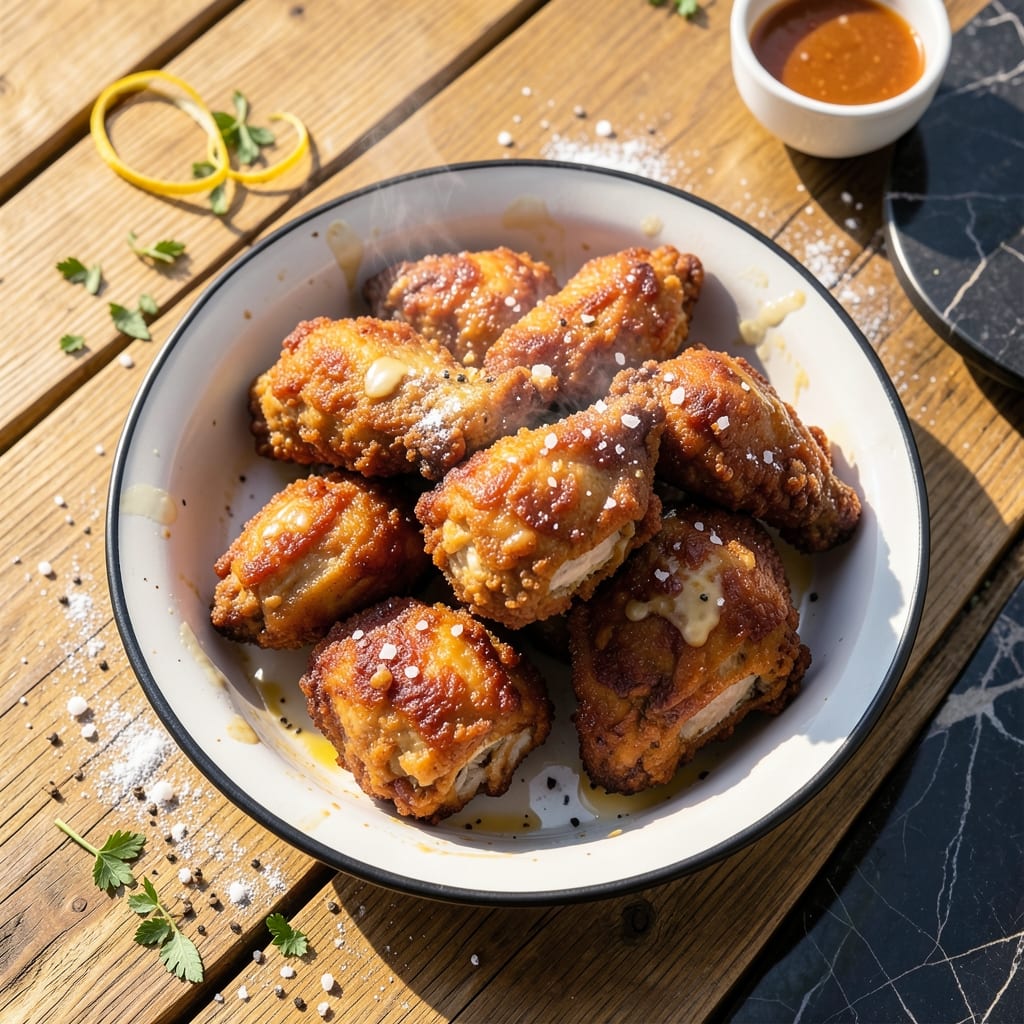
I’ve spent years perfecting this method to replicate that signature crispy texture everyone craves. The secret lies in the double-dredging technique and a precise frying process.
This recipe stays true to the iconic spice blend while delivering restaurant-quality results at home. The coating clings perfectly, creating a golden, shatteringly crispy exterior with every bite.
Each piece emerges from the oil with that familiar crunch and juicy interior. The 11 herbs and spices create a balanced, savory depth that’s instantly recognizable.
The key is maintaining oil temperature and frying in batches to ensure even cooking. Serve hot for the best experience.
Ingredients for Kfc Chicken Recipe Secret
Eleven herbs and spices transform simple chicken into that iconic crispy masterpiece everyone recognizes.
| Ingredient | Amount | Notes |
|---|---|---|
| Chicken Thighs 🍗 | 3 lb | Bone-in, skin-on preferred |
| Buttermilk 🥛 | 2 cups | Full-fat for best marinade |
| All-Purpose Flour 🌾 | 2 cups | For initial dredging |
| Cornstarch 🌽 | ½ cup | For extra crispiness |
| Salt 🧂 | 1 tbsp | Diamond Crystal kosher |
| Black Pepper 🌶️ | 1 tsp | Freshly ground preferred |
| Paprika 🌶️ | 1 tbsp | Sweet or smoked variety |
| Garlic Powder 🧄 | 1 tbsp | Not garlic salt |
| Onion Powder 🧅 | 1 tbsp | Fresh ground preferred |
| Dried Thyme 🍃 | 1 tsp | Rubbed between fingers |
| Dried Oregano 🍃 | 1 tsp | Mediterranean variety |
| Celery Salt 🧂 | 1 tsp | Key for authentic flavor |
| Ground Ginger 🌿 | ½ tsp | Freshly ground for potency |
| White Pepper 🌶️ | ½ tsp | Mild heat for balance |
| Vegetable Oil 🫒 | 4 cups | For deep frying |
[recipe_ingredient_scaler]
The chicken quality is paramount. Bone-in, skin-on thighs yield the juiciest results with that signature crunch. Source from Whole Foods or your local butcher for the best texture. The buttermilk should be full-fat—low-fat versions lack the richness needed to tenderize properly. For the flour, King Arthur all-purpose is my go-to for consistent results. Don’t skip the cornstarch; it’s the secret to that ultra-crispy coating.
No buttermilk? Whole milk plus 1 tbsp vinegar per cup works in a pinch. Swap celery salt for regular salt plus celery seed if needed. The paprika can be sweet or smoked—both add depth. Freshly ground spices always taste better, but pre-ground from Penzeys is a solid backup. The vegetable oil can be swapped for peanut oil (higher smoke point), but avoid olive oil—it burns at frying temps.
Marinate the chicken overnight for maximum flavor. The dry mix keeps in an airtight container for 1 month. Fry in batches to avoid crowding—this maintains oil temperature and ensures even cooking. Leftovers stay crispy for 2 days if reheated in the oven, not the microwave.
Why You’ll Love This Recipe
- One Bowl Mix: So simple—I just toss the chicken in buttermilk, then coat it in the flour-cornstarch blend. No fancy steps.
- Crispy & Juicy: That buttermilk soak keeps the thighs tender while the cornstarch gives it that signature crunch.
- Crowd Pleaser: Honestly, it’s my go-to for game nights, picnics, or even a lazy Sunday dinner.
- Budget Winner: Chicken thighs are cheap, and this recipe stretches to feed a hungry family without breaking the bank.
Step-by-Step Instructions for KFC-Style Fried Chicken
Master this method and you’ll achieve that signature crispy coating with every bite.
Step 1: Marinate the Chicken Thighs in Buttermilk
Place the 3 lb Chicken Thighs in a large bowl and pour over the 2 cups Buttermilk. Ensure each piece is fully submerged, as this acidic marinade tenderizes the meat while infusing flavor. Cover and refrigerate for at least 4 hours, or preferably overnight.
The buttermilk not only seasons the chicken but also helps the coating adhere better during frying. You’ll notice the meat plumps slightly as it absorbs the liquid, which contributes to juiciness after cooking. Don’t skip this step—it’s the foundation of the texture contrast.
Step 2: Prepare the Seasoned Flour and Cornstarch Dredge
In a large, shallow dish, whisk together the 2 cups All-Purpose Flour and 0.5 cup Cornstarch. Add the 1 tbsp Salt, 1 tsp Black Pepper, 1 tbsp Paprika, 1 tbsp Garlic Powder, 1 tbsp Onion Powder, 1 tsp Dried Thyme, 1 tsp Dried Oregano, 1 tsp Celery Salt, 0.5 tsp Ground Ginger, and 0.5 tsp White Pepper.
Mix thoroughly until all spices are evenly distributed and the mixture takes on a uniform, speckled appearance. The cornstarch is key here—it creates micro-crispiness that all-purpose flour alone can’t achieve. Rub the dried herbs between your fingers as you add them to release their essential oils.
Step 3: Double-Dredge for Maximum Crispiness
Remove each piece of chicken from the buttermilk, allowing excess to drip off for 10 seconds. Dredge in the seasoned flour mixture, pressing firmly to ensure full coverage. Shake off excess, then dip back into the buttermilk, and dredge in the flour mixture a second time.
This double-dredging creates layers that puff and separate during frying, resulting in that shatteringly crisp texture. Place the coated pieces on a wire rack set over a baking sheet. Let them rest for 15 minutes to allow the coating to set—this prevents it from sliding off during frying.
Step 4: Deep-Fry to Golden Perfection
In a heavy-bottomed pot or Dutch oven, heat the 4 cups Vegetable Oil to 350°F over medium-high heat. Use a deep-fry thermometer for accuracy, as temperature control is critical. Carefully lower 3-4 pieces of chicken into the oil, ensuring they’re not touching.
Fry for 12-15 minutes, turning occasionally, until the coating is deep golden brown and the internal temperature reaches 165°F. The oil should bubble steadily but not violently around the chicken. Work in batches to avoid overcrowding, which would lower the oil temperature and result in greasy chicken.
Transfer the fried chicken to a wire rack or paper towels to drain. The coating should be audibly crisp when tapped and separate slightly from the meat where scored. Let rest for 5 minutes before serving to allow the juices to settle.
Pro Tips For Making Kfc Chicken Recipe Secret
- Double Dredge: After the buttermilk soak, dredge the thighs in the flour-cornstarch mix, dip back in buttermilk, then dredge again—I learned this the hard way, but it’s what gives that extra-crispy KFC-style crust.
- Rest the Chicken: Let the dredged thighs sit for 10 minutes before frying; this lets the coating adhere better and prevents it from sliding off in the oil.
- Hot Oil Test: Drop a pinch of flour into the oil first—if it sizzles immediately, it’s ready; if it sinks, wait another minute or two.
- Skip the Crowding: Fry in small batches even if it takes longer; overcrowding the pan lowers the oil temp and gives you soggy, greasy chicken instead of that signature crunch.
Common Mistakes When Making Great kfc chicken recipe secret
Skipping the Marinade
Never rush the buttermilk soak—I’ve found that 4 hours minimum is essential for tenderizing. Skipping this step results in dry, tough meat that no amount of crispy coating can save. The acidity breaks down proteins, creating that signature juiciness. 💡
Inconsistent Oil Temperature
Frying at the wrong temp is the fastest way to ruin your batch. Too low (325°F or below) and you’ll get greasy, soggy chicken. Too high (375°F+) and the outside burns before the inside cooks. A deep-fry thermometer is non-negotiable for precision.
Overcrowding the Pot
Adding too many pieces at once drops the oil temperature dramatically. I fry in batches of 3-4 pieces maximum, leaving space between them. This ensures even cooking and that perfect golden-brown finish without steaming the coating.
Single Dredging
The double-dredge isn’t optional—it’s what creates those crave-worthy layers. A single coat often falls off during frying. Press firmly into the flour mixture during both dredges to build up that thick, crispy shell we all love.
Ignoring the Rest
Let the coated chicken rest for 15 minutes before frying. This allows the flour to hydrate and adhere properly. Skipping this causes the coating to separate and float away in the oil, leaving you with bald, sad pieces.
Wrong Oil Choice
Vegetable oil’s neutral flavor and 400°F smoke point make it ideal. I avoid olive oil—it burns and imparts off-flavors. Peanut oil works too, but its stronger taste can overpower the signature spice blend. Stick to what the pros use.
Nutrition Facts
Frequently Asked Questions
Can I use chicken breasts instead of thighs?
Thighs work best due to their fat content and juiciness. Breasts can dry out but work if brined first and cooked to 165°F precisely.
What’s the best oil for frying?
Vegetable or peanut oil are ideal for their 400°F smoke point. Avoid olive oil—it burns and adds unwanted flavor.
Can I bake instead of fry?
Yes, bake at 400°F for 30-35 minutes, flipping halfway. The texture won’t be as crispy but still delicious.
How long does the coated chicken keep?
Store in an airtight container for up to 2 days. Reheat in the oven to maintain crispiness.

Trained in classic French technique but raised on slow-cooked ribs and spicy rubs, she blends culinary skill with smoke and soul.
- Recipe for Boneless Pork Chops in Cast Iron Skillet: Sear and Baste to Juicy Perfection - October 3, 2026
- Recipe for Boneless Cross Rib Roast: Slow-Roasted Beef with Herb Crust - October 3, 2026
- Hamburgers in Sauce Recipe Crock Pot: Slow-Cooked Savory Delight - October 3, 2026