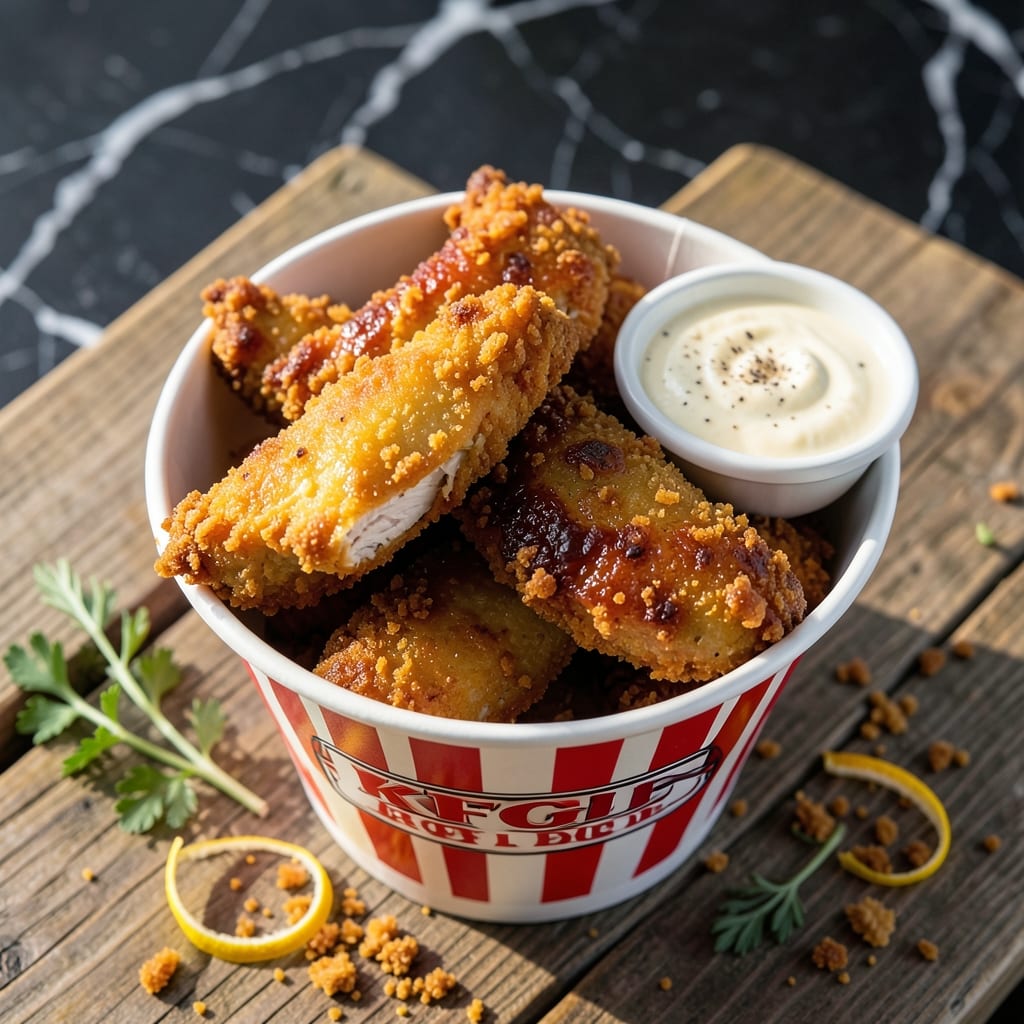
I’ve spent years perfecting this homemade version to match that iconic crispy texture and tender bite. The secret lies in a double-dredge method and precise frying temperature.
This copycat recipe stays true to the original with a blend of 11 herbs and spices, creating that familiar, well-balanced flavor. Each bite delivers the same satisfaction as the restaurant version.
You’ll achieve golden, shatteringly crisp tenders with juicy, flavorful meat inside. The technique ensures even cooking and maximum crunch without drying out the chicken.
Serve hot with your favorite dipping sauces for a meal that tastes just like takeout—only better.
Ingredients for Kfc Original Recipe Chicken Tenders
Eleven herbs and spices, a double-dredge, and the crispest tenders you’ve ever made.
| Ingredient | Amount | Notes |
|---|---|---|
| Chicken Tenders 🍗 | 1 ½ lb | Boneless, skinless, pounded evenly |
| Buttermilk 🥛 | 2 cups | Full-fat for best texture |
| All-Purpose Flour 🌾 | 2 cups | Divided for double-dredge |
| Cornstarch 🌽 | ½ cup | For extra crispiness |
| Salt 🧂 | 1 tbsp | Diamond Crystal kosher preferred |
| Black Pepper 🌶️ | 1 tsp | Freshly ground |
| White Pepper 🌶️ | 1 tsp | For authentic flavor |
| Garlic Powder 🧄 | 1 tsp | Not garlic salt |
| Onion Powder 🧅 | 1 tsp | Fine grind preferred |
| Dried Thyme 🌿 | 1 tsp | Rubbed between fingers |
| Dried Basil 🍃 | 1 tsp | Crushed slightly |
| Dried Oregano 🍃 | 1 tsp | Mediterranean variety |
| Celery Salt 🌿 | 1 tsp | Essential for KFC flavor |
| Ground Ginger 🌿 | ½ tsp | Freshly ground preferred |
| Paprika 🌶️ | 1 tsp | Sweet or smoked |
| Vegetable Oil 🫒 | 4 cups | For deep frying |
[recipe_ingredient_scaler]
The chicken is everything here. Boneless, skinless tenders (not breasts—too thick) give you that perfect bite. Most supermarkets sell them pre-cut, but you can trim whole breasts yourself. Look for pieces that are uniform in size so they cook evenly. The buttermilk? Full-fat only—low-fat won’t cling right to the flour coating.
No buttermilk? Whole milk plus 1 tbsp lemon juice works in a pinch. Missing celery salt? Equal parts salt and celery seed (pulverized in a spice grinder). The cornstarch is non-negotiable for that shatter—arrowroot powder is your backup. For the oil, peanut oil gives the cleanest fry, but vegetable oil is fine if that’s what you’ve got.
The spice blend keeps in an airtight container for 6 months. Buttermilk-marinated chicken can sit in the fridge for up to 24 hours (flavor gets better). Fry in batches—don’t crowd the pot. Leftovers? Reheat in a 400°F oven for 10 minutes to revive the crunch.
Why You’ll Love This Recipe
- One Pan Magic: I mix the buttermilk and flour in one bowl, dip the tenders, and fry—no fancy steps, just straightforward cooking.
- That KFC Crunch: The cornstarch and buttermilk combo gives it that signature crispy coating with juicy chicken underneath.
- Weeknight Hero: Between us, I’ve served this for dinner, packed it for lunch, and even sneaked a few cold leftovers from the fridge.
- Budget Stretcher: A bag of tenders and pantry staples feed my family of four for less than takeout—honestly, it’s a no-brainer.
Step-by-Step Instructions for KFC-Style Chicken Tenders
Here’s the method I’ve perfected to get that signature crunch and flavor at home.
Step 1: Brine the Chicken in Buttermilk
Place the 1.5 lb chicken tenders in a large bowl and pour the 2 cups buttermilk over them. I always use full-fat buttermilk for the best texture—it makes a noticeable difference. Stir to ensure all pieces are coated, then cover and refrigerate for at least 4 hours (overnight is even better).
This buttermilk soak does two critical things: it tenderizes the meat by breaking down proteins, and the acidity helps the coating adhere better. You’ll notice the chicken plumps slightly as it absorbs the liquid. Don’t skip this step—it’s what makes these tenders so juicy inside.
Step 2: Prepare the Seasoned Flour Dredge
In a large shallow dish, combine the 2 cups all-purpose flour, 0.5 cup cornstarch, 1 tbsp salt, 1 tsp black pepper, 1 tsp white pepper, 1 tsp garlic powder, 1 tsp onion powder, 1 tsp dried thyme, 1 tsp dried basil, 1 tsp dried oregano, 1 tsp celery salt, 0.5 tsp ground ginger, and 1 tsp paprika.
Whisk thoroughly until all the spices are evenly distributed. I rub the dried herbs between my fingers as I add them to release their oils and maximize flavor. The cornstarch is the secret to that extra-crispy coating that stays crunchy even after cooling.
Step 3: Double-Dredge and Rest the Chicken
Remove the chicken from the buttermilk, letting the excess drip off. Dredge each piece in the seasoned flour mixture, pressing firmly to adhere. Then dip back into the buttermilk and dredge in the flour a second time. I use one hand for wet ingredients and one for dry to keep things clean.
Place the coated tenders on a wire rack set over a baking sheet. Let them rest for 15-20 minutes at room temperature. This resting period allows the coating to hydrate and cling better during frying. You’ll see the flour mixture transform from dry to slightly tacky—that’s how you know it’s ready.
Step 4: Deep-Fry to Golden Perfection
Heat the 4 cups vegetable oil in a large, heavy pot to 350°F. Use a deep-fry thermometer for accuracy—this temperature is crucial. Too low and the tenders will absorb oil; too high and they’ll burn before cooking through.
Working in batches to avoid crowding, carefully lower the tenders into the hot oil. Fry for 6-8 minutes until they’re deep golden brown and the internal temperature reaches 165°F. Turn them occasionally for even browning. The coating should be crisp and audibly crunchy when done.
Drain on a wire rack or paper towels. The tenders will stay hot and crisp for several minutes, but they’re best served immediately. That first bite through the shatteringly crisp coating to the tender meat inside is what makes this recipe worth the effort.
Pro Tips For Making Kfc Original Recipe Chicken Tenders
- Double Dredge: Dip the tenders in buttermilk, then flour, then buttermilk again, then flour again—I learned this the hard way after my first batch had barely any crust.
- Rest the Coated Tenders: Let them sit for 10 minutes after dredging so the coating sticks better, or you’ll lose half of it in the oil like I did my first three tries.
- Hot Oil Only: Get the oil to 350°F before adding the tenders, and keep it steady, or they’ll turn out greasy instead of crispy.
- Add Cornstarch: Mix a handful of cornstarch into the flour for extra crunch—sounds weird, but it works and makes the texture closer to the real deal.
Storing and Reheating This kfc original recipe chicken tenders
Refrigerator Storage
Let your tenders cool completely before storing—about 30 minutes. Place them in a single layer on a paper towel-lined airtight container to maintain crispness. They’ll keep for up to 3 days in the fridge. I use Glasslock containers from New Seasons Market. ❄️
Freezer Storage
For longer storage, freeze tenders in a single layer on a baking sheet first. Once frozen, transfer to a freezer bag with parchment between layers. They’ll stay fresh for up to 2 months. Squeeze out all air to prevent freezer burn.
Oven Reheating
Preheat your oven to 400°F and place tenders on a wire rack over a baking sheet. Heat for 10-12 minutes until the internal temperature reaches 165°F. This method restores crispiness better than any other. 🔥
Air Fryer Method
Arrange tenders in a single layer in your air fryer basket. Reheat at 375°F for 4-5 minutes, shaking halfway. Check that they’re heated through and the coating is crisp. My Ninja Foodi works perfectly for this.
Microwave Option
Place tenders on a paper towel-lined plate and cover with another damp paper towel. Microwave on 50% power for 1-2 minutes, checking frequently. This is the quickest method but won’t restore full crispiness.
Nutrition Facts
Frequently Asked Questions
What makes the coating so crispy?
The double-dredge in seasoned flour plus cornstarch creates layers that fry up extra crunchy. The 15-20 minute rest before frying helps the coating adhere better for maximum crispness.
Can I bake instead of frying?
Yes, bake at 400°F for 20-25 minutes on a wire rack. The texture won’t be identical to frying, but it’s a good alternative. Spray with oil for better browning.
Why is buttermilk important?
Buttermilk tenderizes the chicken and helps the coating stick. The acidity breaks down proteins for juicier meat. Use full-fat for best results.
How do I know when they’re done?
Check for a deep golden brown color and internal temperature of 165°F. The coating should be crisp and audibly crunchy when done.

Trained in classic French technique but raised on slow-cooked ribs and spicy rubs, she blends culinary skill with smoke and soul.
- Recipe for Boneless Pork Chops in Cast Iron Skillet: Sear and Baste to Juicy Perfection - October 3, 2026
- Recipe for Boneless Cross Rib Roast: Slow-Roasted Beef with Herb Crust - October 3, 2026
- Hamburgers in Sauce Recipe Crock Pot: Slow-Cooked Savory Delight - October 3, 2026