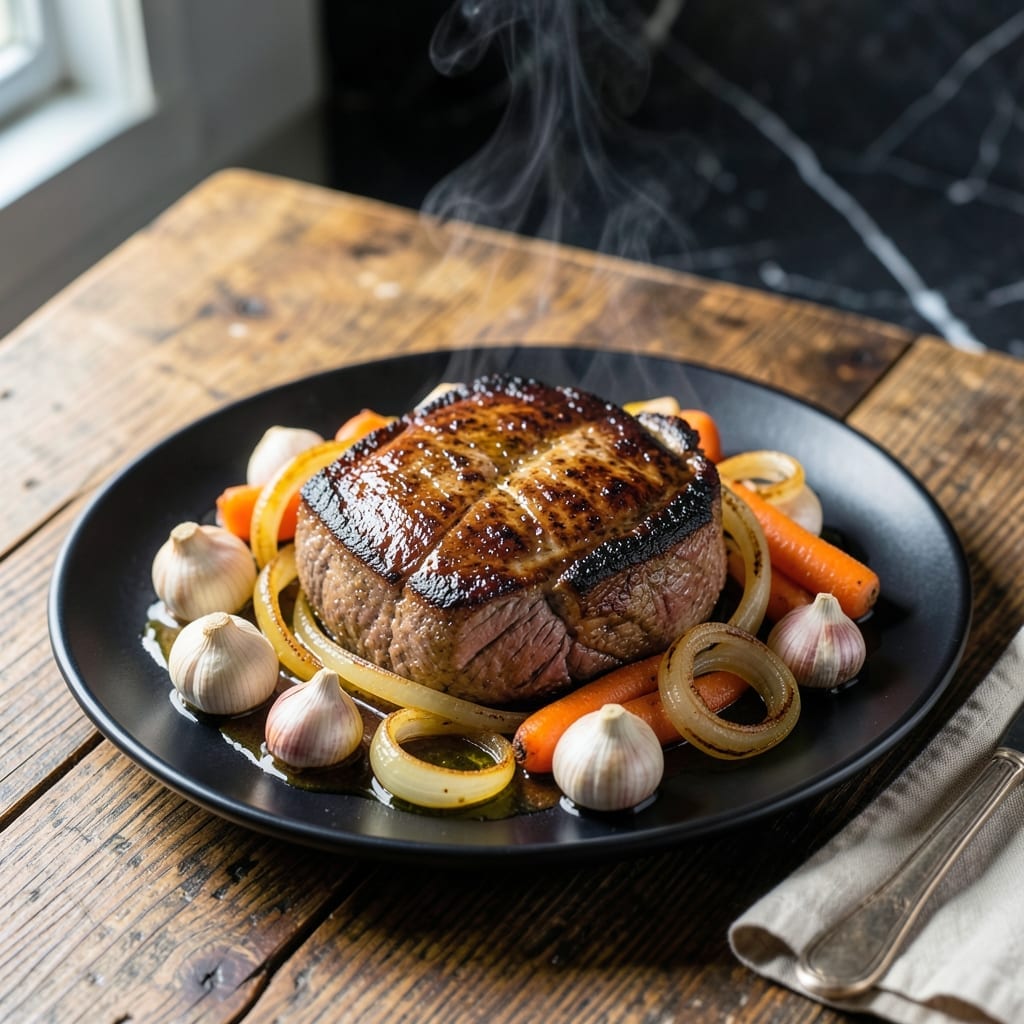
This pot roast transforms tough cuts into fall-apart tender perfection using the Ninja Foodi’s pressure and air crisp functions.
I combine traditional slow-cooking techniques with modern multi-cooker efficiency to deliver restaurant-quality results in a fraction of the time.
Ingredients for Ninja Foodi Grill Pot Roast
Pantry staples meet butcher shop quality. Everything you need for that slow-cooked magic.
| Ingredient | Amount | Notes |
|---|---|---|
| Chuck Roast 🥩 | 3 lb | Well-marbled, trimmed of excess fat |
| Kosher Salt 🧂 | 2 tsp | Diamond Crystal preferred |
| Black Pepper 🌶️ | 1 tsp | Freshly ground for best flavor |
| Garlic Cloves 🧄 | 6 cloves | Peeled, smashed for robust flavor |
| Yellow Onion 🧅 | 1 whole | Large, cut into thick slices |
| Carrots 🥕 | 4 whole | Large, peeled and cut into chunks |
| Russet Potatoes 🥔 | 1 ½ lb | Peeled, cut into large pieces |
| Beef Broth 🥣 | 2 cups | Low-sodium preferred for control |
| Worcestershire Sauce 🍶 | 2 tbsp | Lea & Perrins recommended |
| Tomato Paste 🍅 | 2 tbsp | Double-concentrated for depth |
| Dried Thyme 🌿 | 1 tsp | Rubbed between fingers to release oils |
| Dried Rosemary 🌿 | 1 tsp | Crushed for maximum aroma |
| Bay Leaves 🍃 | 2 pieces | Added whole, removed before serving |
| Olive Oil 🫒 | 2 tbsp | Extra-virgin for searing |
[recipe_ingredient_scaler]
The chuck roast is non-negotiable here. Costco has great marbling, but your local butcher can cut a custom piece (ask for the chuck eye). Look for vibrant red meat with white fat streaks—this is what melts into that unctuous texture. I always buy a little extra since leftovers make killer sandwiches. The beef broth? Better Than Bouillon paste dissolved in hot water tastes homemade.
No chuck? Brisket or short ribs work but need longer cook times. Out of Worcestershire? Soy sauce plus a splash of vinegar does the trick (use tamari for gluten-free). Fresh herbs? Use one-third the amount of dried—just crush them in your palm. The tomato paste comes in those Trader Joe’s squeeze tubes, so no waste. And yes, you can skip the searing, but don’t (worth the extra 10 minutes).
This keeps 4-5 days in the fridge and actually improves overnight. Freeze portions for up to 3 months in airtight containers. Pro tip: shred the leftovers and crisp them in the air fryer for next-level tacos.
Why You’ll Love This Recipe
- I’ll be real: this makes enough for Sunday dinner and Monday’s sandwiches.
- One Pot Magic: I toss the chuck roast, garlic, and onion in the Ninja Foodi, press a button, and walk away—no babysitting required.
- Feeds Everyone: I’ll be real: this makes enough for Sunday dinner and Monday’s sandwiches.
- Budget Hero: A cheap chuck roast becomes a showstopper—my wallet and my family both thank me.
Step-by-Step Instructions for Ninja Foodi Grill Pot Roast
Here’s the method that turns tough chuck into fall-apart tender perfection with multi-function magic.
Step 1: Sear and Season the Chuck Roast
Pat the 3 lb chuck roast dry with paper towels—this is crucial for a good sear. Season generously with the 2 tsp kosher salt and 1 tsp black pepper, pressing it into all sides so it adheres well. The salt will draw out moisture, creating a perfect surface for browning.
Set your Ninja Foodi to the “Sear/Sauté” function on high. Add the 2 tbsp olive oil and let it heat until it shimmers. Place the chuck roast in the pot and sear for 4-5 minutes per side until deeply browned. You want a rich, dark crust—this develops the Maillard reaction flavors that make pot roast irresistible.
Step 2: Build the Flavor Base with Aromatics
Remove the chuck roast and set it aside. In the same pot, add the 1 whole yellow onion, 4 whole carrots, and 6 cloves garlic cloves. Sauté for 3-4 minutes until the onions soften and the garlic releases its aroma. This step is all about building layers of flavor.
Stir in the 2 tbsp tomato paste and cook for 1 minute until it darkens slightly—this caramelizes the sugars and deepens the umami. Add the 2 tbsp Worcestershire sauce, 1 tsp dried thyme, 1 tsp dried rosemary, and 2 pieces bay leaves, then pour in the 2 cups beef broth. The liquid should come about halfway up the roast when you return it to the pot.
Step 3: Pressure Cook for Tender Perfection
Return the chuck roast to the pot, along with the 1.5 lb russet potatoes. Secure the pressure lid and set the Ninja Foodi to “Pressure” on high for 60 minutes. The pressure cooking will break down the tough connective tissues in the chuck roast, transforming it into melt-in-your-mouth tenderness.
Let the pressure release naturally for 15 minutes, then quick-release any remaining pressure. This natural release ensures the meat stays juicy. The potatoes should be fork-tender, and the chuck roast should easily pull apart with a fork.
Step 4: Air Crisp for a Golden Finish
Remove the chuck roast and potatoes, and set them aside. Switch the Ninja Foodi to the “Air Crisp” function at 400°F for 10 minutes. This step is the secret to achieving that golden-brown finish on the vegetables and reducing the sauce to a rich, flavorful consistency.
While the sauce reduces, shred the chuck roast with two forks or chop it into large chunks. Once the sauce has thickened, return the chuck roast and potatoes to the pot, coating them in the sauce. Remove the 2 pieces bay leaves before serving.
Pro Tips For Making Ninja Foodi Grill Pot Roast
- Sear the Chuck First: Use the grill function on high for 3-4 minutes per side to get a deep crust on the chuck roast before pressure cooking. I learned this the hard way—skipping this step leaves the meat bland and gray.
- Slice Onions Thick: Cut the yellow onion into ½-inch slices instead of dicing, so they don’t disappear into mush during the long cook. Sounds weird, but it works: they soften just enough to add texture.
- Don’t Overfill the Pot: Resist the urge to add extra veggies or liquid—fill the Ninja Foodi no more than halfway to avoid a burnt warning and uneven cooking. After burning three batches, I finally figured out the max line exists for a reason.
- Use Whole Garlic Cloves: Toss in 4-5 unpeeled garlic cloves with the roast, then fish them out before serving. My grandmother swore by this, and she was right: they infuse the broth without falling apart.
Serving Suggestions for ninja foodi grill pot roast
Family-Style Plating
Transfer the shredded chuck roast to a large serving platter and arrange the potatoes and carrots around it. Spoon the rich sauce generously over everything. I love using my stoneware serving dish—it keeps the meal warm at the table. This presentation invites everyone to dig in together. 💛
Elegant Individual Servings
For a more refined look, mound ½ cup mashed potatoes in the center of each plate. Top with a portion of the chuck roast and surround with carrots. Drizzle the sauce artfully around the plate and garnish with fresh thyme sprigs from my foraging spots.
Sandwich Bar Setup
Pile the pot roast on a cutting board with the vegetables and sauce on the side. Set out toasted buns, pickles, and cheese slices. Guests can build their own sandwiches—I always include provolone from the local butcher. This is perfect for casual gatherings. ✨
Vegetable Focus
Highlight the carrots and potatoes by arranging them in a circular pattern on the platter. Place the meat in the center and drizzle with sauce. This draws attention to the perfectly cooked vegetables and makes the dish feel more balanced.
Garnish Like a Pro
Sprinkle with chopped fresh parsley for a pop of color. A few cracks of fresh black pepper and a pinch of flaky sea salt elevate the presentation. I often add a few edible flowers from my foraging trips for a special touch.
Nutrition Facts
Frequently Asked Questions
Can I use a different cut of beef?
Yes, but chuck is ideal. Brisket or short ribs work but need 20-30 extra minutes of pressure cooking. Avoid lean cuts like sirloin—they won’t get as tender.
Do I have to sear the meat first?
Technically no, but it’s worth the 10 minutes. Searing creates a flavorful crust and deepens the overall taste. Skip it only if you’re in a rush.
Can I add other vegetables?
Try parsnips, mushrooms, or celery. Just cut them to similar sizes so they cook evenly in the 60-minute pressure cycle.
What if my sauce is too thin?
Simmer it uncovered using the “Sauté” function for 5-10 minutes. Or mix 1 tbsp cornstarch with water and stir in during the air crisp step.

Trained in classic French technique but raised on slow-cooked ribs and spicy rubs, she blends culinary skill with smoke and soul.
- Recipe for Boneless Pork Chops in Cast Iron Skillet: Sear and Baste to Juicy Perfection - October 3, 2026
- Recipe for Boneless Cross Rib Roast: Slow-Roasted Beef with Herb Crust - October 3, 2026
- Hamburgers in Sauce Recipe Crock Pot: Slow-Cooked Savory Delight - October 3, 2026