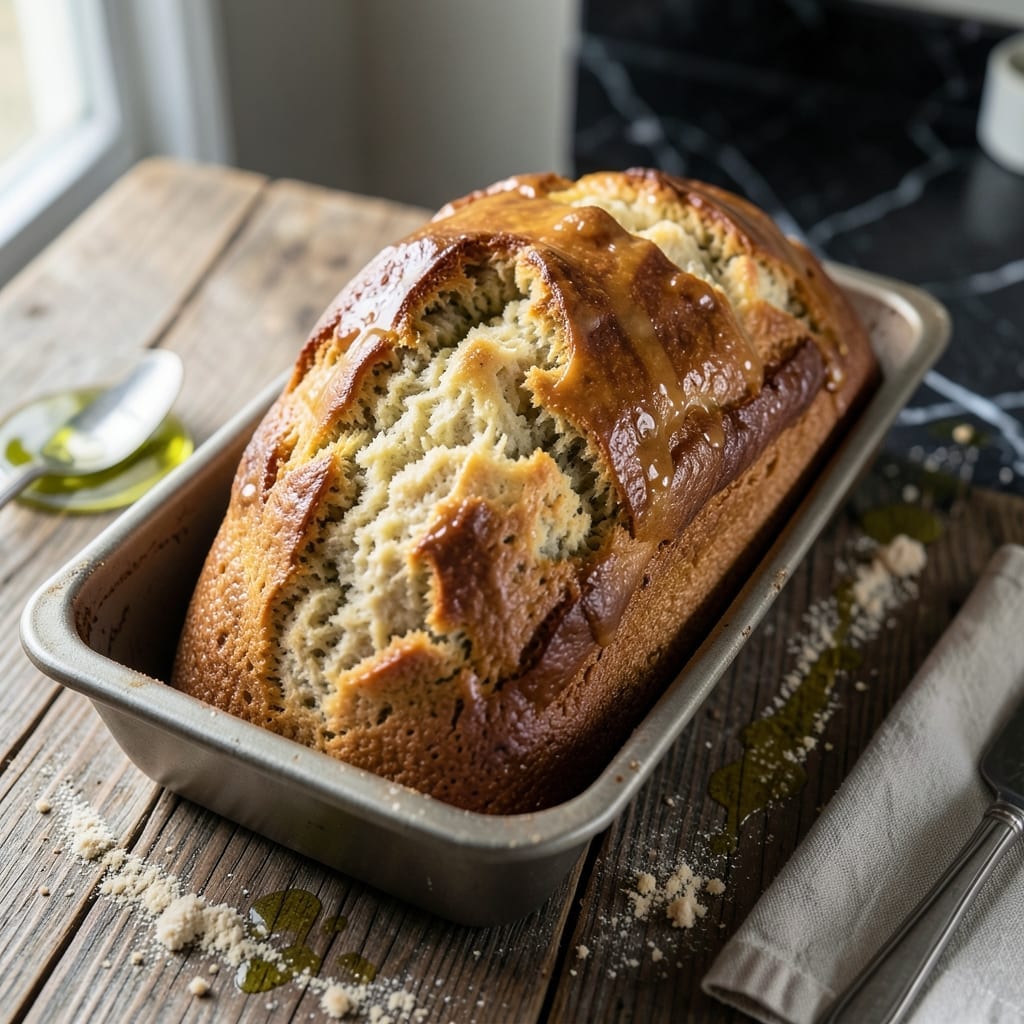
This bread machine recipe delivers a foolproof gluten-free loaf with artisan quality right in your kitchen. I developed this after years of testing gluten-free formulations that often resulted in dense or crumbly loaves.
The King Arthur blend combined with proper yeast activation creates a soft, airy texture that rises beautifully. This method uses the machine’s gluten-free setting for consistent results every time.
You’ll achieve a golden crust and tender crumb without the guesswork of hand-kneading. The yeast works its magic while the machine handles the mixing and baking.
Perfect for sandwiches or toast, this loaf stays fresh longer than most gluten-free breads. Here’s how to make it.
Ingredients for King Arthur Gluten Free Bread Machine Recipe with Yeast
Just 10 ingredients transform into a perfect artisan gluten-free loaf every time.
| Ingredient | Amount | Notes |
|---|---|---|
| King Arthur Gluten-Free Measure for Measure Flour 🌾 | 3 cups | Spoon and level, do not pack |
| Instant Yeast 🍞 | 2 ¼ tsp | Or bread machine yeast |
| Granulated Sugar 🍚 | 2 tbsp | Feeds the yeast for rise |
| Salt 🧂 | 1 ½ tsp | Fine sea salt preferred |
| Xanthan Gum ✨ | 1 tsp | Omit if flour already contains |
| Large Eggs 🥚 | 2 whole | Room temperature for best texture |
| Unsalted Butter 🧈 | 4 tbsp | Melted and cooled slightly |
| Whole Milk 🥛 | 1 ¼ cups | Warm to 110°F |
| Apple Cider Vinegar 🍏 | 1 tbsp | Balances flavors, aids rise |
| Water 💧 | ¼ cup | Warm, about 110°F |
[recipe_ingredient_scaler]
The King Arthur Gluten-Free Measure for Measure Flour is non-negotiable here—it’s formulated for bread machines and already has the right starch balance. I grab mine from Whole Foods or order online. The yeast needs to be fresh (check the date on the packet), and instant yeast works best with the machine’s cycle. If your flour blend doesn’t include xanthan gum, don’t skip it—it’s what gives the loaf structure without gluten.
No xanthan gum? Psyllium husk powder at half the amount can work in a pinch. Out of apple cider vinegar? White vinegar or lemon juice at the same quantity. The milk can be swapped for dairy-free alternatives (almond or oat work well), but avoid low-fat options—the extra fat helps the crumb. For the eggs, if you’re in a bind, 1/4 cup unsweetened applesauce per egg works, though the texture will be slightly denser.
Store the flour blend in an airtight container in a cool, dark place for up to 6 months. Once opened, use within 3 months for best results. The yeast packet can go in the freezer to extend its life. Leftover loaf? Slice and freeze for up to 3 months—it toasts beautifully straight from frozen.
Why You’ll Love This Recipe
- Hands-Off Baking: I just dump the ingredients in the machine and let it do the work—no kneading, no fuss.
- Warm, Sweet Comfort: The sugar and yeast give it that classic bread smell and a soft, pillowy texture.
- Sandwich Ready: I slice it up for lunches all week, and it never gets dry or crumbly.
- Budget-Friendly Loaf: One bag of King Arthur flour makes multiple loaves, and it’s cheaper than store-bought gluten-free bread.
Step-by-Step Instructions for King Arthur Gluten Free Bread
This foolproof method delivers a perfect gluten-free loaf with minimal effort on your part.
Step 1: Prepare the Wet Ingredients
In the bread machine pan, start with the 1.25 cups whole milk and 0.25 cup water, both warmed to 110°F. I use a thermometer for precision here—too hot will kill the yeast, too cold won’t activate it.
Add the 4 tbsp unsalted butter (melted and cooled to room temperature) and 1 tbsp apple cider vinegar. The vinegar might seem odd, but it reacts with the baking process to improve texture and rise. Whisk these briefly to combine before adding dry ingredients.
Crack in the 2 whole large eggs, making sure they’re at room temperature. Cold eggs can cause the butter to solidify, creating an uneven mixture that affects the final crumb structure.
Step 2: Add and Combine Dry Ingredients
Now add the dry ingredients to the pan: 3 cups King Arthur Gluten-Free Measure for Measure Flour on top of the wet mixture. Make sure to spoon and level the flour—packing it will throw off your measurements and result in a dense loaf.
Sprinkle the 2.25 tsp instant yeast into one corner of the pan, making sure it doesn’t come into direct contact with the wet ingredients yet. This prevents premature activation. In separate corners, add the 2 tbsp granulated sugar, 1.5 tsp salt, and 1 tsp xanthan gum.
The sugar feeds the yeast for a better rise, while the xanthan gum mimics gluten’s elasticity. If your flour blend already contains xanthan gum, you can omit this, but I’ve found adding it ensures better structure in this recipe.
Step 3: Set and Start the Bread Machine
Secure the pan in your bread machine and select the gluten-free setting. If your machine doesn’t have this option, use the basic white bread setting with a 1.5-pound loaf size and medium crust color. Most gluten-free breads benefit from a slightly longer rise time, so if your machine allows programming, add 10-15 minutes to the knead cycle.
Press start and let the machine do its work. The dough will be stickier than traditional bread dough—this is normal for gluten-free. Resist the urge to add more flour. The paddle will incorporate everything into a smooth, slightly tacky dough that should pull away from the pan sides during kneading.
Step 4: Monitor and Adjust as Needed
About 5 minutes into the knead cycle, check the dough. It should be soft but not liquid. If it looks too wet, add 1 tablespoon of the gluten-free flour. If it’s too dry, add 1 tablespoon of warm water. However, I’ve found with these exact measurements, adjustments are rarely needed.
After the knead cycle completes, the dough will rise significantly. Don’t be concerned if it doesn’t double in size like wheat bread—gluten-free dough rises differently. Look for a dome shape that’s about 1-2 inches below the pan’s rim at its peak.
The bake cycle will take 50-60 minutes. You’ll know it’s done when the loaf is golden brown on top and sounds hollow when tapped. The internal temperature should read 205-210°F on an instant-read thermometer.
Step 5: Cool Completely Before Slicing
When the cycle ends, immediately remove the pan from the machine. Let the loaf cool in the pan for 5 minutes, then carefully transfer it to a wire rack. This prevents the bottom from becoming soggy from trapped steam.
Here’s the hardest part: let it cool completely for at least 1 hour. I know the aroma is tempting, but slicing too soon will result in a gummy texture. The cooling process allows the structure to set properly, giving you that perfect, sliceable bread texture.
Once cooled, your loaf will have a tender crumb with a slightly crisp crust. Store it wrapped in plastic at room temperature for up to 3 days, or slice and freeze for longer storage. For best results, toast slices before serving to enhance the flavor and texture.
Pro Tips For Making King Arthur Gluten Free Bread Machine Recipe With Yeast
- Warm Your Ingredients: Take your eggs and liquid ingredients out of the fridge 30 minutes before starting—I learned this the hard way after my first loaf barely rose in the machine.
- Measure Flour Precisely: Use a kitchen scale for the King Arthur Gluten-Free Measure for Measure Flour; scooping from the bag can pack in extra, and gluten-free baking is less forgiving than regular.
- Skip the Overmixing: Once you add the liquid to the dry ingredients, resist the urge to scrape the sides or stir—gluten-free bread machine dough should look thick but slightly sticky, not smooth.
- Add Extra Yeast: Gluten-free dough needs a little boost, so I use 1 ¼ teaspoons of instant yeast instead of 1 teaspoon—sounds small, but it actually changes the outcome every time.
Essential Equipment for Great king arthur gluten free bread machine recipe with yeast
Bread Machine Selection
I recommend a 2-pound capacity machine like the Zojirushi Virtuoso for gluten-free breads. Its gluten-free setting and dual kneading paddles ensure thorough mixing of denser gluten-free doughs. Smaller machines may struggle with the recipe volume.
Measuring Tools
A digital kitchen scale is invaluable for precise flour measurements—I use the OXO Good Grips model. For liquids, a glass measuring cup with clear markings helps achieve the 110°F temperature needed for yeast activation.
Thermometers
An instant-read thermometer like the ThermoWorks Thermapen ensures your liquids are the perfect temperature. This prevents killing the yeast with overheated ingredients. I check both milk and water before adding to the machine. 🌡️
Mixing Accessories
Have a small whisk handy for combining wet ingredients before adding dry ones. A rubber spatula helps scrape down the pan sides if needed during the knead cycle. Both tools should be non-reactive to avoid affecting the dough.
Cooling Equipment
A wire cooling rack is essential for proper air circulation around your loaf. I use a stainless steel version that fits over my sink. This prevents the bottom from getting soggy as the bread cools completely.
Optional Upgrades
For serious bakers, a dough proofer can help maintain consistent temperature during rise. Though not required, it can improve results in colder kitchens. I added one after noticing inconsistent rises in winter months. 💡
Nutrition Facts
Frequently Asked Questions
What setting should I use if my machine lacks a gluten-free option?
Select the basic white bread setting with a 1.5-pound size and medium crust. Add 10-15 minutes to the knead cycle if possible.
Why is my dough so sticky?
Gluten-free bread dough is naturally stickier. Resist adding more flour as this can make the loaf dense. The paddle will handle it perfectly.
Can I use active dry yeast instead of instant?
Yes, but dissolve it in the warm liquid first and let it sit for 5-10 minutes until foamy before adding other ingredients.
How do I know when it’s fully baked?
Look for a golden brown crust and an internal temperature of 205-210°F. It should sound hollow when tapped.

Trained in classic French technique but raised on slow-cooked ribs and spicy rubs, she blends culinary skill with smoke and soul.
- Hamburgers in Sauce Recipe Crock Pot: Slow-Cooked Savory Delight - October 3, 2026
- Sanjeev Kapoor Egg Biryani Recipe: Fragrant Spiced Rice With Boiled Eggs - October 3, 2026
- Recipe for French Pork Spread Gorton: Savory Gallic Flavors in a Spreadable Delight - October 3, 2026