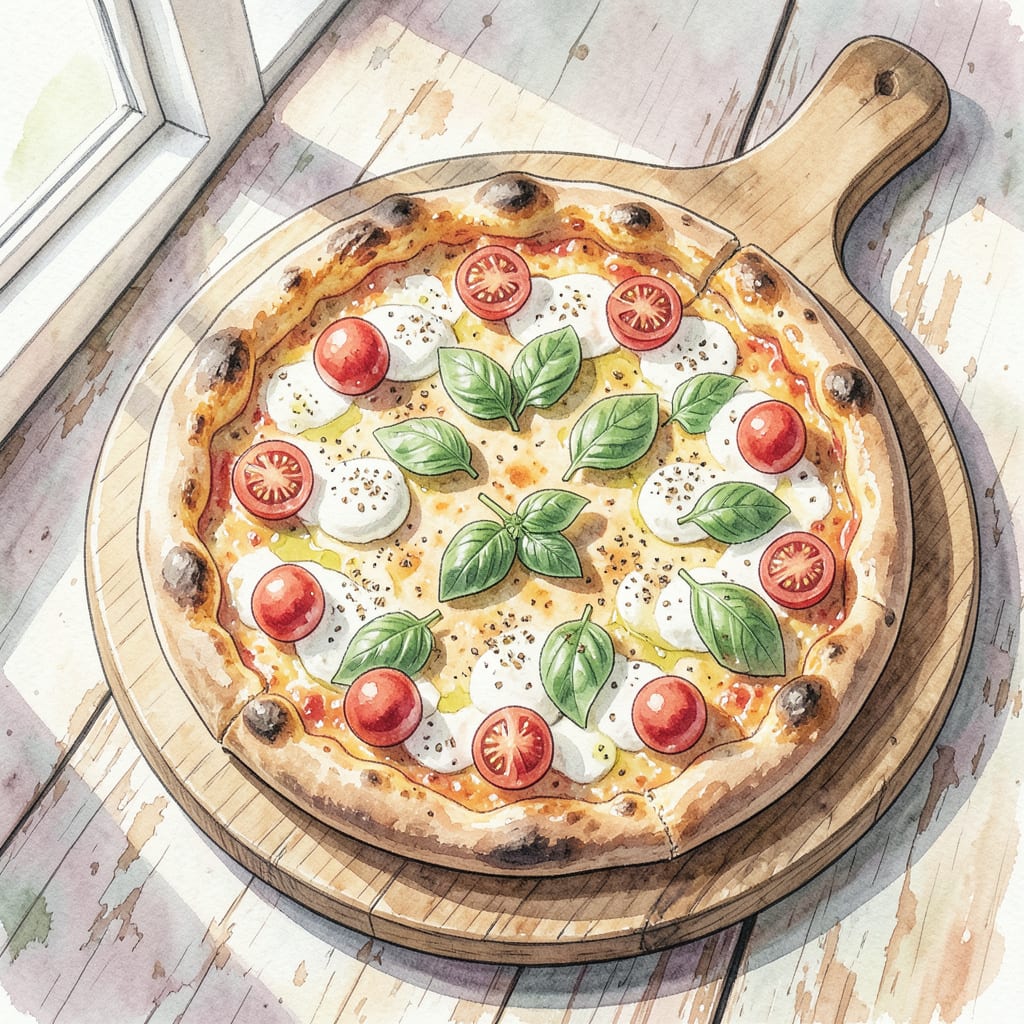
Making pizza at home just got healthier with this low-sodium crust recipe. I use a simple combination of flour, yeast, and herbs to create a delicious and healthy crust that’s perfect for topping with your favorite ingredients.
Bake this crust at 425°F for 12-15 minutes until golden, then top with your favorite sauce and toppings for a meal that’s both satisfying and good for you. The result is a crispy crust with just the right amount of chew.
Ingredients for Low Sodium Pizza Crust
Gather these simple ingredients to create a delicious low-sodium pizza crust at home.
| Ingredient | Amount | Notes |
|---|---|---|
| All-Purpose Flour 🌾 | 2 cups | Unbleached, unbromated preferred |
| Active Dry Yeast 🍞 | 1 tsp | Low-sodium variety |
| Salt 🧂 | ¼ tsp | Use low-sodium salt |
| Olive Oil 🫒 | 2 tbsp | Extra-virgin for best flavor |
| Sugar 🍮 | 1 tsp | Granulated sugar |
| Dried Oregano 🌿 | 1 tsp | Dried or fresh |
| Dried Basil 🌿 | 1 tsp | Dried or fresh |
| Warm Water 💧 | 1 cup | About 100°F to 110°F |
[recipe_ingredient_scaler]
For the best results, use unbleached, unbromated flour that’s fresh and has a good protein content. I prefer King Arthur or Bob’s Red Mill for their consistent quality. When shopping for yeast, look for low-sodium options or active dry yeast that’s specifically labeled as ‘low sodium’.
No low-sodium salt? Use regular salt but reduce the amount to 1/8 teaspoon. For an extra flavor boost, try adding 1 tablespoon of chopped fresh rosemary or 1 teaspoon of garlic powder to the dough. If you don’t have dried oregano or basil, you can omit them or substitute with other herbs you like.
This crust keeps well at room temperature for up to 2 days when stored in an airtight container. You can also freeze the dough after shaping it into balls—just thaw in the fridge overnight and let it come to room temperature before shaping. For best results, bake within 12-15 minutes at 425°F.
Step-by-Step Instructions for Low Sodium Pizza Crust
Here’s the method to create a delicious, healthy pizza crust from scratch.
Step 1: Activate the Yeast
Start by proofing the yeast. In a small bowl, combine the 1 cup Warm Water (about 100°F to 110°F) and 1 tsp Sugar. Sprinkle the 1 tsp Active Dry Yeast over the water and let it sit for 5-10 minutes until it becomes frothy and bubbly. This step ensures your yeast is active and will help your dough rise properly.
While waiting for the yeast, I like to prepare the dry ingredients. In a large mixing bowl, whisk together the 2 cups All-Purpose Flour, 1 tsp Dried Oregano, 1 tsp Dried Basil, and 0.25 tsp Salt. Make sure they’re evenly distributed to give your crust balanced flavor.
Step 2: Mix and Knead the Dough
Once the yeast is frothy, add it to the dry ingredients along with 2 tbsp Olive Oil. Mix everything together using a stand mixer with a dough hook attachment or a wooden spoon until a shaggy dough forms. The mixture will be sticky, but that’s perfectly normal.
Turn the dough out onto a lightly floured surface and knead for 5-7 minutes until it becomes smooth and elastic. You can also use a stand mixer with a dough hook for this step. The dough is ready when it passes the “windowpane test” – when you stretch a small piece thin enough to see light through it without tearing.
Step 3: Let the Dough Rise
Place the kneaded dough in a lightly oiled bowl, turning it to coat evenly. Cover with plastic wrap or a damp kitchen towel and let it rise in a warm, draft-free place for 1-2 hours until it has doubled in size. I like to let it rise in a turned-off oven with the light on – the gentle warmth creates perfect rising conditions.
Once risen, punch down the dough gently to release any large air bubbles. Transfer it to a lightly floured surface and shape it into your pizza crust. You can make one large crust or divide it into smaller portions for individual pizzas.
Step 4: Shape and Prepare for Baking
Preheat your oven to 450°F with a pizza stone or baking sheet inside (if you have one). On a lightly floured surface, shape the dough into your desired pizza shape, making sure to keep the edges slightly thicker than the center. Transfer the shaped dough to a piece of parchment paper or a lightly floured pizza peel if you have one.
Top your crust as desired, keeping in mind that less is often more when it comes to toppings on a homemade crust. The key is to not overload it so that it cooks evenly. Slide your prepared pizza onto the preheated stone or baking sheet and bake for 12-15 minutes until the crust is golden brown and the toppings are cooked through.
Serving Suggestions for Leftovers
Classic Pizza Combinations
For a traditional Italian experience, top your low-sodium crust with homemade tomato sauce, fresh mozzarella, and basil leaves. The acidity of the tomatoes pairs beautifully with the creamy cheese. Consider using San Marzano tomatoes for their sweeter flavor profile. Finish with a drizzle of extra-virgin olive oil and a sprinkle of Parmigiano-Reggiano for added depth. 🍕
White Pizza Variations
Skip the tomato sauce and create a white pizza by spreading a layer of ricotta cheese mixed with minced garlic and dried oregano on your crust. Top with shredded mozzarella and bake until golden and bubbly. For added flavor, sprinkle some caramelized onions or roasted garlic on top. The creamy ricotta provides a rich base for other toppings like roasted vegetables or grilled chicken.
Meat Lover’s Delight
For those who love meat on their pizza, try topping your crust with grilled chicken, Italian sausage, or prosciutto. Balance the richness with some fresh arugula or spinach after baking. The peppery flavor of these greens cuts through the savory meats beautifully. Consider pre-cooking your meats before adding them to ensure they’re fully cooked during the pizza’s short baking time.
Vegetarian Options
Load up your pizza with roasted vegetables like eggplant, zucchini, or red peppers. Brush your crust with olive oil and sprinkle with dried herbs before baking for extra flavor. For a Mediterranean twist, add some kalamata olives and artichoke hearts. The variety of textures and flavors creates a satisfying meal that’s both healthy and delicious.
Finishing Touches
After baking, consider adding some fresh elements to elevate your pizza. A sprinkle of fresh basil or a drizzle of truffle oil can make a big difference. For those who like a bit of heat, add some red pepper flakes on top. These finishing touches can transform your homemade pizza into a gourmet experience. 🔥
Serving Ideas
Serve your pizza hot, straight from the oven, for the best experience. Consider cutting it into smaller pieces for a party or gathering. You can also serve it with a side salad or garlic bread for a more filling meal. For a fun twist, try making individual mini pizzas for guests to customize. This interactive approach makes mealtime more engaging and enjoyable for everyone.
Nutrition Facts

Trained in classic French technique but raised on slow-cooked ribs and spicy rubs, she blends culinary skill with smoke and soul.
- Recipe for Boneless Pork Chops in Cast Iron Skillet: Sear and Baste to Juicy Perfection - October 3, 2026
- Recipe for Boneless Cross Rib Roast: Slow-Roasted Beef with Herb Crust - October 3, 2026
- Hamburgers in Sauce Recipe Crock Pot: Slow-Cooked Savory Delight - October 3, 2026