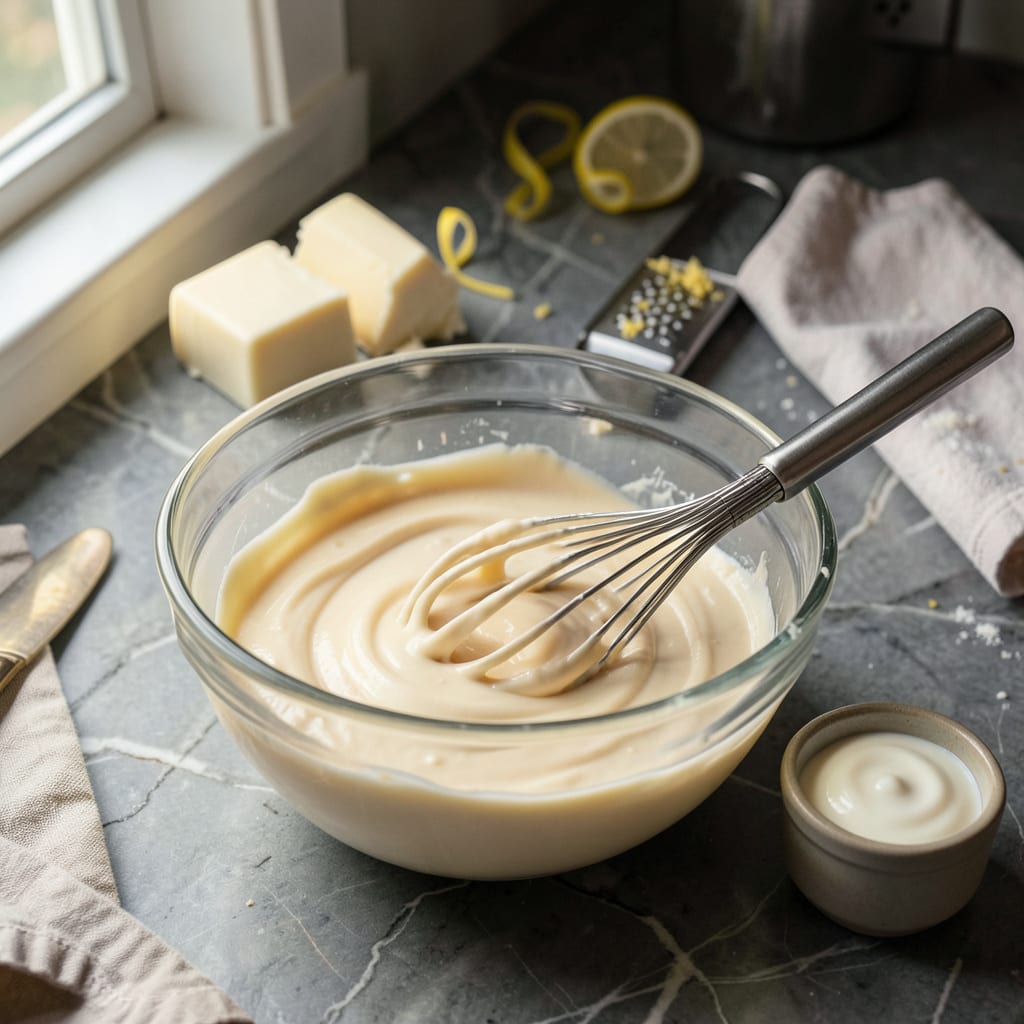
White chocolate can go from dreamy to disaster in seconds—one minute it’s silky, the next it’s a thick, gloppy mess that refuses to drizzle. I’ve been there, staring at a bowl of seized-up chocolate wondering how to salvage it. The good news? You don’t have to toss it. With a few simple fixes, that stubborn chocolate can be smooth again.
The problem usually comes down to temperature or moisture. White chocolate is finicky—it melts at lower temps than dark chocolate and scorches easily. If yours has turned into a paste, don’t panic. We’re going to adjust the heat, add the right liquids, and maybe even re-temper it for that perfect glossy finish. No fancy equipment needed, just patience and a watchful eye.
Once you’ve rescued your chocolate, you’ll want to put it to good use. Think beyond basic dipping—try drizzling it over brownies for a bakery-worthy finish, swirling into warm coffee for a decadent drink, or even using as a glaze for fresh fruit. The possibilities are endless when your chocolate cooperates.
Fair warning: white chocolate doesn’t forgive mistakes easily, but these fixes work every time I’ve tested them. Whether you’re making candy, decorating desserts, or just craving a chocolate-dipped treat, you’ll get that smooth, pourable texture back. Let’s save that chocolate!
📚 In This Guide
- What You’ll Need
- Instructions
- Tips and Common Mistakes
What Youll Need
- ● White chocolate – 8–16 oz (225–450g), high-quality (check for cocoa butter content ≥30% for best results) 🍫
- ● Double boiler (or DIY setup) – A heatproof bowl + saucepan with 1–2 inches of water (ensure bowl fits snugly)
- ● Spatula or wooden spoon – Silicone preferred to avoid scratching bowls
- ○ Kitchen thermometer – Optional but helpful (ideal temp: 104–113°F / 40–45°C) 🌡️
- ● Thinning agents – Pick one: Cocoa butter – 1 tsp per 4 oz chocolate (melted separately)
- ● Neutral oil (coconut, vegetable) – ½ tsp per 4 oz, food-grade only
- ● Heavy cream or whole milk – 1–2 tsp per 4 oz, warmed
- ● Parchment paper or silicone mat – For testing consistency
- ● Microwave-safe bowl – Alternative to double boiler (use 20–30 sec bursts)
- ○ Fine-mesh strainer – Optional, for removing lumps if chocolate seizes
Instructions
Here’s exactly how to rescue your thickened white chocolate and get it back to that perfect silky texture.
Remove from Heat and Assess Consistency
First things first, take your melted white chocolate off the heat immediately. I can’t stress this enough—continued heat is your enemy right now. Let it sit undisturbed for 2-3 minutes to cool slightly and stop the thickening process.
While you’re waiting, grab a clean spoon and test the consistency. Dip it in and let the chocolate drip off. If it’s falling in thick clumps rather than smooth ribbons, you’ve caught it at the right stage to fix. The goal here is to prevent it from seizing completely, which would make it impossible to salvage.
Add a Neutral Fat to Loosen the Texture
Now it’s time to introduce a fat to help loosen those chocolate particles. I recommend using coconut oil or cocoa butter because they’re neutral in flavor and won’t affect the white chocolate’s color. Start with just ½ teaspoon—this is one case where less is definitely more.
Gently fold it in with a silicone spatula, using small circular motions. You’ll notice the mixture starting to relax and become more fluid. If after 1 minute of stirring it’s still too thick, add another ¼ teaspoon and repeat. The key is patience—rushing this step can cause the chocolate to separate.
Reheat Gently with Controlled Temperature
Place your bowl of chocolate over a pot of barely simmering water (make sure the bowl doesn’t touch the water). The water should be at about 140°F—hot enough to melt but not so hot it will burn the chocolate. I like to use an instant-read thermometer to check the water temperature.
Stir constantly but gently in figure-eight motions. You’ll see the chocolate gradually becoming glossier and more fluid. This should take about 3-5 minutes. Watch for the moment when it starts to coat the back of your spoon smoothly—that’s your signal it’s ready. Remove from heat immediately to prevent overheating.
Test and Adjust for Perfect Flow
Dip your spoon in again and let the chocolate drip back into the bowl. You’re looking for a smooth, continuous flow that leaves a clean trail on the spoon. If it’s still breaking or looks grainy, return it to the gentle heat for another 1-2 minutes, stirring constantly.
If you’ve added fat and reheated properly but it’s still not quite right, try this pro trick: add 1-2 drops of lecithin (available at baking supply stores). This natural emulsifier will help bind everything together. Stir it in thoroughly and test again—you should now have that perfect, velvety white chocolate consistency you’re after.
Use Immediately for Best Results
Once you’ve achieved the right consistency, use your white chocolate immediately. It’s at its most workable state right now. If you need to hold it for a short time, keep it in a warm (not hot) place—around 85-90°F is ideal. I like to use a heating pad set to low under the bowl.
Remember that white chocolate is more temperature-sensitive than dark chocolate. If it starts to thicken again while you’re working, simply repeat the gentle reheating process. The good news is that now you know exactly how to bring it back to that perfect silky state whenever you need to.
Tips and Common Mistakes
Working with white chocolate can feel like walking a tightrope—too much heat and it seizes, too little and it stays thick. Here’s what I’ve learned from rescuing countless batches.
Temperature Control: The 2-3 minutes of cooling time in Step 1 isn’t just a suggestion—it’s your first line of defense. I’ve ruined batches by rushing this step. When white chocolate overheats, the cocoa butter separates and the sugar crystallizes. That brief pause lets the temperature drop enough to stabilize before you start fixing it. Use those minutes to gather your tools so you’re ready to work quickly.
Fat Addition Technique: In Step 2, when adding that initial ½ teaspoon of coconut oil or cocoa butter, warm it slightly between your fingers first. This helps it incorporate more smoothly into the thickened chocolate. And when you’re stirring for that 1 minute, use a folding motion rather than vigorous stirring—you want to coax the chocolate back to smoothness, not agitate it into separating further.
Reheating Precision: The 140°F water bath in Step 3 is your sweet spot—literally. I use a digital thermometer clipped to the side of the pot to maintain this exact temperature. If you don’t have one, test the water with your wrist: it should feel warm but not hot. During those 3-5 minutes of reheating, stir in figure-eights to create a gentle vortex that helps distribute heat evenly without incorporating air bubbles.
Holding Temperature: That 85-90°F holding range in Step 5 is critical for maintaining workable chocolate. I’ve found that a rice-filled sock warmed in the microwave for 30 seconds makes an excellent improvised warming pad. Place your bowl on top and it will maintain that perfect temperature range while you work. Just remember to check the chocolate’s consistency every few minutes—white chocolate can thicken surprisingly quickly even at these lower temperatures.
Pro Tips for Melted White Chocolate Too Thick
- Working with white chocolate can feel like walking a tightrope—too much heat and it seizes, too little and it stays t…
- Temperature Control: The 2-3 minutes of cooling time in Step 1 isn’t just a suggestion—it’s your first line of defens…
- Fat Addition Technique: In Step 2, when adding that initial ½ teaspoon of coconut oil or cocoa butter, warm it slight…
Frequently Asked Questions
Can I fix thick melted white chocolate after it cools?
Yes! Reheat it gently in 10-second bursts in the microwave (or over a double boiler), stirring between each. If it’s still thick, add ½ tsp of neutral oil (like coconut or vegetable) per 1 oz of chocolate and stir well. Avoid overheating—white chocolate burns easily!
Why does my melted white chocolate get clumpy instead of smooth?
Clumps usually mean moisture got in (even a drop!) or the chocolate overheated. Start fresh with chopped white chocolate (not chips) and melt slowly at 50% power. Use a dry, clean bowl—steam or water droplets are the enemy! About 1–2 minutes of stirring after adding the thinner (oil, cream, or paramount crystals). Work quickly before it sets! If using cream, warm it slightly first for faster blending. Pro tip: Test consistency by dipping a spoon—it should coat smoothly, not glob. No paramount crystals? No problem! Use: Avoid butter—it can make chocolate seize! Yes, but it may lose some shine. Re-melt it slowly and add a thinner (like oil) if needed. If it’s grainy, it’s overworked—best to use it for baking (like cookies) instead of dipping. For dipping, fresh chocolate works best!How long does it take to thin white chocolate with oil or cream?
What’s the best substitute if I don’t have paramount crystals?
Can I reuse white chocolate that hardened after melting?
Don’t let thick, clumpy white chocolate derail your baking plans! 🎯 With the right temperature tweaks, a splash of fat, or a simple straining trick, you can transform your melted chocolate into a smooth, velvety dream in minutes. Remember: patience and gentle heat are your best friends.
Ready to put these fixes to the test? Grab that double boiler (or microwave!) and give it another try—your desserts will thank you! 🍫✨ For more chocolate troubleshooting, check out our guide on tempering like a pro next.

Trained in classic French technique but raised on slow-cooked ribs and spicy rubs, she blends culinary skill with smoke and soul.
- Meatball Curry Recipe Kerala Style: Coconut-Spiced Gravy With Tender Bites - October 3, 2026
- Recipe for Curried Tofu: Aromatic Spices With Crispy Edges - October 3, 2026
- Recipe for Dumplings in Crock Pot: Fluffy Pillows with Minimal Effort - October 3, 2026