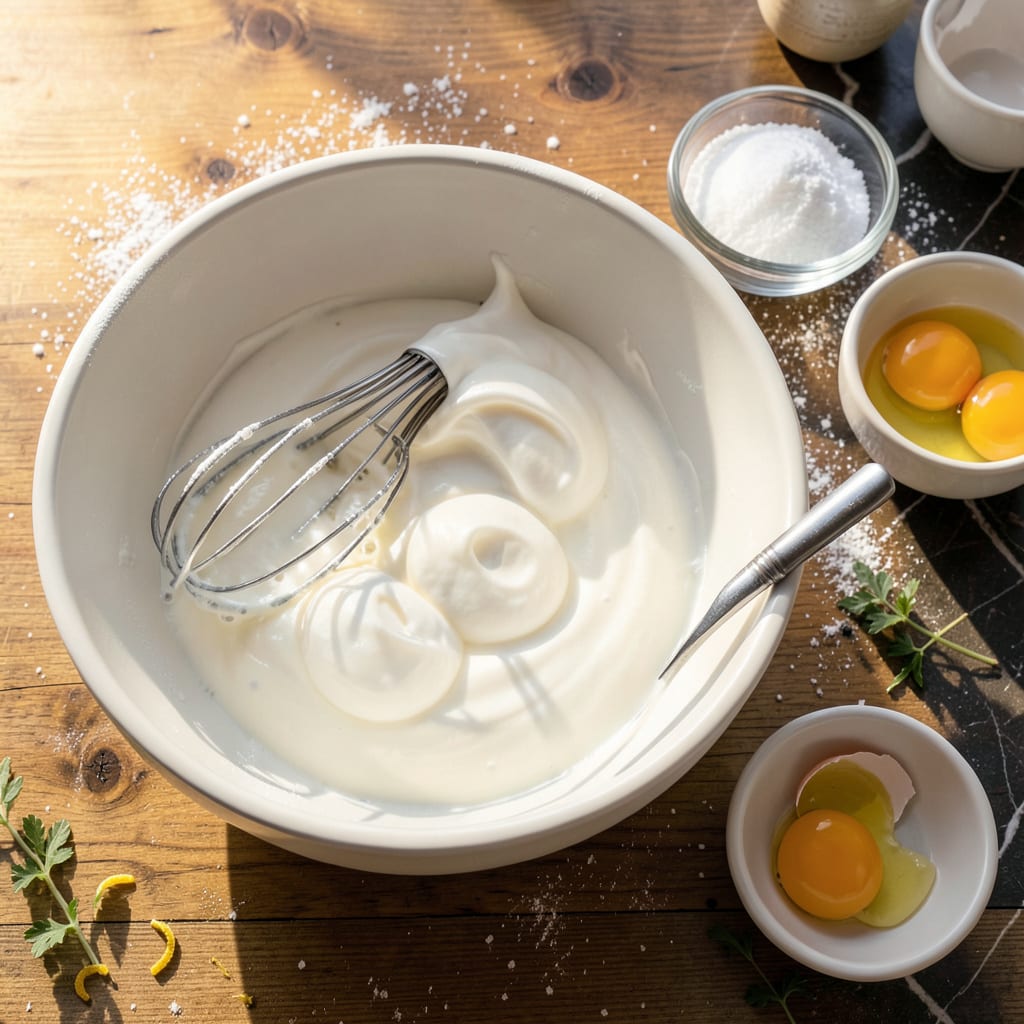
There’s something deeply satisfying about creating perfect meringue by hand—no fancy equipment, just you, a whisk, and some patience. I remember the first time I nailed this technique during a power outage, and honestly, the results were better than anything my mixer ever produced. That moment changed how I approach baking forever.
What makes hand-whisked meringue special is the control you gain over every stage. You’ll feel the egg whites transform from liquid to soft peaks to glossy stiff peaks right under your whisk. The process takes about 15-20 minutes of active whisking, but that time lets you develop an intuition for perfect meringue that machines can’t teach.
The payoff is worth every second: clouds of pure white meringue that hold their shape beautifully, whether you’re piping decorative kisses or topping a lemon tart. I’ve used this technique for everything from pavlovas to floating islands, and it never fails to impress. The best part? You’ll understand meringue on a whole new level after doing it manually.
Don’t worry if your arm gets tired—mine still does after all these years. That’s just proof you’re doing it right. The stiffness of those peaks and the sheen of properly whipped egg whites will tell you when you’ve arrived at meringue perfection. Ready to give it a try?
📚 In This Guide
- What You’ll Need
- Instructions
- Tips and Common Mistakes
What Youll Need
- ● Ingredients: 2–4 large egg whites (fresh, room temperature, ~¼ cup per white)
- ● ¼–½ cup granulated sugar (superfine sugar works best for smoother texture)
- ○ ¼ tsp cream of tartar or lemon juice (stabilizes peaks—optional but highly recommended)
- ● Pinch of salt (enhances flavor)
- ○ ½ tsp vanilla extract (optional, for flavor)
- ● Tools: Large, grease-free metal or glass bowl (copper bowls are ideal but not required)
- ● Balloon whisk (lightweight, wide loops for faster whipping)
- ● Clean rubber spatula (for folding or scraping)
- ○ Fine-mesh sieve (optional, for dusting powdered sugar)
- ○ Piping bag + tip (optional, for shaping)
- ● Prerequisites: Patience & arm strength (10–15 minutes of vigorous whisking!)
- ● Cool, dry workspace (humidity = meringue’s enemy!)
Step-by-Step Instructions for Meringue by Hand
You’re about to create light-as-air meringue with nothing but a whisk and some elbow grease—let’s make magic happen!
Start with Perfectly Room-Temperature Egg Whites
Separate your egg whites from the yolks with absolute precision—even a trace of yolk will prevent your meringue from reaching its full volume. I like to use three separate bowls: one for the whites, one for the yolks, and a third to separate each egg individually before adding it to the main bowl of whites. This prevents one broken yolk from ruining your entire batch.
Let the whites sit at room temperature for 20-30 minutes before starting. Cold whites take much longer to whip and won’t achieve the same stability. You’ll know they’re ready when they feel neither cool nor warm to the touch—just like the air in your kitchen. This small step makes a HUGE difference in your final texture.
Whisk to Soft Peaks with Perfect Technique
Using a large, deep bowl (a copper bowl is ideal but not required), begin whisking the egg whites vigorously with a balloon whisk. Start with quick, small circular motions to break up the whites, then transition to larger, figure-eight patterns as they begin to foam. You’re incorporating air at this stage, so keep the whisk moving constantly.
After about 3-5 minutes of continuous whisking, you’ll notice the whites transform from translucent liquid to opaque foam, then to soft peaks that barely hold their shape. Here’s the test: stop whisking and lift the whisk straight up—if the peak that forms flops over immediately, you’re at soft peaks. Don’t rush this stage; building a stable foam foundation prevents weeping later.
Gradually Add Sugar for Structure and Shine
Once you’ve reached soft peaks, it’s time to add sugar—this is what gives your meringue structure and that beautiful glossy finish. Add 2 tablespoons of granulated sugar at a time, whisking vigorously for 30-45 seconds between each addition. The sugar should completely dissolve before you add more.
As you continue whisking and adding sugar, you’ll feel the mixture become thicker and heavier. The meringue will transform from dull and foamy to thick and glossy. After all the sugar is incorporated, whisk for another 2-3 minutes until the meringue forms stiff, glossy peaks that hold their shape perfectly when you lift the whisk. The bowl should feel cool to the touch—this indicates the sugar has fully dissolved.
Test for Doneness and Adjust as Needed
Here’s how to know your meringue is truly done: stop whisking and lift the whisk straight up. The peak that forms should stand straight up with a firm, slightly curved tip—it shouldn’t droop or slide at all. Give the bowl a gentle tilt; properly whipped meringue will stay put rather than slosh around. If it’s not quite there, keep whisking for another 1-2 minutes—you’re almost there!
If your meringue looks grainy, the sugar hasn’t fully dissolved. Place the bowl over a pot of simmering water (creating a makeshift double boiler) and whisk constantly for 1-2 minutes to gently warm and dissolve the sugar. Be careful not to overheat—if the bowl feels warm to the touch, remove it immediately and continue whisking off the heat until cool.
Use Immediately for Best Results
Your hand-whipped meringue is now ready to use! For the fluffiest results, use it immediately while at its peak volume. If you need to hold it briefly, cover the bowl with a damp paper towel to prevent drying. Gently fold in any flavorings like vanilla or lemon zest at this stage—use a silicone spatula and fold with a J-shaped motion to maintain as much air as possible.
Remember that hand-whipped meringue is slightly more delicate than machine-made, so handle it with care. When baking, you might notice it browns slightly faster—this is normal and actually creates a beautiful toasted marshmallow flavor. The texture should be light as a cloud with a crisp exterior if baked, or silky smooth if used for pies or toppings.
Tips and Common Mistakes
Creating perfect meringue by hand is all about technique and patience—here’s how to make yours absolutely foolproof.
Temperature is Everything: Those 20-30 minutes at room temperature in Step 1 aren’t just a suggestion—they’re critical. Cold egg whites simply won’t whip up properly, no matter how hard you whisk. I’ve ruined batches by rushing this step, and you’ll notice the difference when your meringue reaches full, stable volume. The whites should feel neutral to the touch—neither cool nor warm—just like the air in your kitchen.
Whisking Technique That Changes Everything: In Step 2, those 3-5 minutes of whisking aren’t just about time—they’re about motion. Start with small, quick circles to break up the whites, then transition to broad figure-eight patterns as they foam. This isn’t just exercise; it’s how you incorporate maximum air. Keep the whisk moving constantly—any pause lets air escape and deflates your progress.
Sugar Timing Secret: When adding sugar in Step 3, those 30-45 seconds between each 2 tablespoons addition are non-negotiable. Rushing this creates grainy meringue. The sugar needs time to dissolve completely, and you’ll feel the mixture transform from foamy to glossy. After all sugar is added, those final 2-3 minutes of whisking make the difference between good and spectacular—don’t stop until the bowl feels cool to the touch.
Doneness Test You Can’t Skip: The visual test in Step 4 is your insurance policy. When you lift the whisk, the peak should stand perfectly straight with just a slight curve at the tip—no drooping, no sliding. If it’s not quite there, those extra 1-2 minutes of whisking will get you to perfection. And if you see any graininess, the quick double-boiler fix (another 1-2 minutes of whisking over warm water) is a game-saver I use constantly.
Pro Tips for Meringue By Hand
- Creating perfect meringue by hand is all about technique and patience—here’s how to make yours absolutely foolproof.
- Temperature is Everything: Those 20-30 minutes at room temperature in Step 1 aren’t just a suggestion—they’re critica…
- Whisking Technique That Changes Everything: In Step 2, those 3-5 minutes of whisking aren’t just about time—they’re a…
Frequently Asked Questions
How long does it take to make meringue by hand?
With a little elbow grease, expect to spend 10–15 minutes whisking egg whites to stiff peaks by hand. The time depends on your speed and bowl size—larger batches take longer. Pro tip: Use a copper bowl (if available) to speed up the process!
Can I use a fork or spoon instead of a whisk?
A whisk is ideal for incorporating air efficiently, but in a pinch, a large fork can work—just expect double the time and less volume. Avoid spoons; they won’t create enough lift. For best results, stick to a balloon whisk or sturdy wire whisk.
Why isn’t my meringue forming stiff peaks?
Common culprits: greasy bowls/utensils, traces of yolk in the whites, or under-whisking. Ensure everything is spotlessly clean and dry. If the weather’s humid, add a pinch of cream of tartar (½ tsp per 2 egg whites) for stability.
What can I use instead of sugar in meringue?
For sugar-free options, try erythritol or monk fruit sweetener (1:1 ratio), but note: texture may be slightly less stable. Avoid liquid sweeteners like honey—they’ll weigh down the foam. Test small batches first!
How do I know when the meringue is done baking?
Perfect meringue should be crisp on the outside and dry to the touch. Gently tap the shell—if it sounds hollow, it’s ready! For soft meringues (like pie toppings), bake until the edges are lightly golden (~1–1.5 hours at 200°F).
Mastering meringue by hand is all about patience and technique—not fancy tools! With the right bowl, a trusty whisk, and a little elbow grease, you can create light-as-air peaks that’ll impress anyone. 🎉 Whether you’re topping a pie or baking crisp pavlovas, the secret’s in the steady strokes and room-temperature eggs.
Ready to put your skills to the test? Start with a simple pavlova or lemon meringue pie—your hand-whisked meringue will steal the show! And if your first try isn’t perfect? No worries. Even pros had to start somewhere. Happy whisking! 🍰

Trained in classic French technique but raised on slow-cooked ribs and spicy rubs, she blends culinary skill with smoke and soul.
- Recipe for Boneless Pork Chops in Cast Iron Skillet: Sear and Baste to Juicy Perfection - October 3, 2026
- Recipe for Boneless Cross Rib Roast: Slow-Roasted Beef with Herb Crust - October 3, 2026
- Hamburgers in Sauce Recipe Crock Pot: Slow-Cooked Savory Delight - October 3, 2026