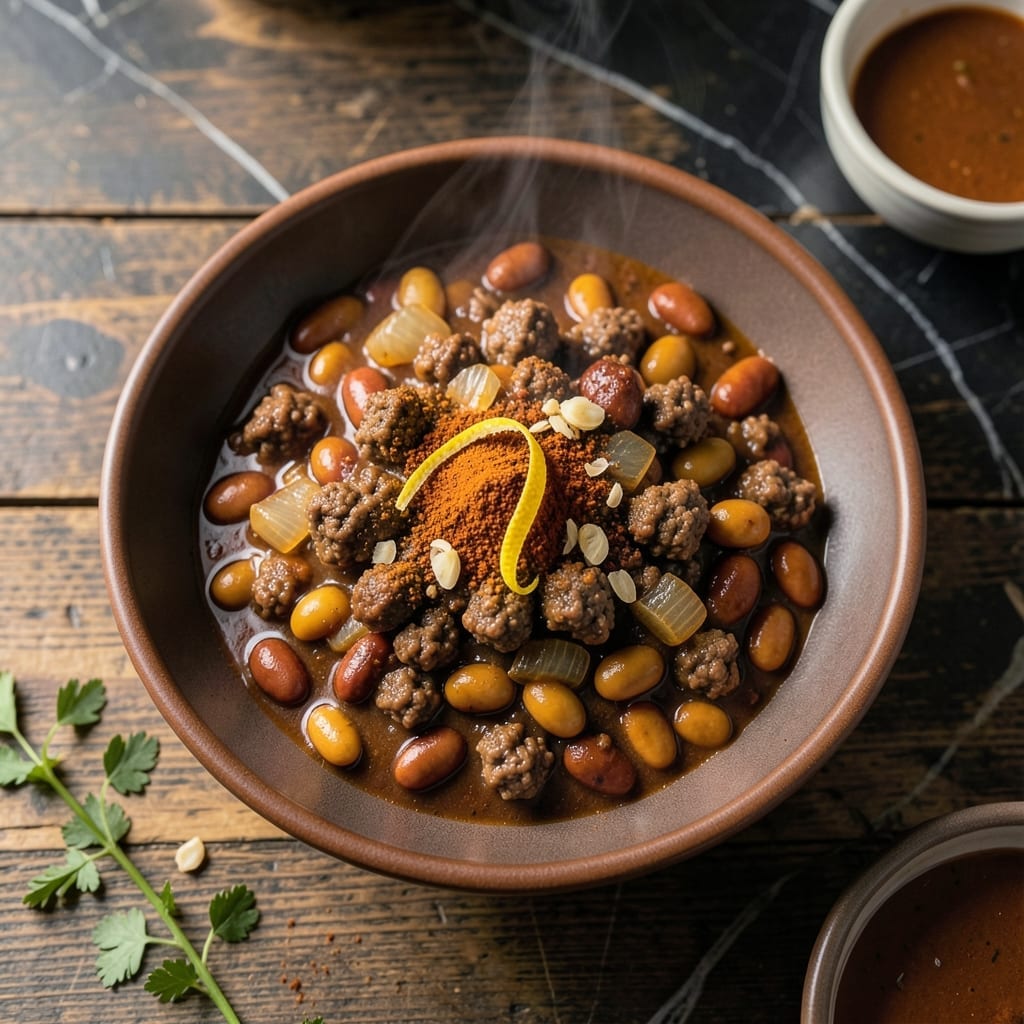
This chili delivers bold Tex-Mex flavor that will become your new go-to for gatherings. The combination of ground beef, spices, and beans creates a hearty dish that satisfies every time.
What sets this recipe apart is the perfect balance of heat and depth. I developed this version after years of testing different spice blends and cooking methods to achieve the ideal texture and taste.
You’ll end up with a thick, rich chili that’s packed with protein and flavor. The meat becomes tender while the beans hold their shape, creating a dish that’s both substantial and comforting.
Serve it with your favorite toppings for a meal that feels special enough for company but easy enough for a weeknight. Here’s how to make it.
Ingredients for Mexene Chili
Ground beef, beans, and bold spices—everything you need for rich, satisfying chili.
| Ingredient | Amount | Notes |
|---|---|---|
| Ground Beef 🥩 | 1 ½ lb | 80/20 lean-to-fat ratio preferred |
| Mexene Chili Beans 🫘 | 2 cans | 15 oz cans, undrained |
| Yellow Onion 🧅 | 1 whole | Medium, finely diced |
| Garlic Cloves 🧄 | 4 cloves | Minced for depth of flavor |
| Chili Powder 🌶️ | 2 tbsp | Mild or hot variety |
| Ground Cumin 🌿 | 1 tbsp | Toasted for nuttier flavor |
| Dried Oregano 🍃 | 1 tsp | Mexican oregano preferred |
| Cayenne Pepper 🔥 | ¼ tsp | Adjust to taste for heat |
| Crushed Tomatoes 🍅 | 1 can | 28 oz can, with juices |
| Beef Broth 🍲 | 1 cup | Low-sodium preferred |
| Tomato Paste 🍅 | 2 tbsp | For thick, rich consistency |
| Olive Oil 🫒 | 2 tbsp | For sautéing aromatics |
| Salt 🧂 | 1 tsp | Adjust to taste at end |
| Black Pepper 🌶️ | ½ tsp | Freshly ground preferred |
[recipe_ingredient_scaler]
The beef is the foundation here. 80/20 ground chuck gives you the best flavor and texture—leaner blends can dry out. H-E-B or local butchers usually have great quality. Look for bright red color and good marbling. The Mexene beans are key to that authentic Tex-Mex taste (found at most Walmart or Kroger stores). Don’t drain them—the starchy liquid thickens the chili.
No Mexene beans? Pinto or kidney beans work fine—just drain and rinse first. Missing chili powder? Blend cumin, paprika, and garlic powder in equal parts. For extra depth, add a pinch of cocoa powder (trust me on this). The cayenne can be skipped if you’re sensitive to heat, but the dish needs some kick. Fresh jalapeños (seeds removed) can replace it if you’ve got them.
This chili tastes even better the next day. Keeps for 4-5 days in the fridge, freezes for 3 months. Portion into airtight containers (or leave some in the pot—it reheats perfectly). Pro tip: sprinkle a little extra chili powder on top when serving for a fresh flavor boost.
Why You’ll Love This Recipe
- One-Pot Wonder: I brown the ground beef, toss in the Mexene beans, onion, garlic, and chili powder, and let it simmer—no extra pans to wash.
- Rich and Hearty: The chili powder and garlic bring out the depth in the beef, while the Mexene beans soak up all the flavor.
- Weeknight Hero: Honestly, it’s my go-to for busy Tuesdays—ready before the kids finish their homework.
- Budget Stretcher: A pound of ground beef and a can of Mexene beans feeds my family of four, with leftovers for lunch.
Step-by-Step Instructions for Mexene Chili
Here’s how to build deep, rich flavors that make this chili truly unforgettable.
Step 1: Brown the Beef and Aromatics
Heat the 2 tbsp Olive Oil in a large pot or Dutch oven over medium-high heat. Add the 1.5 lb Ground Beef and cook, breaking it into small pieces with a wooden spoon, until browned and crumbly—this takes about 5-7 minutes.
Drain excess fat if needed, leaving about 1 tbsp in the pot for flavor. Stir in the diced 1 whole Yellow Onion and cook for 3-4 minutes until softened and translucent. Then add the minced 4 cloves Garlic Cloves and cook for 30 seconds until fragrant.
Step 2: Toast the Spices for Maximum Flavor
Sprinkle the 2 tbsp Chili Powder, 1 tbsp Ground Cumin, 1 tsp Dried Oregano, and 0.25 tsp Cayenne Pepper over the beef and onions. Stir constantly for 1 minute to toast the spices—this deepens their aroma and prevents burning.
You’ll notice the spices becoming vibrant and fragrant. This step is crucial for building the bold Tex-Mex flavor profile. If the mixture starts to stick, add a splash of the 1 cup Beef Broth to deglaze the pot.
Step 3: Build the Chili Base
Stir in the 2 tbsp Tomato Paste and cook for 2 minutes to caramelize slightly. Then add the 1 can Crushed Tomatoes (with juices) and the remaining Beef Broth. Bring to a simmer, scraping up any browned bits from the bottom of the pot.
Add the 2 cans Mexene Chili Beans (undrained) and the 1 tsp Salt and 0.5 tsp Black Pepper. Stir well to combine all the ingredients. The liquid should just cover the beans and beef—if it looks too thick, add a splash of water.
Step 4: Simmer for Rich, Hearty Flavor
Reduce the heat to low and let the chili simmer uncovered for 30-40 minutes. Stir occasionally to prevent sticking. You’ll know it’s ready when the liquid thickens slightly and the flavors meld into a rich, cohesive dish.
The beans should be tender but still hold their shape, and the beef should be fully cooked and infused with the spices. Taste and adjust the seasoning if needed—add a pinch more salt or a dash of cayenne for extra heat.
Let the chili rest for 10 minutes off the heat before serving. This allows the flavors to develop even further, ensuring every bite is packed with that signature Tex-Mex boldness.
Pro Tips For Making Mexene Chili
- Brown the Beef Well: Cook the ground beef until it’s deeply browned, not just gray—this builds a rich, meaty base flavor that carries through the chili. I learned this the hard way when my first few batches tasted flat.
- Drain the Beans: Rinse the Mexene chili beans under cold water and drain them thoroughly to remove excess starch and sodium. It keeps the chili from turning into a thick, muddy mess.
- Bloom the Spices: After sautéing the onion and garlic, add the chili powder and let it toast for 30 seconds in the hot oil—it wakes up the flavor. Sounds weird, but it works.
- Simmer Low and Slow: Once everything’s in the pot, keep the heat low and let it simmer for at least 20 minutes. After burning three batches, I finally figured out that a rolling boil turns the beef tough.
Essential Equipment for This Dish
The Right Pot
I always reach for my 5.5-quart Le Creuset Dutch oven—it distributes heat evenly and holds enough for big batches. A heavy-bottomed stainless steel pot works too, but avoid thin aluminum that can scorch the spices. 🔥
Wooden Spoon
A sturdy wooden spoon is essential for breaking up the ground beef and stirring without scratching your pot. I keep mine from my first cooking class—it’s seen hundreds of chili batches. Look for one with a long handle to avoid steam burns.
Sharp Chef’s Knife
Invest in an 8-inch chef’s knife for dicing onions and mincing garlic efficiently. My Wüsthof has been my go-to for years. Keep it sharp—dull knives slip and make prep dangerous and slow.
Measuring Tools
Precision matters with spices, so I use stainless steel measuring spoons for the chili powder, cumin, and cayenne. A 1-cup liquid measure helps with the broth. Don’t eyeball it—consistency is key for that perfect balance.
Cutting Board
A large plastic or wood cutting board gives you space to prep all your aromatics at once. I prefer wood for its gentle feel on knives, but plastic is dishwasher-safe. Either way, stable is non-negotiable.
Tasting Spoon
Always taste as you go! A long-handled tasting spoon lets you check seasoning without burning your fingers. I keep one tied to my pot handle—it’s how I catch any needed salt or heat adjustments before serving. 💡
Nutrition Facts
Frequently Asked Questions
Can I use a different type of bean?
Yes, pinto or kidney beans work well as substitutes. Drain and rinse them first since they lack the starchy liquid that thickens the dish. The flavor will be slightly different but still delicious.
How do I make it less spicy?
Skip the cayenne and reduce chili powder to 1 tbsp. For extra mildness, remove seeds from any added fresh peppers. Taste before adding final seasoning.
Can I make this in a slow cooker?
Brown the beef first, then transfer to your slow cooker with all ingredients. Cook on low for 6-8 hours or high for 3-4 hours. Stir occasionally if possible.

Trained in classic French technique but raised on slow-cooked ribs and spicy rubs, she blends culinary skill with smoke and soul.
- Recipe for Boneless Pork Chops in Cast Iron Skillet: Sear and Baste to Juicy Perfection - October 3, 2026
- Recipe for Boneless Cross Rib Roast: Slow-Roasted Beef with Herb Crust - October 3, 2026
- Hamburgers in Sauce Recipe Crock Pot: Slow-Cooked Savory Delight - October 3, 2026