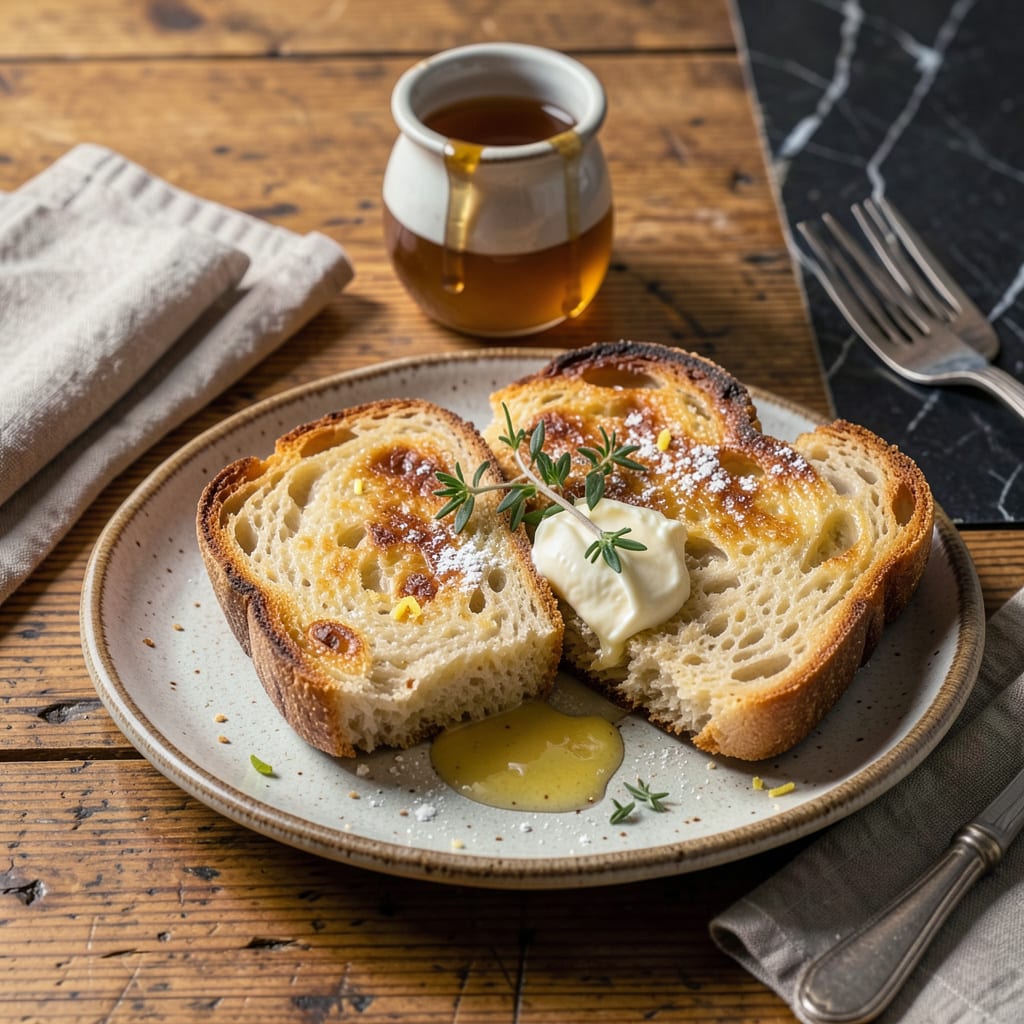
I’ll be real with you—microwaving frozen bread usually ends in disappointment. Either it’s rock-hard in the middle or weirdly soggy on top. But after burning through more frozen loaves than I’d like to admit (and nearly setting off my smoke alarm trying to “fix” them in the oven), I finally cracked the code for getting that freshly baked texture in minutes.
Here’s the thing: most people make two critical mistakes. First, they don’t adjust the power level, which means the outside steams while the inside stays frozen. Second, they skip the resting time, letting all that warmth escape before the first bite. My method fixes both—using a 30-second burst at half power, then letting the bread sit covered for 2 minutes to even out the heat.
What you get is bread that’s actually soft inside with just the right amount of warmth, like it came straight from the bakery. No more tearing your teeth on icy centers or dealing with limp, sad slices. Whether you’re reviving a baguette, dinner rolls, or sandwich bread, this works every time.
Perfect for last-minute garlic bread, emergency soup dippers, or when you just need something warm with butter. Let me show you how to do it right—no fancy equipment, no waiting for the oven to preheat.
📚 In This Guide
- What You’ll Need
- Instructions
- Tips and Common Mistakes
What Youll Need
- ● Frozen bread – 1–2 slices (or a whole loaf if reheating). Choose pre-sliced for convenience! ❄️
- ○ Microwave-safe plate – 1 standard (10–12″ diameter) or a microwave-safe bread tray (optional).
- ● Microwave – Any standard model (800W–1200W). Lower wattage? Add 5–10 extra seconds.
- ● Water – 1–2 tbsp (for steam—key for softness!). Use a small microwave-safe bowl or damp paper towel.
- ○ Butter or olive oil (optional) – ½ tsp per slice for extra flavor. 🧈
- ○ Kitchen towel or parchment paper (optional) – To cover bread and trap moisture.
- ● Tongs or oven mitts – Plate gets hot! Safety first. ⚠️
- ○ Toaster or oven (optional) – For crispier results if microwave alone isn’t enough.
Instructions
Here’s exactly how to transform frozen bread into warm, soft perfection in just minutes.
Prepare the Bread for Microwaving
Remove the frozen bread directly from the freezer and take it out of any plastic packaging. I like to place the slices on a microwave-safe plate in a single layer, making sure they don’t overlap. If you’re working with a frozen loaf, slice off only what you need while it’s still frozen—it’s much easier than trying to cut it after thawing.
If your bread has any frost or ice crystals, gently pat it dry with a paper towel. This small step makes a big difference in preventing sogginess. For best results, I recommend working with 2-4 slices at a time—overcrowding the microwave leads to uneven heating.
Use the Right Microwave Settings
Place a microwave-safe glass of water (about ½ cup) next to the bread on the turntable. This creates steam that helps prevent the bread from drying out. Microwave the bread and water together on medium power (50% power level) for 20-30 seconds.
The exact time depends on your microwave’s wattage and how many slices you’re heating. Start with 20 seconds for one slice, 30 seconds for two. You’re looking for the bread to become pliable but not hot—it should feel similar to fresh bread at room temperature. If it’s still cold in the center, continue in 5-second bursts until warmed through.
Add the Finishing Touch for Freshness
Here’s the secret that makes all the difference: immediately after microwaving, transfer the bread to your toaster and toast on low setting for 30-45 seconds. This quick toast removes any residual moisture from the microwaving process and restores that perfect crust.
If you don’t have a toaster, you can achieve similar results by placing the microwaved bread in a dry skillet over medium-low heat for about 30 seconds per side. Watch closely—you want just a light crispness, not actual toasting. The bread should now feel warm throughout with a slightly crisp exterior and soft, moist interior.
Serve Immediately for Best Results
Your revived bread is now at its peak and ready to enjoy. I find it stays perfectly warm and soft for about 5-10 minutes after this process. If you’ve prepared more than you can eat immediately, wrap the extra slices in a clean kitchen towel to help retain warmth and moisture.
For sandwiches, this is the ideal time to add your fillings—the slight warmth helps melty ingredients like cheese or butter spread beautifully. If you notice the bread starts to firm up as it cools (which happens naturally), simply repeat the 5-second microwave burst to refresh it without making it soggy again.
Tips and Common Mistakes
These small but powerful adjustments will help you get bakery-fresh results every time you revive frozen bread.
Steam Secret: The ½ cup of water in Step 2 isn’t just for show—it creates essential steam that prevents dryness. I’ve found that using warm (not cold) water works even better, as it starts producing steam immediately. Just be sure to use a microwave-safe glass that won’t get too hot to handle when you remove it after those 20-30 seconds.
Power Level Precision: That medium power setting (50%) in Step 2 is absolutely crucial. High power will make the edges rubbery while leaving the center frozen, and low power won’t warm it through. If your microwave doesn’t have percentage settings, use the “defrost” setting which typically operates at about 50% power. The gradual warming is what keeps the texture perfect.
Timing Technique: When you’re doing those 5-second bursts mentioned in Step 2, here’s what I’ve learned: count “one Mississippi, two Mississippi” for each second. This gives you a more accurate count than just quickly saying “one, two.” And remember, it’s better to underdo it slightly—you can always add another burst, but you can’t undo over-microwaving.
Equipment Alternative: For Step 3, if you’re using the skillet method instead of a toaster, choose a heavy-bottomed pan like cast iron. It distributes heat more evenly at that medium-low setting. I also recommend using tongs to flip the bread rather than a spatula—this prevents pressing out all the air you just worked to restore in the microwaving process.
Pro Tips for Microwave Frozen Bread
- These small but powerful adjustments will help you get bakery-fresh results every time you revive frozen bread.
- Steam Secret: The ½ cup of water in Step 2 isn’t just for show—it creates essential steam that prevents dryness. I’ve…
- Power Level Precision: That medium power setting (50%) in Step 2 is absolutely crucial. High power will make the edge…
Frequently Asked Questions
Can I microwave frozen bread directly without thawing?
Yes! Microwaving frozen bread without thawing is totally safe—just reduce power to 50% and use 10-15 second bursts to avoid a rubbery texture. Pro tip: Spritz with water first for extra softness!
How long does it take to microwave frozen bread?
Most slices or rolls need 20-40 seconds on high (or 1-2 minutes at 50% power). Thicker items (like baguettes) may take up to 1.5 minutes. Always check midway to prevent overcooking!
Why does my microwaved bread turn soggy or chewy?
Overheating or trapped steam is the culprit! To fix:
- Use a microwave-safe plate (not plastic).
- Leave the bread uncovered to let moisture escape.
- Pat dry with a paper towel after heating.
Is microwaving frozen bread better than toasting it?
Depends on your goal! Microwaving keeps bread soft and moist (great for sandwiches), while toasting makes it crispy. For best results, try microwaving 10 seconds + toasting 1 minute!
Can I reheat microwaved frozen bread later?
Yes, but it’s tricky—reheated bread dries out fast. Store leftovers in an airtight bag and reheat for 5-10 seconds with a damp paper towel on top to revive freshness.
Reviving frozen bread in the microwave is a game-changer for quick, warm, and soft results—no oven required! 🍞✨ With the right technique (and a splash of water or damp towel), you can enjoy that just-baked texture in under 2 minutes. Say goodbye to rock-hard slices or soggy disappointments!
Ready to try it? Grab that loaf from the freezer and experiment with your favorite bread—whether it’s crusty baguettes, soft dinner rolls, or hearty sourdough. For even more hacks, check out our guide on freezing and reheating other baked goods like a pro!

Trained in classic French technique but raised on slow-cooked ribs and spicy rubs, she blends culinary skill with smoke and soul.
- Recipe for Boneless Pork Chops in Cast Iron Skillet: Sear and Baste to Juicy Perfection - October 3, 2026
- Recipe for Boneless Cross Rib Roast: Slow-Roasted Beef with Herb Crust - October 3, 2026
- Hamburgers in Sauce Recipe Crock Pot: Slow-Cooked Savory Delight - October 3, 2026