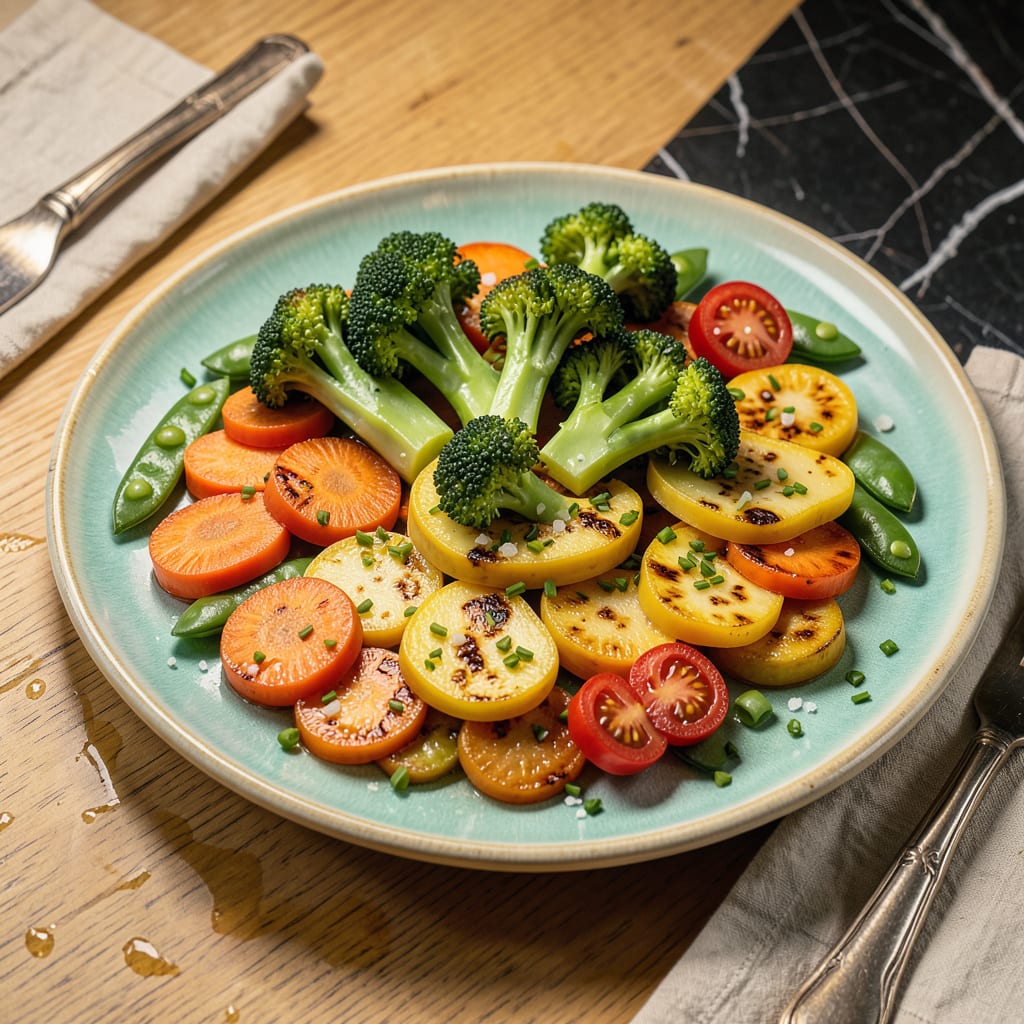
I’ll be real with you—I used to turn my nose up at microwaved vegetables until I discovered the secret to keeping them crisp-tender instead of sad and soggy. Five minutes is all it takes to transform fresh veggies into perfectly cooked sides that actually taste good. No fancy equipment, no complicated techniques, just your microwave and a bowl.
Here’s the thing—most people overcook microwave veggies by drowning them in water or zapping them too long. My method skips the water bath entirely and uses just a splash of liquid (or none at all) to steam them gently. You’ll get bright green broccoli with bite, carrots that stay slightly crisp, and green beans that don’t turn to mush. It’s the fastest way to get vegetables on the table without sacrificing texture.
The best part? This works for practically any vegetable you’ve got—frozen or fresh. I’ve tested everything from asparagus to zucchini, and the results are always the same: tender but still vibrant, with their natural flavors intact. Plus, you’re locking in more nutrients than boiling ever could, which makes this the smartest lazy-cook trick in my book.
Whether you’re throwing together a quick weeknight side or prepping veggies for meal bowls, this method delivers. Just grab your favorite seasonings, set the timer, and walk away. Dinner’s hardest part just got a whole lot easier.
📚 In This Guide
- What You’ll Need
- Instructions
- Tips and Common Mistakes
What Youll Need
- ● Fresh or frozen vegetables – 1 to 2 cups per serving (e.g., broccoli, carrots, green beans, or spinach). Pro tip: Cut into even-sized pieces for consistent cooking! 🥦🥕
- ● Microwave-safe dish – A 8×8-inch glass or ceramic bowl (or similar) with a lid or microwave-safe cover. Avoid metal! ❌🔌
- ● Water or broth – 2 to 3 tablespoons (adjust for steaming vs. crisp-tender texture).
- ○ Salt – ¼ teaspoon (or to taste). Optional: pepper, garlic powder, or herbs like thyme. 🧂✨
- ○ Cooking oil or butter – 1 teaspoon (optional, for flavor—olive oil or melted butter work great!).
- ○ Lemon juice or vinegar – ½ teaspoon (optional, for brightness). 🍋
- ● Microwave – At least 800 watts for best results (adjust time if lower wattage).
- ● Fork or tongs – For stirring halfway through cooking. 🍴
- ● Kitchen timer – To avoid overcooking (or use your microwave’s built-in timer). ⏰
- ○ Colander – Optional, for draining excess water if needed.
Instructions
Here’s how to transform fresh vegetables into perfectly cooked, crisp-tender results in minutes.
Prepare Your Vegetables for Even Cooking
Start by washing your vegetables thoroughly under cool running water. I like to use a colander for this step—it makes draining easier. For dense vegetables like carrots or broccoli, cut them into uniform, bite-sized pieces (about 1-inch thick). This ensures they cook evenly in the microwave.
For leafy greens, remove any tough stems and tear larger leaves into manageable pieces. The key here is consistency: pieces of similar size will cook at the same rate. Pat everything completely dry with a clean kitchen towel or paper towels—excess moisture creates steam that can make vegetables soggy instead of crisp-tender.
Arrange Vegetables for Optimal Microwave Cooking
Place your prepared vegetables in a single layer on a microwave-safe plate or shallow dish. Don’t overcrowd—leave about ½-inch of space between pieces. If you’re cooking more than 4 cups of vegetables, use a larger dish or cook in batches.
For best results, arrange denser vegetables like carrots or cauliflower toward the outer edges of the plate where they’ll receive more microwave energy. Delicate items like spinach or green beans should go toward the center. This arrangement helps everything finish cooking at the same time, giving you that perfect crisp-tender texture throughout.
Cook in Short Bursts for Perfect Texture
Cover the dish with a microwave-safe lid or damp paper towel. This traps just enough steam to cook the vegetables without making them mushy. Start with 2 minutes on high power (100% power setting).
After the initial cooking time, carefully remove the cover (watch for steam!) and stir the vegetables or flip larger pieces. Check for doneness: they should be bright in color and just beginning to soften. If needed, continue cooking in 30-second bursts, checking after each interval until they reach your desired tenderness.
Test for Doneness and Season Immediately
Your vegetables are perfectly cooked when they’re vibrant in color and a fork slides in easily but meets slight resistance. For example, broccoli should be bright green with crisp stems, while carrots should be tender but still hold their shape.
Transfer the cooked vegetables to a serving dish immediately. Toss them with a drizzle of olive oil, a pinch of salt, and freshly ground black pepper while they’re still hot. This quick seasoning step allows the flavors to absorb better. For extra brightness, finish with a squeeze of lemon juice or a sprinkle of fresh herbs.
Serve While Hot for Best Texture
Microwaved vegetables taste best when served immediately while they’re still warm. The texture will be at its peak—tender but with a slight bite. If you need to hold them briefly, keep them covered in a warm place for up to 10 minutes.
Remember that vegetables continue to cook slightly from residual heat after microwaving, so it’s better to err on the side of slightly underdone when testing. The perfect microwave-cooked vegetable should maintain its natural color, have a pleasant texture, and retain most of its nutrients—all achieved in just minutes with this simple method.
Tips and Common Mistakes
Mastering this simple technique comes down to a few key details that make all the difference between mushy and perfectly crisp-tender vegetables.
Arrangement Strategy: In Step 2, the placement of vegetables on the plate isn’t arbitrary. Dense vegetables like carrots and cauliflower need more microwave energy, so position them toward the outer edges of your dish. Delicate items like spinach or green beans should go in the center where they’ll cook more gently. This arrangement ensures everything finishes at the same time without overcooking any single piece.
Timing Precision: The initial 2 minutes at high power in Step 3 is just the starting point. After that, the 30-second bursts are critical for control. I always set a timer for these intervals—it’s easy to overcook when you’re guessing. Remember that vegetables continue cooking from residual heat after you remove them, so stop when they’re just slightly under your ideal tenderness.
Moisture Management: Here’s what nobody tells you about Step 1: drying your vegetables completely isn’t just about texture—it’s about flavor. Excess water on the surface dilutes seasoning and creates too much steam during cooking. I use a salad spinner for leafy greens and thoroughly pat everything dry with paper towels. The difference in final taste and texture is remarkable.
Seasoning Technique: Step 4 mentions seasoning immediately after cooking, and there’s a reason for this timing. Hot vegetables absorb flavors much better than cooled ones. I recommend tossing them with seasoning while they’re still in the cooking dish, then transferring to a serving plate. This extra 30 seconds of contact time makes the flavors pop.
Pro Tips for Microwave Vegetables
- Mastering this simple technique comes down to a few key details that make all the difference between mushy and perfec…
- Arrangement Strategy: In Step 2, the placement of vegetables on the plate isn’t arbitrary. Dense vegetables like carr…
- Timing Precision: The initial 2 minutes at high power in Step 3 is just the starting point. After that, the 30-second…
Frequently Asked Questions
Got questions about microwaving veggies? You’re not alone! Here are the most common queries—and quick answers—to help you nail that perfect crisp-tender bite every time.
How long should I microwave vegetables to keep them crisp?
Most veggies (like broccoli, carrots, or green beans) need 3-5 minutes on high, tossed with 1-2 tbsp water in a covered dish. Stir halfway! Overcooking = mushy—so start with less time and check often.
Can I microwave frozen vegetables without thawing?
Frozen veggies (peas, corn, spinach) microwave beautifully—just add 1-2 tbsp water and cook for 4-6 minutes, stirring once. No thawing needed, and they retain more nutrients than boiling!
Why do my microwaved vegetables turn out soggy?
Sogginess usually means too much water or overcrowding. Use a large, shallow dish, minimal water (or none for leafy greens), and pat dry after cooking. Pro tip: Leave the lid ajar for steam to escape!
What’s the best way to season microwaved vegetables?
Toss with olive oil, salt, and pepper before microwaving for even flavor. After cooking, brighten with lemon juice, garlic powder, or a sprinkle of Parmesan. Avoid salt during cooking—it can toughen veggies!
Are microwaved vegetables as healthy as steamed or roasted?
Yes! Microwaving preserves more vitamins than boiling (less nutrient loss in water). It’s nearly as good as steaming—just avoid drowning veggies in water. For extra crispiness, finish with a quick broil in the oven!
Microwaving vegetables is your secret weapon for quick, nutrient-packed sides without sacrificing texture or flavor. 🌱 With just 5 minutes and a few simple tricks, you can enjoy crisp-tender results that rival stovetop methods—minus the cleanup!
Ready to level up? Grab a bag of fresh or frozen veggies and try one of our recipes tonight. Your future self (and busy schedule) will thank you! Pro tip: Bookmark this guide for those last-minute dinner saves.

Trained in classic French technique but raised on slow-cooked ribs and spicy rubs, she blends culinary skill with smoke and soul.
- Recipe for Boneless Pork Chops in Cast Iron Skillet: Sear and Baste to Juicy Perfection - October 3, 2026
- Recipe for Boneless Cross Rib Roast: Slow-Roasted Beef with Herb Crust - October 3, 2026
- Hamburgers in Sauce Recipe Crock Pot: Slow-Cooked Savory Delight - October 3, 2026