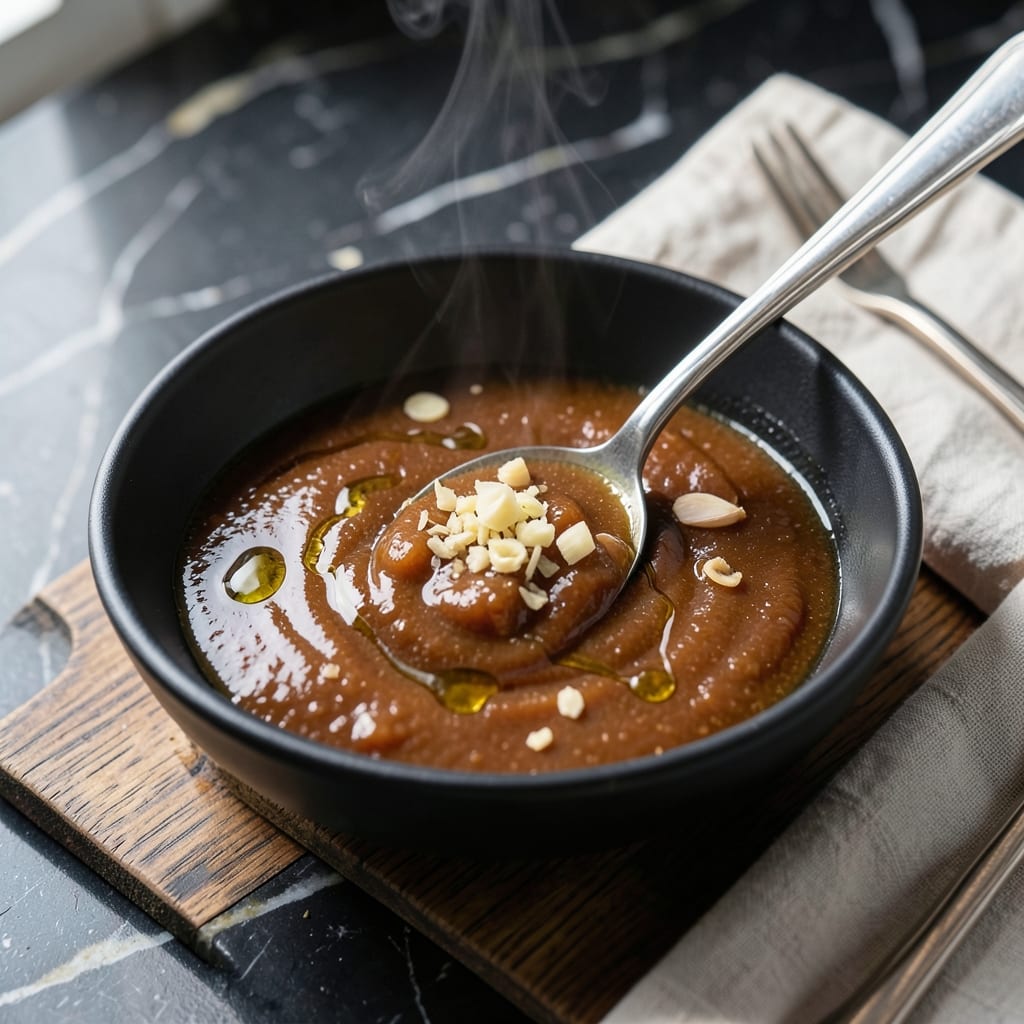
This sauce elevates everything it touches with its deep, complex umami flavor. I developed this version after testing countless variations to capture that signature Momofuku taste at home.
With just a handful of pantry staples, you can create a versatile condiment that transforms simple dishes. The balance of sweet, salty, and tangy makes it perfect for dipping, drizzling, or marinating.
What sets this apart is its ability to add restaurant-quality depth to weeknight meals. Use it on noodles, roasted vegetables, or as a finishing touch for grilled meats.
Store in the fridge for up to two weeks, though it rarely lasts that long in my kitchen.
Ingredients for Momofuku Sauce
Eight pantry staples create this umami-rich, restaurant-worthy condiment in minutes.
| Ingredient | Amount | Notes |
|---|---|---|
| Soy Sauce 🥢 | ½ cup | Low-sodium preferred for balance |
| Rice Vinegar 🍚 | ¼ cup | Seasoned or unseasoned works |
| Brown Sugar 🍚 | ¼ cup | Light or dark, packed |
| Sesame Oil 🫒 | 1 tbsp | Toasted variety for depth |
| Garlic Cloves 🧄 | 3 cloves | Minced for even distribution |
| Fresh Ginger 🌿 | 1 tbsp | Grated or minced fine |
| Sriracha Sauce 🌶️ | 1 tbsp | Adjust for heat preference |
| Water 💧 | 2 tbsp | To thin consistency |
[recipe_ingredient_scaler]
The soy sauce is the foundation, so use a high-quality brand like Kikkoman or San-J. I always keep a bottle in my pantry—it’s a game-changer for depth. For the brown sugar, organic light brown adds a molasses note that complements the umami. Toasted sesame oil (found at Asian markets or the international aisle) brings the signature nutty aroma. Don’t skip it—it’s what makes this sauce sing.
Out of rice vinegar? Apple cider vinegar at half the amount works in a pinch, though the flavor will be slightly fruitier. No fresh ginger? Ground ginger at one-fourth the amount (about 3/4 tsp) is a decent substitute. For a milder heat, swap sriracha for gochujang paste (start with 1/2 tbsp). If you’re avoiding sugar, maple syrup or agave can replace the brown sugar 1:1.
This keeps beautifully in a sealed jar in the fridge for up to 2 weeks. The flavors actually deepen over time. I like to make a double batch—it’s that good. For longer storage, freeze in ice cube trays, then transfer to a bag. Thaw only what you need.
Why You’ll Love This Recipe
- 5-Minute Whisk: Honestly, just dump, whisk, and you’re done—no chopping finesse required beyond the garlic.
- Umami Bomb: That first hit of soy, vinegar, and brown sugar is ridculously good, like sweet-salty fireworks in your mouth.
- Drizzle Everything: I slather it on noodles, grilled chicken, even roasted veggies, and it never misses.
- Fridge Hero: Makes a full jar, keeps for weeks, and rescues any sad takeout leftovers I forget about.
Step-by-Step Instructions for Momofuku Sauce
This process transforms simple ingredients into a complex, balanced sauce in just minutes.
Step 1: Bloom the Aromatics in Oil
Heat the 1 tbsp Sesame Oil in a small saucepan over medium-low heat until it shimmers. Add the 3 cloves Garlic Cloves and 1 tbsp Fresh Ginger, stirring constantly for 30-45 seconds until fragrant but not browned.
Here’s the thing—you want to coax out the maximum flavor without burning. The moment the garlic starts to turn golden at the edges, you’ve gone too far. Remove the pan from heat if needed to prevent overcooking. This aromatic base is the foundation of the sauce’s depth.
Step 2: Create the Sweet-Savory Base
Add the 0.5 cup Soy Sauce, 0.25 cup Rice Vinegar, and 0.25 cup Brown Sugar to the saucepan. Stir well to dissolve the sugar completely, which typically takes 1-2 minutes over medium heat.
I’ve found that using a whisk helps break up the brown sugar clumps faster. You’ll notice the mixture start to gently bubble at the edges—that’s your signal that the sugar has fully incorporated. The color will deepen slightly as the sauce begins to develop its signature rich hue.
Step 3: Incorporate the Spice and Balance
Stir in the 1 tbsp Sriracha Sauce and 2 tbsp Water. The water might seem unnecessary, but it’s crucial for achieving the perfect consistency. Reduce the heat to low and let the sauce simmer gently for 3-4 minutes.
As it simmers, the sauce will thicken slightly and the flavors will meld together. You’ll see small bubbles breaking at the surface consistently, and the sauce will take on a glossy sheen. Taste at this point—you should detect the heat from the sriracha balanced by the sweetness of the sugar.
Step 4: Cool and Finalize the Sauce
Remove the saucepan from heat and let the sauce cool to room temperature, which takes about 20-30 minutes. The flavors will continue to develop and mellow as it cools, creating that perfect umami-packed balance this condiment is known for.
Real talk: the sauce will thicken a bit more as it cools. If it becomes too thick for your liking, you can stir in an additional 1 tbsp Water to reach your desired consistency. Transfer to a jar or bowl once completely cooled.
Pro Tips For Making Momofuku Sauce
- Bloom the Garlic: Cook the minced garlic in sesame oil for 30-45 seconds until fragrant but not brown—I learned this the hard way after bitter garlic ruined two batches.
- Dissolve the Sugar: Warm the soy sauce and brown sugar together first, stirring until fully dissolved, or you’ll end up with gritty sauce no matter how long you whisk.
- Balance the Vinegar: Taste before adding all the rice vinegar—some brands are sharper than others, and I’ve had to dial it back more than once.
- Rest the Sauce: Let it sit for 10 minutes after mixing—sounds weird, but the flavors meld and the garlic mellows just enough to taste right.
Essential Equipment for momofuku sauce
Small Saucepan
A 2-3 quart saucepan with heavy bottom is essential for even heat distribution. I use my All-Clad stainless steel for this—it prevents hot spots that could burn the garlic. Avoid nonstick for this recipe as the high heat can damage the coating. 🔥
Whisk
A balloon whisk helps dissolve the brown sugar quickly and prevents clumping. I keep a 10-inch whisk in my kitchen drawer specifically for sauces. The wires should be thin enough to scrape the pan bottom effectively.
Fine Grater
For the ginger, a Microplane grater gives you the finest texture that blends seamlessly into the sauce. I’ve tried mincing with a knife, but the grater extracts more juice and flavor. It’s a small investment that makes a big difference.
Measuring Cups
Use liquid measuring cups for the soy sauce and vinegar—they’re more accurate for liquids. I prefer OXO Good Grips with clear markings. For the brown sugar, pack it firmly into a dry measuring cup for consistency.
Glass Jars
Store your finished sauce in 8-12 oz glass jars with airtight lids. I reuse Ball mason jars—they’re perfect for fridge storage and let you see the beautiful color. The sauce keeps beautifully for up to 2 weeks. ❄️
Thermometer
While not strictly necessary, an instant-read thermometer helps monitor the sauce temperature. I aim to keep it below 200°F during simmering to prevent the sugars from caramelizing too much. This ensures the perfect balance of flavors.
Nutrition Facts
Frequently Asked Questions
Can I make this sauce without sriracha?
Swap in 1/2 tbsp gochujang for milder heat or 1 tbsp chili garlic sauce for a different kick. The sauce will still be delicious, just with a slightly different flavor profile.
What’s the best way to store leftover sauce?
Transfer to a clean airtight container and refrigerate for up to 2 weeks. For longer storage, freeze in ice cube trays, then transfer to a bag. Thaw only what you need.
Why does my sauce taste too salty?
This usually happens with high-sodium soy sauce. Balance it by adding 1 tsp honey or 1 tbsp water and adjust to taste. Always taste as you go!
Can I use this as a marinade?
Yes, but limit marinating time to 30 minutes max—the vinegar and soy sauce can start to “cook” the meat if left longer. It works wonderfully on chicken, tofu, or pork.

Trained in classic French technique but raised on slow-cooked ribs and spicy rubs, she blends culinary skill with smoke and soul.
- Recipe for Boneless Pork Chops in Cast Iron Skillet: Sear and Baste to Juicy Perfection - October 3, 2026
- Recipe for Boneless Cross Rib Roast: Slow-Roasted Beef with Herb Crust - October 3, 2026
- Hamburgers in Sauce Recipe Crock Pot: Slow-Cooked Savory Delight - October 3, 2026