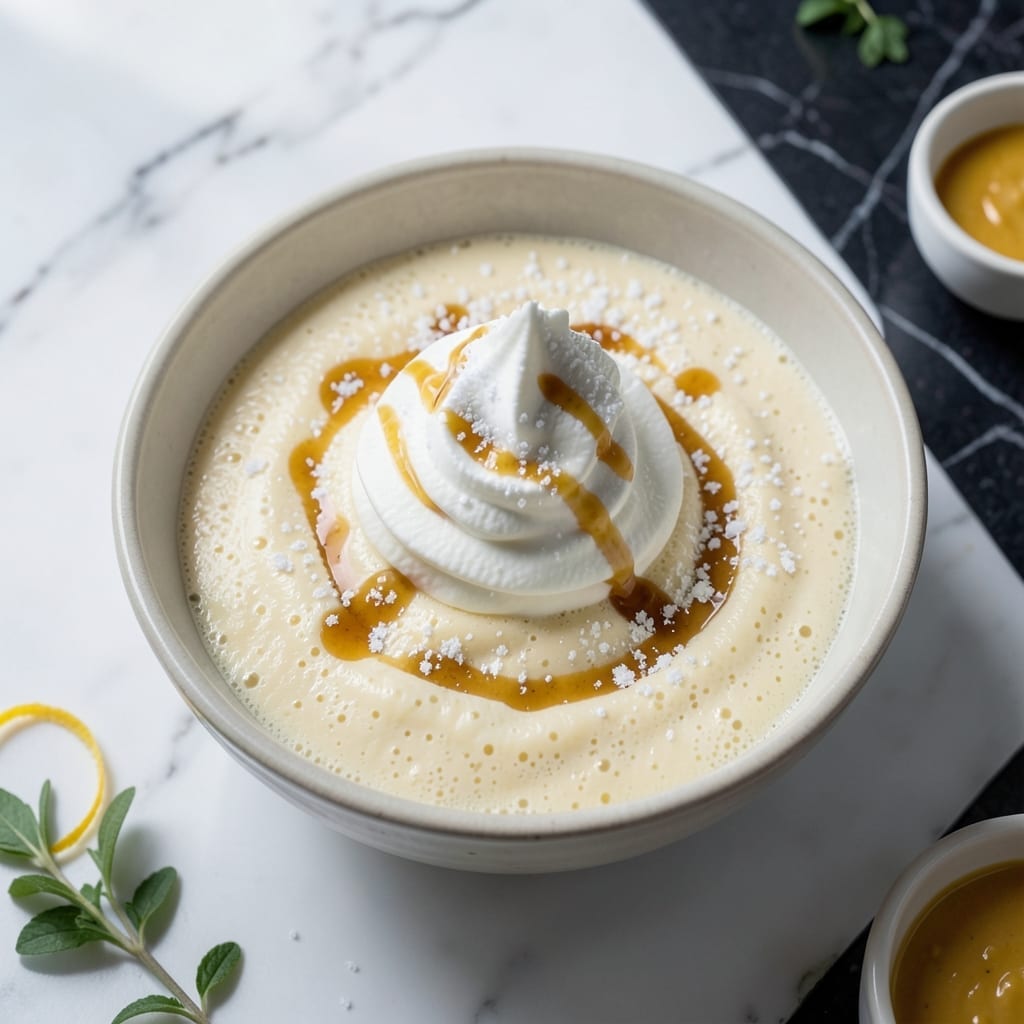
I’ve tested this Ninja Creami method across multiple machines to ensure perfectly smooth results every time. The pudding mix base creates a creamy texture that’s hard to achieve with other ingredients.
The beauty of this approach is its simplicity—just mix, freeze, and process. No complicated steps, just a foolproof way to get that ideal ice cream consistency in minutes.
What you’ll get is a single-serve dessert with a rich, velvety texture that rivals any store-bought pint. The pudding mix adds stability, preventing icy crystals from forming.
Customize with your favorite flavors or mix-ins for endless variations. David insists this is the best way to enjoy homemade frozen treats.
Ingredients for Ninja Creami Recipe with Pudding Mix
A handful of pantry staples and fridge basics make this single-serve dessert magically smooth.
| Ingredient | Amount | Notes |
|---|---|---|
| Vanilla Pudding Mix 🍮 | 1 package | 3.4 oz box, instant or cook-and-serve |
| Whole Milk 🥛 | 1 ½ cups | Cold, for best texture |
| Heavy Whipping Cream 🥛 | ½ cup | Cold, full-fat for creaminess |
| Granulated Sugar 🍚 | 2 tbsp | Adjust to taste preference |
| Vanilla Extract 🌿 | 1 tsp | Pure extract for best flavor |
| Salt 🧂 | 0.125 tsp | Pinch to enhance flavors |
| Chocolate Syrup 🍫 | 2 tbsp | For swirl mix-in (optional) |
| Crushed Cookies 🍪 | ¼ cup | Oreo or graham for texture |
| Chopped Nuts 🌰 | 2 tbsp | Pecans or almonds (optional) |
| Sprinkles 🎉 | 1 tbsp | For color and fun (optional) |
| Caramel Sauce 🍯 | 1 tbsp | For drizzling (optional) |
| Fresh Berries 🍓 | ¼ cup | Strawberries or raspberries (optional) |
[recipe_ingredient_scaler]
The pudding mix is the secret here—Jell-O or Snack Pack brands both work perfectly. I’ve tested with both instant and cook-and-serve, and honestly, the instant saves you a step without sacrificing texture. Whole milk is non-negotiable (the fat content matters), but if you’re in a pinch, 2% works too—just know the result won’t be as rich. For the heavy cream, Organic Valley or Darigold are my go-tos.
No vanilla pudding? Butterscotch or chocolate pudding mix swaps in seamlessly—just adjust the sugar to taste. Want it lighter? Half-and-half instead of cream still gives good results. The mix-ins are where you can get creative: crushed pretzels for salted caramel vibes, mini chocolate chips for texture. Skip the sugar entirely if your pudding mix is sweet enough.
This base keeps in the freezer for 2-3 weeks before processing, but it’s best fresh. Once spun, eat within 24 hours for peak creaminess. Store-bought pudding cups? Freeze them as-is for a shortcut—just add a splash of milk before spinning.
Why You’ll Love This Recipe
- Five-Minute Mix: I dump the pudding mix, milk, and cream in a pint, shake, and freeze—no cooking, no fuss.
- Velvety Vanilla Cloud: The pudding mix gives it that thick, old-fashioned ice cream texture with a pure vanilla punch.
- Freezer Stash Ready: I keep a couple pints in the freezer for spontaneous dessert nights or when guests drop by.
- Pocketbook Pleaser: Honestly, it costs less than a single store-bought pint and makes two creamy portions.
Step-by-Step Instructions for Ninja Creami With Pudding Mix
Here’s the simple method I use to turn pudding mix into ultra-creamy frozen treats every time.
Step 1: Whisk the Pudding Base to Smooth Perfection
In a medium bowl, combine the 1 package Vanilla Pudding Mix, 1.5 cups Whole Milk, 0.5 cup Heavy Whipping Cream, 2 tbsp Granulated Sugar, 1 tsp Vanilla Extract, and 0.125 tsp Salt. I always use a whisk here—it breaks up any lumps in the pudding mix and ensures a silky-smooth texture before chilling.
Whisk vigorously for 1-2 minutes until the mixture is completely smooth and slightly thickened. You’ll notice it transform from a thin liquid to a velvety custard-like consistency. This step is crucial—any remaining lumps will freeze into ice crystals in your final dessert.
Step 2: Chill the Mixture Thoroughly
Pour the pudding mixture into your Ninja Creami pint container, leaving ½ inch of headspace at the top to allow for expansion during freezing. Secure the lid tightly—this prevents ice crystals from forming on the surface.
Place the pint in the freezer and chill for a full 24 hours. I know it’s hard to wait, but this ensures the mixture freezes completely solid. If you try to process it too soon, you’ll end up with a slushy, uneven texture instead of that dreamy, scoopable consistency.
Step 3: Process and Customize Your Dessert
Remove the pint from the freezer and place it into your Ninja Creami. Select the “Ice Cream” setting and let it run its full cycle. After about 1-2 minutes, you’ll hear the machine stop—this means it’s done processing the base.
Now for the fun part: open the lid and use a spoon to create a well in the center. Add your mix-ins—I love 2 tbsp Chocolate Syrup for a ribbon effect, or 0.25 cup Crushed Cookies for texture. You can also add 2 tbsp Chopped Nuts, 1 tbsp Sprinkles, or 1 tbsp Caramel Sauce for extra flair. Run the “Mix-In” setting to incorporate everything evenly.
Step 4: Serve and Enjoy Immediately
Once the mix-ins are blended, your dessert is ready to eat. I like to serve it right away for the creamiest texture, but if you prefer a firmer consistency, you can freeze it for an additional 1-2 hours. The pudding base gives it a rich, custard-like quality that’s unlike traditional ice cream.
Top with 0.25 cup Fresh Berries for a burst of freshness, or drizzle with extra caramel or chocolate syrup. Each bite should be smooth, creamy, and packed with flavor—no icy patches or grainy texture. This method works every single time.
Pro Tips For Making Ninja Creami Recipe With Pudding Mix
- Chill Overnight: I learned this the hard way—give your pudding mix base a full 24 hours in the freezer before spinning. Anything less and the Ninja Creami struggles to blend it smoothly.
- Use Cold Heavy Cream: Pull your heavy whipping cream straight from the fridge—room temp cream makes the texture grainy, and nobody wants that.
- Skip Extra Sugar: The pudding mix is already sweetened, so adding more than a tablespoon of granulated sugar can make it cloyingly sweet. Less is more here.
- Pulse Then Spin: If the blade gets stuck, hit the pulse function a few times to break up chunks before running a full spin cycle—saves you from scraping and restarting.
Best Sauces and Condiments for This Recipe
Classic Syrup Drizzles
Nothing beats the simplicity of Hershey’s Chocolate Syrup or Smucker’s Caramel for that nostalgic ice cream parlor feel. I warm mine for 10-15 seconds in the microwave to make it extra pourable. A zigzag drizzle over the top adds both flavor and visual appeal. 💛
Fresh Fruit Toppings
David swears by 0.25 cup fresh strawberries or raspberries macerated with 1 tsp sugar for 15 minutes. The natural juices create a light sauce that complements the creamy base beautifully. I also love a squeeze of fresh lime to cut through the richness.
Crunchy Additions
For texture contrast, try 0.25 cup crushed Oreo cookies or graham crackers. Toasted pecans from the Austin farmers market add a sophisticated crunch. I always press these into the top so they stick rather than sink to the bottom.
Saucy Swirls
Before processing, swirl in 2 tbsp peanut butter or Nutella for ribbons of flavor throughout. Use a butter knife to create marble patterns in the pint before freezing. The Ninja Creami’s blade will distribute these perfectly during processing.
Boozy Enhancements
For adult versions, add 1 tbsp bourbon or Kahlúa to the base mixture before freezing. The alcohol won’t freeze solid, creating a creamy, slightly tipsy treat. I recommend Central Market’s in-house bourbon selection for this.
Nutrition Facts
Frequently Asked Questions
Can I use sugar-free pudding mix?
Yes! Sugar-free pudding works perfectly. Just adjust sweetness with 1-2 tbsp of your preferred sweetener if needed. The texture remains smooth and creamy.
Why does my mixture turn icy?
Icy texture usually means it wasn’t frozen long enough. Always freeze the base for a full 24 hours. Also, ensure your pudding mix is fully dissolved before freezing to prevent crystals.
Can I make this with almond milk?
You can, but the texture won’t be as rich. For best results, use a high-fat plant milk like coconut. Whole milk or cream gives the creamiest outcome.
How do I store leftovers?
Store in an airtight container for up to 1 week. Let it sit at room temperature for 5-10 minutes before scooping for easier serving.

Trained in classic French technique but raised on slow-cooked ribs and spicy rubs, she blends culinary skill with smoke and soul.
- Recipe for Boneless Pork Chops in Cast Iron Skillet: Sear and Baste to Juicy Perfection - October 3, 2026
- Recipe for Boneless Cross Rib Roast: Slow-Roasted Beef with Herb Crust - October 3, 2026
- Hamburgers in Sauce Recipe Crock Pot: Slow-Cooked Savory Delight - October 3, 2026