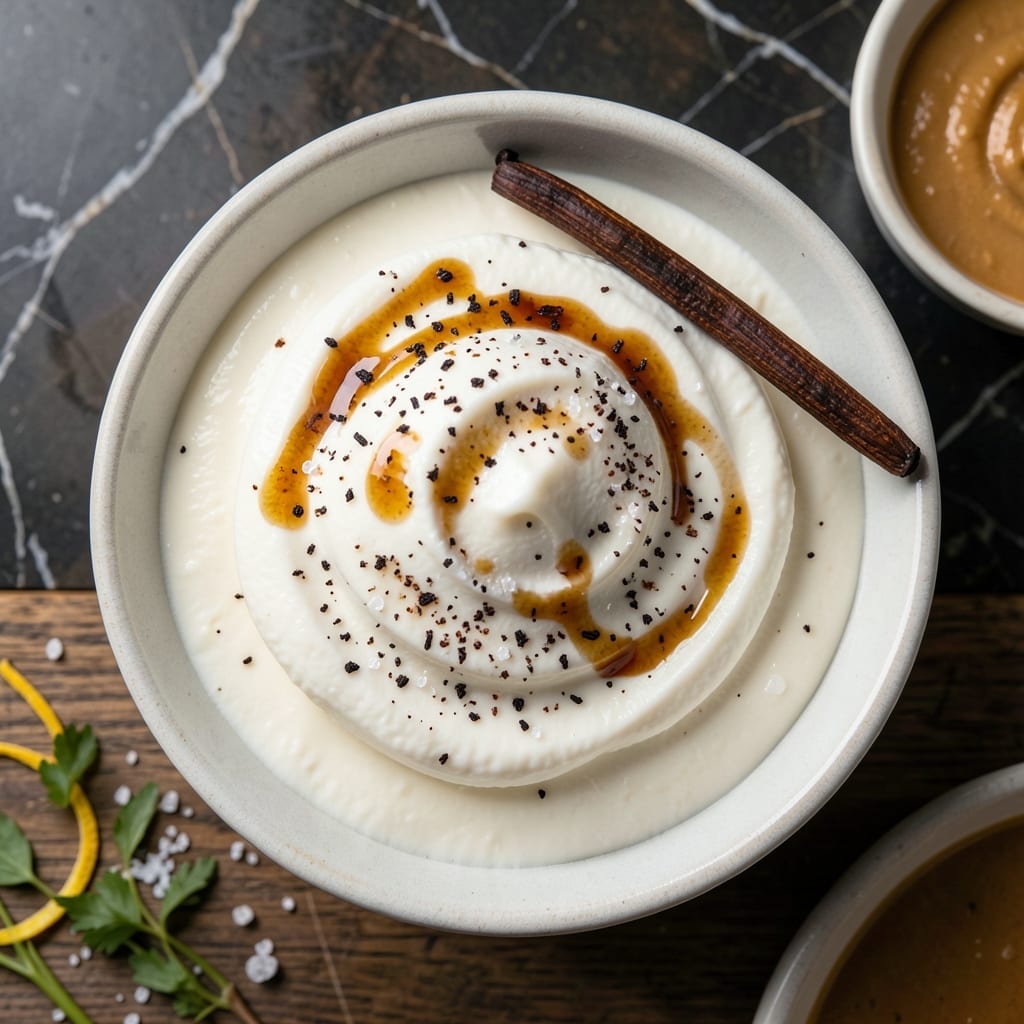
This recipe delivers ultra-smooth vanilla ice cream using your Ninja Creami—no cream cheese required. The secret lies in a simple base that churns into a light, creamy texture every time.
With just a few pantry staples and precise machine settings, you’ll achieve professional results. The process is straightforward, and the outcome is consistently perfect.
Ingredients for Ninja Creami Vanilla Ice Cream Recipe Without Cream Cheese
Pantry staples plus milk and cream. Simple base for ultra-smooth results.
| Ingredient | Amount | Notes |
|---|---|---|
| Whole Milk 🥛 | 2 cups | Full-fat for creaminess |
| Heavy Cream 🥛 | 1 cup | Cold, for rich texture |
| Granulated Sugar 🍚 | ¾ cup | Fine granulated preferred |
| Pure Vanilla Extract 🌿 | 2 tsp | High-quality for best flavor |
| Vanilla Bean 🌱 | 1 whole | Split and scraped (optional) |
| Pinch of Salt 🧂 | 1 pinch | Enhances sweetness |
| Corn Syrup 🍯 | 2 tbsp | Light or dark variety |
| Xanthan Gum ⚗️ | ¼ tsp | Stabilizer for smoothness |
| Ice Cubes ❄️ | 1 cup | For blending adjustment |
[recipe_ingredient_scaler]
The milk and cream are non-negotiable for that velvety texture—Whole Foods or Trader Joe’s have great organic options. I always grab the vanilla extract from Nielsen-Massey (splurge-worthy for real vanilla flavor). The xanthan gum might sound fancy, but it’s just a stabilizer—Bob’s Red Mill makes it easy to find. If you’re using a vanilla bean, look for plump, moist ones (dry ones have less flavor).
No xanthan gum? A teaspoon of vodka works as a stabilizer too (don’t worry, it cooks off). Swap corn syrup for agave or honey if you prefer, but it might affect the texture slightly. Full-fat milk is ideal, but 2% works in a pinch—just expect a slightly icier result. Vanilla pasta (the seeds) can replace the bean if that’s what you’ve got.
The base stays fresh in the fridge for 3 days before churning. Once made, eat within 1 week for peak texture. Store in an airtight container with parchment paper pressed to the surface to prevent ice crystals.
Why You’ll Love This Recipe
- One-Minute Mix: I just dump milk, cream, sugar, and vanilla in the pint—no cooking, no fuss.
- Real Vanilla Punch: That vanilla bean fleck and pure extract combo tastes like old-fashioned ice cream parlors.
- Freezer to Bowl: I keep a stash of these pints ready for surprise guests or midnight cravings.
- No Waste: Leftovers? Honestly, there aren’t any—but if there were, they’d still taste fresh after a week.
Step-by-Step Instructions for Ninja Creami Vanilla Ice Cream Without Cream Cheese
This method delivers that ultra-smooth texture you’re after without any cream cheese in sight.
Step 1: Combine Dairy and Sweeteners
In a large mixing bowl, whisk together the 2 cups Whole Milk and 1 cup Heavy Cream until fully combined. The key here is using cold dairy straight from the fridge—this prevents the mixture from warming up before freezing, which could affect the final texture.
Gradually add the 0.75 cup Granulated Sugar, 2 tbsp Corn Syrup, and 1 pinch Pinch of Salt. Whisk vigorously for 1-2 minutes until the sugar completely dissolves. You shouldn’t see any granules at the bottom of the bowl.
Step 2: Infuse with Vanilla Flavor
Stir in the 2 tsp Pure Vanilla Extract until evenly distributed. If using the 1 whole Vanilla Bean, split it lengthwise, scrape out the seeds, and add both seeds and pod to the mixture for maximum flavor infusion. Let it sit for 10 minutes to allow the vanilla to steep.
Remove the vanilla pod if used, then give the mixture one final whisk. The liquid should look smooth and slightly thickened from the sugar. This is where that rich vanilla flavor develops—don’t rush this step.
Step 3: Stabilize and Prepare for Freezing
Sprinkle the 0.25 tsp Xanthan Gum evenly over the surface of the mixture. This is your secret weapon for that creamy texture without cream cheese. Let it sit undisturbed for 1 minute—this prevents clumping.
Whisk vigorously for 30-45 seconds until the mixture becomes noticeably thicker and slightly glossy. The xanthan gum acts as a stabilizer, ensuring your ice cream stays smooth and doesn’t form ice crystals during freezing. You’ll see the mixture transform from thin to slightly syrupy.
Step 4: Freeze in the Ninja Creami Pint
Pour the mixture into a Ninja Creami pint container, leaving ½ inch of headspace at the top to allow for expansion. Secure the lid tightly. Place the pint in the freezer and freeze for 24 hours—this timing is crucial for the Ninja Creami to work its magic.
The mixture should be completely solid when you remove it from the freezer. If it’s not fully frozen, the machine won’t process it correctly. I recommend setting a timer so you don’t forget it in the back of the freezer.
Step 5: Process and Adjust Consistency
Remove the frozen pint from the freezer and place it into your Ninja Creami. Run the “Ice Cream” setting. After the first cycle, check the consistency. If it looks crumbly or icy, run the “Re-spin” function.
For the perfect creamy texture, add 1 cup Ice Cubes one at a time through the lid during the re-spin, processing between each addition. This adjusts the consistency to that ultra-smooth, light texture you’re aiming for. Serve immediately for soft-serve consistency or freeze for 1-2 hours for a firmer scoop.
Pro Tips For Making Ninja Creami Vanilla Ice Cream Recipe Without Cream Cheese
- Chill the Base: Let your milk, cream, and sugar mixture chill in the fridge for at least 4 hours—I learned this the hard way after ending up with a soupy mess the first time.
- Scrape the Bean: Split the vanilla bean lengthwise and scrape out every last speck of seeds; it’s more work but actually changes the outcome.
- Skip the Overfill: Fill the Ninja Creami pint no higher than the max line, or you’ll be cleaning frozen dairy off the lid (yes, even if you’re impatient like me).
- Use Full-Fat: Whole milk and heavy cream are non-negotiable here—lower-fat versions give you icy, less creamy results every single time.
Serving Suggestions for ninja creami vanilla ice cream recipe without cream cheese
Bowl Toppings
For a classic touch, I sprinkle crushed Oreo cookies or chopped pecans over the top—about 2 tbsp per serving. The crunch contrasts beautifully with the smooth texture. A drizzle of chocolate syrup or caramel sauce adds that nostalgic ice cream parlor feel. 💛
Fruit Pairings
Fresh strawberries or banana slices add natural sweetness without overpowering the vanilla. Toss ½ cup berries with 1 tsp sugar and a squeeze of lemon to macerate for 10 minutes before serving. This creates a quick, elegant sauce.
Sauce Drizzles
I love warming ¼ cup hot fudge in the microwave for 20 seconds and drizzling it over the ice cream. For a lighter option, raspberry coulis (blend 1 cup frozen raspberries with 2 tbsp sugar) adds a tangy contrast.
Texture Boosters
Add mini chocolate chips or toasted coconut flakes directly to the pint before the final re-spin. This incorporates mix-ins evenly. About 3 tbsp of add-ins works perfectly for one pint. The machine blends them in without overworking the ice cream.
Garnish Ideas
A sprinkle of sea salt right before serving enhances all the flavors. I also love adding whipped cream and a cherry on top for that retro diner vibe. These little touches make it feel special. ✨
Serving Temperature
For the creamiest texture, let your ice cream sit at room temperature for 5-10 minutes before scooping. If you prefer it firmer, serve straight from the freezer after processing. I find the slight softening makes all the difference for easy scooping.
Nutrition Facts
Frequently Asked Questions
Can I use almond milk instead of whole milk?
No, almond milk lacks the fat content needed for creamy results. Stick with whole milk or 2% in a pinch, but expect a slightly icier texture. Full-fat dairy is key for that smooth finish.
Why is xanthan gum necessary?
It stabilizes the mixture, preventing ice crystals and ensuring smoothness. Without it, your ice cream may turn icy. ¼ tsp is all you need for perfect results.
Can I skip the corn syrup?
Yes, but it helps soften the texture. Replace with 2 tbsp honey or agave, but note that flavor and consistency may vary slightly.
How long can I store the base before freezing?
The mixture stays fresh in the fridge for 3 days before churning. For best results, use it within 24 hours to maintain optimal flavor and texture.

Trained in classic French technique but raised on slow-cooked ribs and spicy rubs, she blends culinary skill with smoke and soul.
- Recipe for Boneless Pork Chops in Cast Iron Skillet: Sear and Baste to Juicy Perfection - October 3, 2026
- Recipe for Boneless Cross Rib Roast: Slow-Roasted Beef with Herb Crust - October 3, 2026
- Hamburgers in Sauce Recipe Crock Pot: Slow-Cooked Savory Delight - October 3, 2026