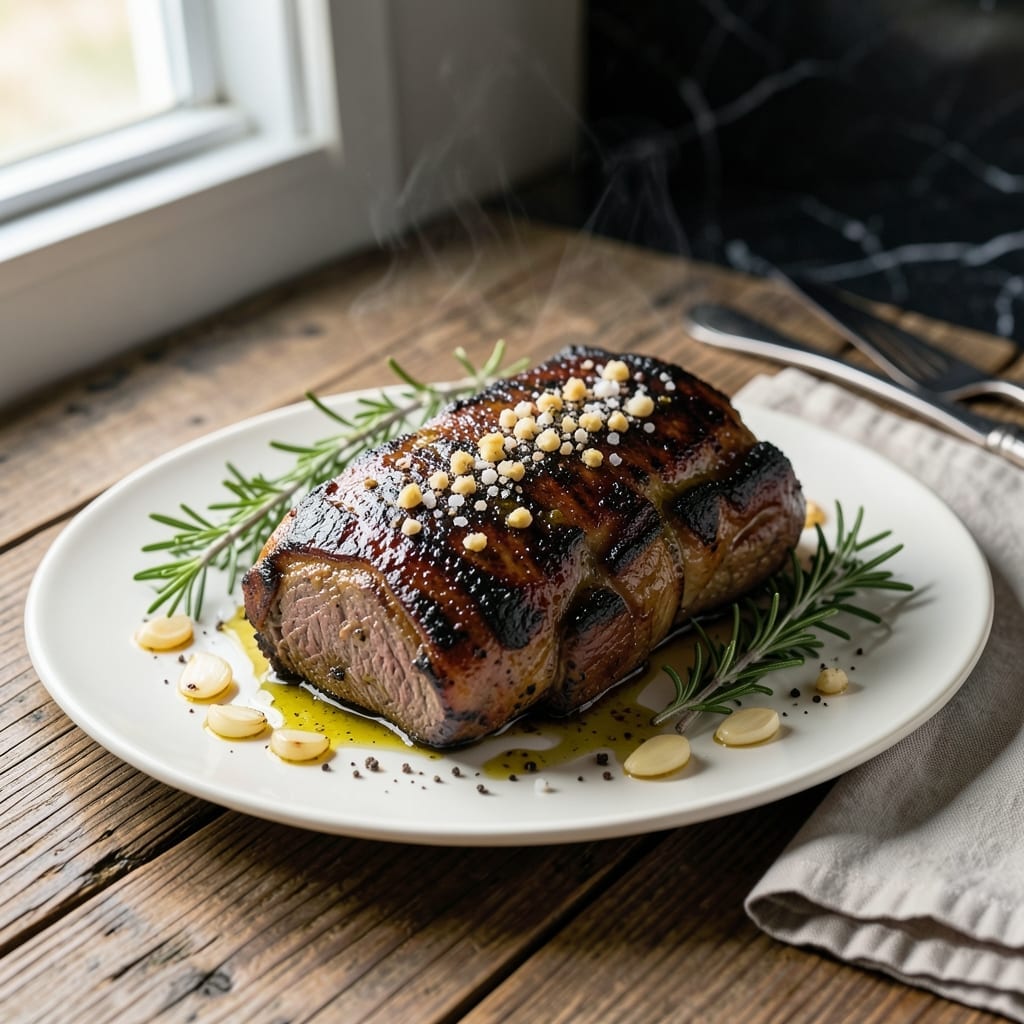
Achieving perfect roast with a crispy exterior is effortless with the Ninja Foodi grill’s air fry lid.
I developed this method by combining my pitmaster experience with French precision, ensuring every bite delivers tender meat and golden-brown results.
Ingredients for Ninja Foodi Grill Roast
Quality beef and fresh herbs meet the Foodi’s air fry lid for that pitmaster-perfect finish.
| Ingredient | Amount | Notes |
|---|---|---|
| Beef Chuck Roast 🥩 | 3 lb | Well-marbled for tenderness |
| Olive Oil 🫒 | 2 tbsp | Extra-virgin preferred |
| Kosher Salt 🧂 | 2 tsp | Diamond Crystal brand recommended |
| Black Pepper 🌶️ | 1 tsp | Freshly ground for best flavor |
| Garlic Cloves 🧄 | 6 cloves | Minced for even distribution |
| Fresh Rosemary 🌿 | 2 tbsp | Chopped, stems discarded |
| Fresh Thyme 🍃 | 2 tbsp | Leaves stripped from stems |
| Beef Broth 💧 | 1 cup | Low-sodium preferred |
| Red Wine 🍷 | ½ cup | Dry cabernet or merlot |
| Dijon Mustard 🟡 | 1 tbsp | Smooth, not grainy |
| Carrots 🥕 | 4 whole | Peeled, cut into chunks |
| Yellow Onion 🧅 | 1 whole | Large, quartered |
| Yukon Gold Potatoes 🥔 | 1 ½ lb | Cut into 2-inch pieces |
[recipe_ingredient_scaler]
The beef chuck roast is non-negotiable here (trust me on the marbling). Costco has great pre-cut pieces, but any butcher will cube it for you if you ask. Diamond Crystal kosher salt dissolves evenly—skip the iodized stuff. Fresh rosemary and thyme make a difference (dried just doesn’t hit the same). Grab a wedge from Whole Foods if you’re near one. The wine? Any bold red you’d actually drink.
No red wine? Beef broth with a splash of balsamic works in a pinch. Dried herbs at one-third the amount if fresh aren’t an option. Yukon Golds can swap for russets (they’ll just be fluffier). Trader Joe’s has pre-peeled garlic if you’re short on time. The mustard isn’t just for flavor—it helps that crust form. Skip it and you’ll miss that golden-brown magic.
Leftovers taste even better the next day. Store in an airtight container for up to 4 days in the fridge or freeze for 3 months. Reheat in the Foodi with the air fry lid to revive that crispy exterior (worth the extra minute).
Why You’ll Love This Recipe
- Set It and Forget: The Ninja Foodi does all the work—I just season the chuck roast, press a button, and walk away.
- Garlic-Infused Crust: That combo of olive oil, crushed garlic, and coarse salt creates the most ridiculous crust on the beef.
- Sunday Dinner, Tuesday Too: I’ve served this for holiday crowds and thrown it together for a regular weeknight with zero stress.
- Leftovers for Days: One roast feeds my family for two meals, and the shredded beef reheats beautifully for tacos or sandwiches.
Step-by-Step Instructions for Ninja Foodi Grill Roast
Here’s the method to achieve fall-apart tender meat with a perfectly crisp exterior.
Step 1: Season and Sear the Beef Chuck Roast
Pat the 3 lb Beef Chuck Roast dry with paper towels, then rub it all over with the 2 tbsp Olive Oil. Season generously with the 2 tsp Kosher Salt and 1 tsp Black Pepper, pressing the seasoning into the meat so it adheres well.
Select the “Sear/Sauté” function on your Ninja Foodi and set it to medium-high heat. When hot, sear the roast on all sides until deeply browned—about 3-4 minutes per side. This creates a flavorful crust that locks in juices. Transfer the seared roast to a plate and set aside.
Step 2: Build the Aromatic Base
In the same pot, add the 6 cloves Garlic Cloves (minced), 2 tbsp Fresh Rosemary (chopped), and 2 tbsp Fresh Thyme (leaves stripped). Sauté for 30-45 seconds until fragrant—just until the garlic starts to turn golden at the edges.
Add the 1 whole Yellow Onion (quartered), 4 whole Carrots (peeled and cut into chunks), and 1.5 lb Yukon Gold Potatoes (cut into 2-inch pieces). Stir to coat the vegetables in the rendered fat and herbs. This builds layers of flavor that will infuse the entire dish.
Step 3: Deglaze and Pressure Cook
Pour in the 0.5 cup Red Wine and scrape up any browned bits from the bottom of the pot with a wooden spoon. Let it simmer for 1-2 minutes to reduce slightly. Then stir in the 1 cup Beef Broth and 1 tbsp Dijon Mustard.
Return the seared roast to the pot, nestling it among the vegetables. Secure the pressure lid and set the Ninja Foodi to “Pressure” on high for 60 minutes. The natural release will take about 15 minutes—don’t rush it, as this ensures the meat becomes fork-tender.
Step 4: Crisp with the Air Fry Lid
Once the pressure cooking is complete, carefully remove the roast and vegetables to a large plate. Switch to the Air Fry lid and set the temperature to 400°F for 8-10 minutes. Place the roast back in the pot, skin-side up, to develop that promised crispy exterior.
Keep an eye on it—you want the surface to turn a deep golden brown and develop a slight crust. The vegetables can go in for the last 3-4 minutes if you want them extra crispy as well.
Step 5: Rest and Serve
Transfer the roast to a cutting board and let it rest for 10-15 minutes before slicing. This allows the juices to redistribute, ensuring every bite is moist and flavorful. Serve the sliced roast with the roasted vegetables and a ladle of the rich, herby pan juices spooned over the top.
The meat should pull apart easily with a fork, and the exterior should have that perfect crispness from the air fry finish. This method guarantees a showstopping roast with minimal effort and maximum flavor.
Pro Tips For Making Ninja Foodi Grill Roast
- Sear First, Always: I learned this the hard way—searing the chuck roast in the Foodi with olive oil before pressure cooking adds a deep, caramelized crust that you just can’t get otherwise. Use the “Sear/Sauté” function on high for 3-4 minutes per side.
- Smash the Garlic: Skip mincing and just smash the garlic cloves with the side of your knife instead. It releases more flavor into the roast while cooking, and you can fish out the cloves easily before serving if you prefer.
- Don’t Overfill Liquid: After burning a batch or two, I finally figured out that 1 cup of liquid (broth or water) is plenty for the Foodi—any more and you’ll dilute the flavors or risk a burnt warning. Just enough to deglaze the pot.
- Rest Under Foil: Once it’s done, tent the roast with foil and let it sit for 10-15 minutes before slicing. Sounds weird, but it works: the juices redistribute, and you won’t lose half the moisture to the cutting board.
Creative Variations of ninja foodi grill roast
Herb-Crusted Variation
Create a herb crust by mixing ½ cup panko breadcrumbs with 2 tbsp chopped parsley and 1 tbsp grated Parmesan. Press this onto the seared roast before air frying for extra crunch and flavor. 🌿
Spicy Coffee Rub
Swap the salt and pepper for a dry rub of 2 tbsp ground coffee, 1 tbsp smoked paprika, and 1 tsp cayenne. The coffee deepens the beef flavor while the cayenne adds heat. I learned this trick at a local BBQ competition.
Balsamic Glaze Finish
After air frying, drizzle with a balsamic reduction made from ½ cup balsamic vinegar and 1 tbsp honey, simmered until syrupy. This adds a sweet-tangy contrast to the rich beef. ✨
Mediterranean Twist
Add 1 cup Kalamata olives and ½ cup crumbled feta with the vegetables before pressure cooking. The briny olives and salty feta complement the herbs beautifully. I forage wild oregano to sprinkle on top.
Beer-Braised Version
Replace the red wine with 1 cup dark beer (like a stout) for deglazing. The maltiness pairs perfectly with beef. Use Guinness for a robust flavor. This is my go-to after a coastal ride on my vintage motorcycle.
Root Vegetable Swap
Trade the potatoes for 1 lb parsnips and 1 lb turnips, cut into chunks. Their natural sweetness caramelizes beautifully under the air fry lid. Adjust pressure time to 50 minutes for these denser veggies.
Nutrition Facts
Frequently Asked Questions
How do I get the crispiest crust?
Pat the meat completely dry before searing, then use the air fry lid at 400°F for 8-10 minutes. The drier the surface, the better the crust forms.
Can I use a different cut of beef?
Yes, but adjust timing. A 3 lb chuck roast needs 60 minutes pressure time, while a tougher brisket may need 90 minutes. Leaner cuts like sirloin work but can dry out.
What if my Foodi doesn’t have an air fry lid?
Use the “Grill” function at 400°F for 10-12 minutes instead. Watch closely to avoid burning. The results will be slightly different but still delicious.
How do I store leftovers?
Keep in an airtight container for up to 4 days in the fridge or freeze for 3 months. Reheat in the Foodi with the air fry lid to restore crispiness.

Trained in classic French technique but raised on slow-cooked ribs and spicy rubs, she blends culinary skill with smoke and soul.
- Recipe for Boneless Pork Chops in Cast Iron Skillet: Sear and Baste to Juicy Perfection - October 3, 2026
- Recipe for Boneless Cross Rib Roast: Slow-Roasted Beef with Herb Crust - October 3, 2026
- Hamburgers in Sauce Recipe Crock Pot: Slow-Cooked Savory Delight - October 3, 2026