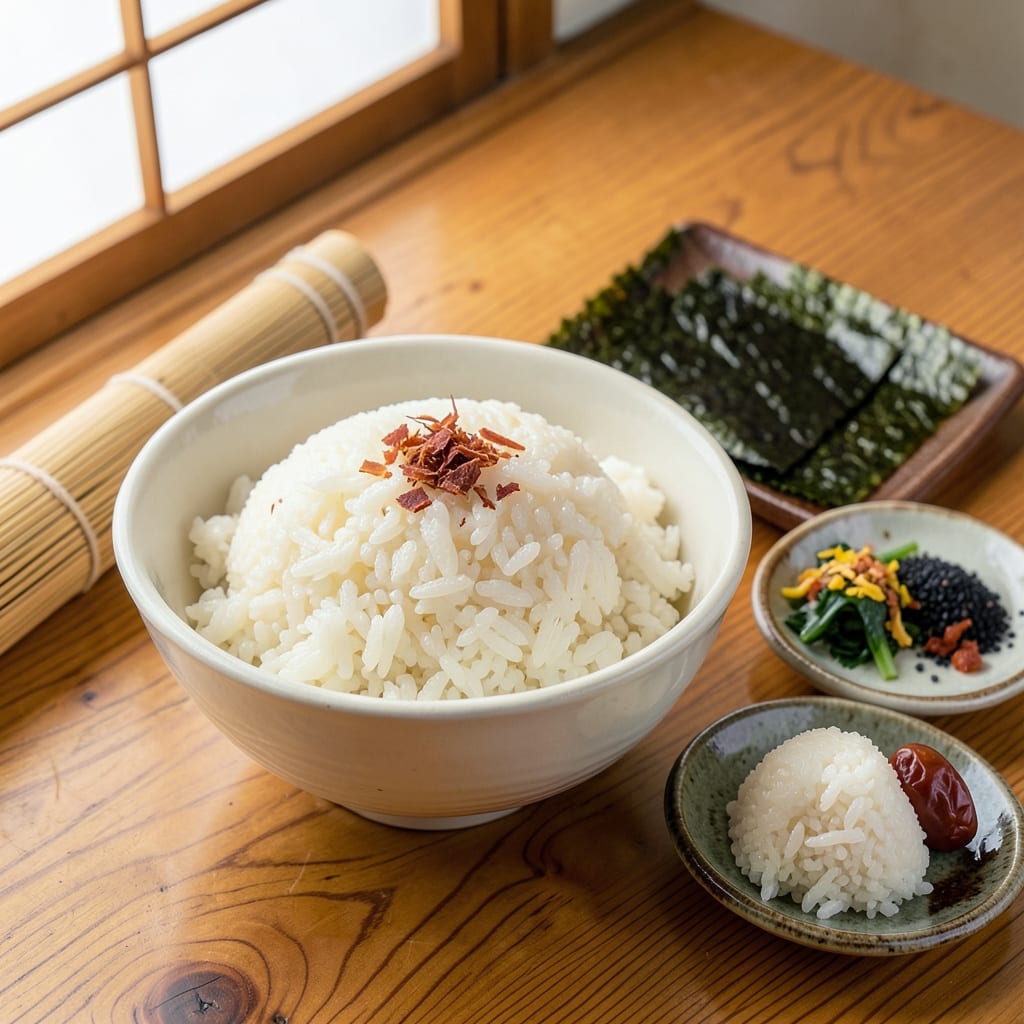
Rinse 1 cup Nishiki rice until water runs clear, then cook with 1¼ cups water in a pot or rice cooker. Bring to a boil, reduce to low heat, cover, and simmer for 15 minutes. Let it steam off-heat for 10 minutes before fluffing with a fork.
This method works because Nishiki’s medium-grain structure absorbs moisture differently than long-grain varieties. 🔥 The 1:1.25 rice-to-water ratio accounts for its slightly sticky starch content, creating that signature tender yet separate texture. I’ve found that letting it rest off-heat is crucial—it allows the grains to evenly distribute moisture, preventing that dreaded gummy bottom layer.
What many don’t realize is how temperature control affects the final product. That initial boil kicks off starch gelatinization, while the low simmer ensures gentle cooking. Skipping either step can leave you with undercooked centers or mushy edges. ✨
💡 In This Article
- Why Nishiki Rice Requires Precise Water Ratios
- Common Mistakes When Cooking Nishiki Rice
Why Nishiki Rice Requires Precise Water Ratios
The secret lies in Nishiki’s medium-grain structure, which contains about 15-17% amylose (a type of starch). This is lower than long-grain rice (which has 20-22%) but higher than short-grain varieties. The 1:1.25 rice-to-water ratio is carefully calibrated to account for how these starch molecules absorb and swell.
When heated, the amylose leaches out and creates a gel-like matrix that gives Nishiki its signature tender yet slightly sticky texture.
Compare this to jasmine rice, which typically uses a 1:1.5 ratio because its longer grains have more surface area and need extra moisture to cook through evenly. Or sushi rice, which often uses a 1:1.1 ratio to achieve that ultra-sticky consistency.
Nishiki sits perfectly in the middle—enough water to fully hydrate the grains without creating a gummy paste. The 1¼ cups water per 1 cup rice measurement isn’t arbitrary; it’s based on the rice’s 25-30% expansion rate during cooking.
Here’s what happens at the molecular level: When you add water and heat, the starch granules absorb liquid and swell. At around 140-150°F, the granules begin to burst, releasing amylose that thickens the cooking liquid. This is why you’ll notice the water becomes slightly cloudy during the first few minutes of cooking.
The 15-minute simmer at low heat gives the rice time to absorb this starch-rich liquid evenly, while the final 10-minute rest allows the grains to reabsorb any surface moisture.
Temperature control plays a crucial role in this process. The initial boil at 212°F jumpstarts starch gelatinization, while the reduced heat at 190-200°F maintains gentle cooking. If the heat is too high, the outer layers of the rice will burst before the centers are fully cooked, creating an uneven texture.
Too low, and the starch won’t properly gelatinize, leaving you with crunchy centers. 🔥
What most people don’t realize is how altitude affects these ratios. At higher elevations (above 3,000 feet), water boils at lower temperatures, which means you’ll need to increase water by about 2-3 tablespoons per cup of rice to compensate for the reduced cooking efficiency.
I learned this the hard way during a mountain cooking demo—my usually perfect Nishiki came out undercooked until I adjusted the liquid!
The resting period isn’t just about convenience—it’s science. During those 10 minutes off-heat, the rice undergoes retrogradation, where the starch molecules realign into a more ordered structure. This is what gives you those distinct, separate grains that hold their shape when fluffed.
Skip this step, and you’ll end up with a dense, sticky mass instead of the light, fluffy texture Nishiki is known for. ✨
For those who love measurements: A perfectly cooked batch of Nishiki rice will weigh about 3 times its dry weight when finished. That means 1 cup (185g) dry rice becomes approximately 3 cups (555g) cooked rice.
This consistency makes it ideal for meal planning—whether you’re serving it as a side or using it in sushi rolls where precise texture matters. 💫

Trained in classic French technique but raised on slow-cooked ribs and spicy rubs, she blends culinary skill with smoke and soul.
- Recipe for Boneless Cross Rib Roast: Slow-Roasted Beef with Herb Crust - October 3, 2026
- Hamburgers in Sauce Recipe Crock Pot: Slow-Cooked Savory Delight - October 3, 2026
- Sanjeev Kapoor Egg Biryani Recipe: Fragrant Spiced Rice With Boiled Eggs - October 3, 2026