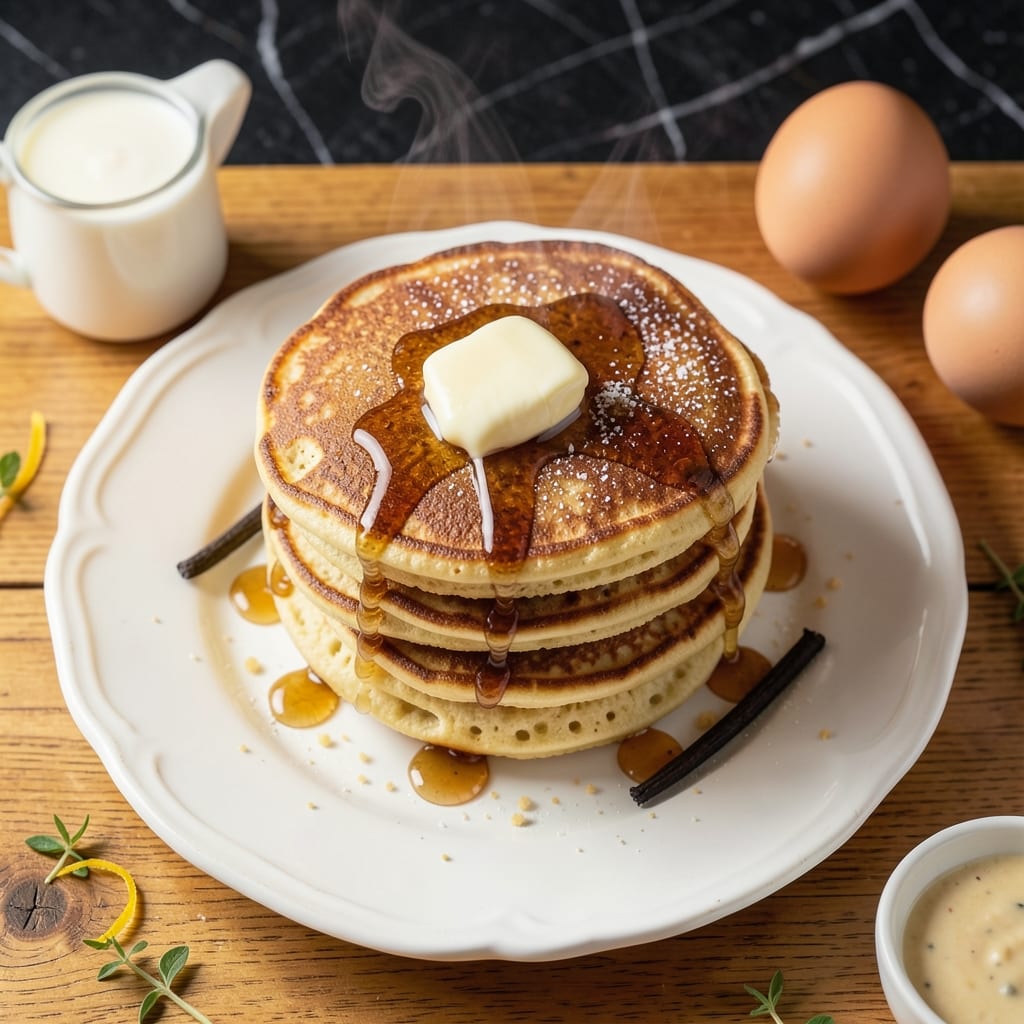
There’s a reason this pancake recipe has stood the test of time. Using just a handful of pantry staples, it delivers fluffy stacks with golden edges every time.
I’ve tested this in my tiny Boston kitchen, and the secret lies in the Bisquick base. It creates a consistent batter that cooks up light and airy without requiring fancy techniques.
You’ll have breakfast on the table in under 15 minutes, with minimal effort and maximum reward. The pancakes stay tender while developing that coveted crisp edge.
Serve with butter and syrup, or get creative with your favorite toppings. This method never fails to deliver nostalgic comfort.
Ingredients for Old Bisquick Pancake
Nothing exotic here—just good stuff for fluffy, golden pancakes every time.
| Ingredient | Amount | Notes |
|---|---|---|
| Bisquick Baking Mix 🥣 | 2 cups | Original or buttermilk variety |
| Large Eggs 🥚 | 2 whole | Room temperature preferred |
| Whole Milk 🥛 | 1 cup | Cold for fluffier texture |
| Unsalted Butter 🧈 | 2 tbsp | Melted, plus extra for greasing |
| Granulated Sugar 🍚 | 1 tbsp | Optional for sweetness |
| Vanilla Extract 🌿 | 1 tsp | Pure for best flavor |
| Salt 🧂 | ¼ tsp | Fine grain for even distribution |
| Ground Cinnamon 🌶️ | ¼ tsp | Optional for warm spice |
| Maple Syrup 🍁 | ½ cup | For serving, warmed |
| Additional Butter 🧈 | 4 tbsp | For serving, softened |
[recipe_ingredient_scaler]
The Bisquick is the foundation here. General Mills original is what I always grab—it’s in every grocery store, and the buttermilk version adds extra tenderness. Milk should be whole for richness, but 2% works in a pinch (just don’t go lower). I’ve tried this with almond milk before, and honestly, it’s not the same. Stick to dairy for the best results.
No Bisquick? Homemade mix (2 cups flour + 3 tsp baking powder + 1 tsp salt + 1 tbsp sugar) gets you close. Out of whole milk? Half-and-half thinned with water works. Want extra fluff? Separate the eggs, whip the whites to soft peaks, then fold in at the end (worth the extra minute). The vanilla is optional but adds that nostalgic diner touch.
Dry mix stays fresh for 6-12 months unopened, 3 months after opening. Leftover pancakes? Stack with parchment between layers, seal in a bag—they’ll keep 3 days in the fridge or 1 month frozen. Reheat in a toaster for that crisp edge.
Why You’ll Love This Recipe
- One Bowl Wonder: I just dump the Bisquick, eggs, milk, and a touch of sugar in a bowl, stir, and we’re ready to cook—no sifting, no fuss.
- Buttery Golden Crisp: The butter in the batter gives them that rich, golden edge with a tender center that melts in your mouth.
- Weekend or Wednesday: I’ve made these for lazy Sunday mornings and rushed school-day breakfasts—equally welcome both times.
- Pocketbook Friendly: A box of Bisquick and pantry staples feed my family for pennies, and leftovers reheat like a dream.
Step-by-Step Instructions for Fluffy Bisquick Pancakes
Here’s the method I’ve perfected for tall, tender pancakes with that nostalgic golden edge.
Step 1: Combine Wet and Dry Ingredients Separately
In a large bowl, whisk together the 2 cups Bisquick Baking Mix, 1 tbsp Granulated Sugar, 0.25 tsp Salt, and 0.25 tsp Ground Cinnamon until evenly distributed. The cinnamon adds warmth, but it’s subtle—just enough to make you pause mid-bite.
In another bowl, beat the 2 whole Large Eggs lightly, then stir in the 1 cup Whole Milk, 2 tbsp Unsalted Butter (melted and cooled), and 1 tsp Vanilla Extract. The vanilla enhances the buttery flavor, so use the pure stuff. Cold milk is key here—it reacts with the baking mix for maximum fluffiness.
Step 2: Fold Wet and Dry Mixtures Together Gently
Pour the wet ingredients into the dry ingredients and stir just until combined. You’ll see a few lumps—that’s perfect. Overmixing activates the gluten in the Bisquick, which turns pancakes tough instead of tender.
Let the batter rest for 2-3 minutes while you heat your griddle. This gives the leavening agents in the Bisquick time to start working. The batter should be thick but pourable—if it’s too stiff, add a splash of milk, but don’t overdo it.
Step 3: Cook on a Preheated Griddle
Heat a griddle or nonstick skillet over medium heat and lightly grease it with a bit of the 4 tbsp Additional Butter. The pan is ready when a drop of water dances across the surface. Pour ¼ cup of batter per pancake onto the griddle.
Cook until bubbles form on the surface and the edges look set, about 2-3 minutes. Flip once and cook for another 1-2 minutes until golden brown on both sides. Peek under the edge with a spatula—if it’s deep golden, it’s ready. Don’t press down; let them rise naturally.
Step 4: Serve Warm with Classic Toppings
Transfer the pancakes to a plate and cover loosely with a clean towel to keep them warm while you finish the batch. Warm the 0.5 cup Maple Syrup slightly—just enough to make it runny but not boiling.
Serve the pancakes immediately with the warmed syrup and the remaining Additional Butter. The contrast of the crisp edges and fluffy centers with that rich, buttery maple flavor is what makes this recipe timeless. If you’re feeling indulgent, let a pat of butter melt right on top before drizzling the syrup.
Pro Tips For Making Old Bisquick Pancake
- Heat the Griddle First: I learned this the hard way—if you pour batter on a cool griddle, you’ll get dense pancakes. Crank the heat to medium-high and test with a drop of water; it should sizzle and dance.
- Rest the Batter: After mixing, let it sit for 5 minutes. Sounds weird, but it works: the Bisquick absorbs the milk better, and you’ll get fluffier pancakes.
- Skip Overmixing: Stir just until the dry bits disappear—lumps are fine. After burning three batches, I finally figured out that overmixing makes them tough.
- Use Melted Butter: Swap the oil for melted unsalted butter in the batter. My grandmother swore by this, and she was right: it adds a richness that plain Bisquick pancakes usually lack.
Pro Cooking Tips for This Dish
Batter Consistency
I always aim for batter that’s thick but pourable—like heavy cream. If it’s too stiff, add 1-2 tbsp milk at a time. Too thin? Let it rest 5 minutes; the Bisquick will absorb some liquid. 💡
Griddle Temperature
Use medium heat (about 375°F) for even cooking. A too-hot griddle burns the outside before the inside cooks. Test with a drop of water—it should sizzle and dance, not evaporate instantly.
Flipping Technique
Flip only once, when bubbles cover the surface and edges look set. Use a thin, flexible spatula—I swear by my OXO Good Grips one. Pressing down after flipping squeezes out the fluff you worked so hard to create.
Resting the Batter
Let the batter rest 2-3 minutes after mixing. This gives the leavening agents time to activate. In my tiny Boston kitchen, I use this time to preheat the griddle and pour the syrup for warming.
Even Cooking
For uniformly golden pancakes, rotate the pan 90 degrees halfway through cooking if using a skillet. On a griddle, arrange pancakes in a circle and rotate their positions to account for hot spots. 🔥
Topping Timing
Warm your maple syrup in the microwave for 20-30 seconds or in a small saucepan. Cold syrup shocks the hot pancakes, making them soggy. Keep additional butter at room temperature for easy spreading.
Nutrition Facts
Frequently Asked Questions
Can I use buttermilk Bisquick instead of original?
Buttermilk Bisquick adds even more tenderness to the pancakes. You may need 1-2 tbsp extra milk since buttermilk mix absorbs liquid differently.
Why are my pancakes dense instead of fluffy?
Overmixing the batter is the most common culprit. Stir just until combined—lumps are fine! Also ensure your griddle is at medium heat and not too hot.
How do I keep pancakes warm while finishing the batch?
Place cooked pancakes on a plate in a 200°F oven. Cover with a clean towel to prevent drying. This works perfectly for up to 30 minutes.
Can I make the batter the night before?
Yes, but mix wet and dry ingredients separately. Combine them in the morning for maximum fluff. The baking powder loses potency if mixed too early.

Trained in classic French technique but raised on slow-cooked ribs and spicy rubs, she blends culinary skill with smoke and soul.
- Recipe for Boneless Pork Chops in Cast Iron Skillet: Sear and Baste to Juicy Perfection - October 3, 2026
- Recipe for Boneless Cross Rib Roast: Slow-Roasted Beef with Herb Crust - October 3, 2026
- Hamburgers in Sauce Recipe Crock Pot: Slow-Cooked Savory Delight - October 3, 2026