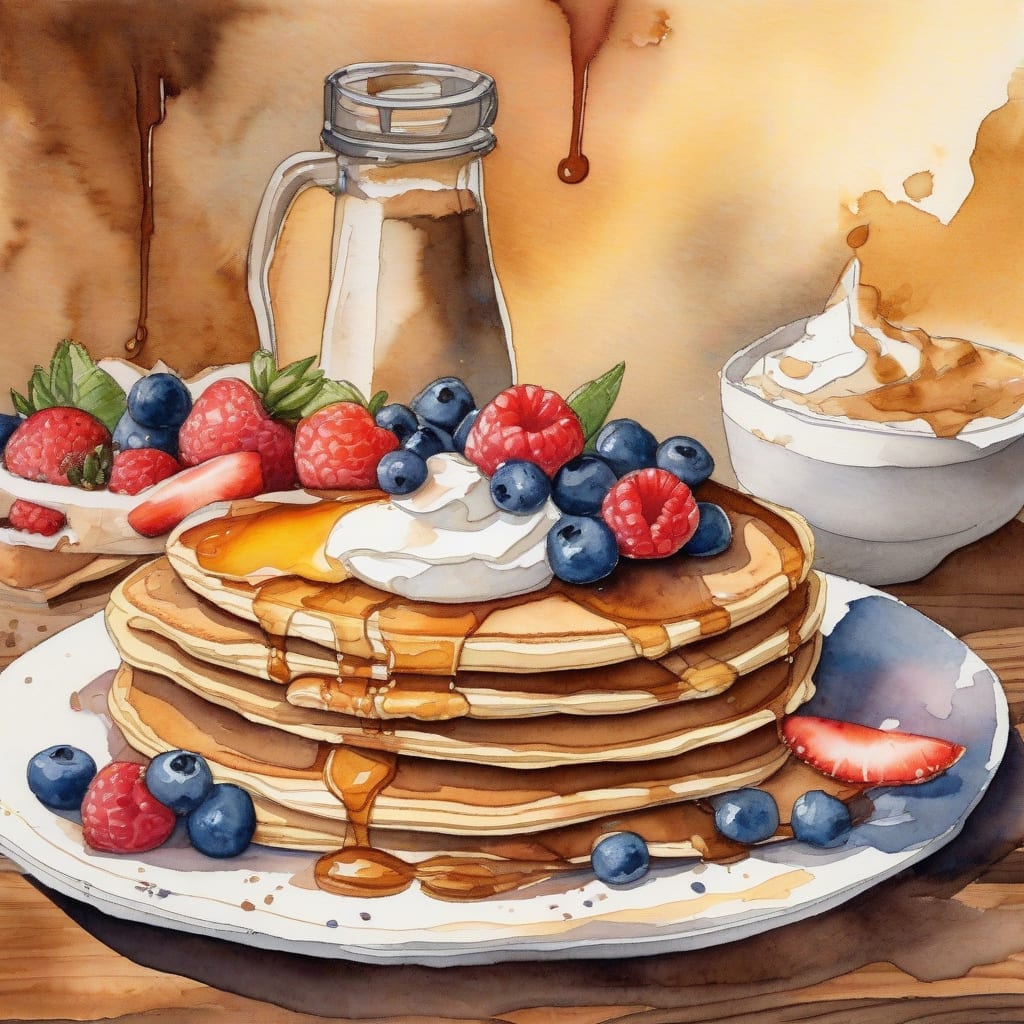
Creating beautiful pancake art transforms breakfast into a fun, creative experience! With a few simple techniques, you can whip up eye-catching designs that will delight both kids and adults alike. Let’s dive into this fast and enjoyable process of crafting edible masterpieces.
The beauty of this dish lies in its simplicity. Using just basic ingredients, you can mix up a batter that allows for vibrant colors and playful shapes. I’ll guide you through the steps to ensure your artistic visions come to life with ease.
By the end, you’ll have a stack of delicious pancakes that not only taste great but also look stunning on your plate. Impress your family and friends with your culinary creativity—let’s get started on making these delightful breakfast treats!
Ingredients for Pancake art
Gather these simple ingredients to create fun and colorful pancake art for breakfast.
| Ingredient | Amount | Notes |
|---|---|---|
| All-Purpose Flour 🌾 | 1 cup | For pancake batter |
| Granulated Sugar 🍬 | 2 tbsp | For sweetness |
| Baking Powder 🍞 | 2 tsp | For fluffiness |
| Salt 🧂 | ½ tsp | Balances flavors |
| Milk 🥛 | 1 cup | Whole or any plant-based |
| Vegetable Oil 🫒 | 2 tbsp | For moisture and richness |
| Vanilla Extract 🍦 | 1 tsp | Enhances flavor |
| Food Coloring 🎨 | ½ tsp | For vibrant designs |
| Cooking Spray 🍳 | ½ oz | Prevents sticking |
| Maple Syrup 🍁 | ¼ cup | For serving, optional |
[recipe_ingredient_scaler]
You can find all these ingredients at your local grocery store, including Whole Foods and Trader Joe's. For the best flavor, use pure vanilla extract rather than imitation. Look for fresh baking powder for maximum fluffiness in your pancakes. If you prefer plant-based options, almond or oat milk works well in this recipe.
If you don't have food coloring, you can create natural colors using beet juice or turmeric for yellow. Substitute buttermilk for regular milk to add a tangy flavor and extra fluffiness. For a healthier option, consider using whole wheat flour instead of all-purpose flour, but adjust liquid as needed for consistency.
Store leftover pancakes in an airtight container in the fridge for up to 3 days. You can also freeze them by placing parchment paper between pancakes to prevent sticking, lasting up to 2 months. Reheat in the toaster or microwave for a quick breakfast treat.
Step-by-Step Instructions for Pancake Art
Let me guide you through this fun and creative process to make breakfast more exciting!
👨🍳 Step 1: Prepare the Pancake Batter
In a large mixing bowl, combine the 1 cup all-purpose flour, 2 tablespoons granulated sugar, 2 teaspoons baking powder, and 0.5 teaspoon salt. I whisk these dry ingredients together until they’re well blended, ensuring the baking powder is evenly distributed for fluffiness.
Next, add the 1 cup milk, 2 tablespoons vegetable oil, and 1 teaspoon vanilla extract to the dry mixture. Stir gently until just combined. I like to leave a few lumps in the batter, as over-mixing can make the pancakes tough. This will ensure a light and fluffy texture when cooked.
🎨 Step 2: Color Your Batter
Now it’s time to add some fun! Divide the batter into separate bowls, depending on how many colors you want to use. For vibrant designs, I usually add about 0.5 teaspoon food coloring to each bowl. Stir until the color is fully incorporated. You’ll notice how bright and appealing the batter becomes—this is where the creativity begins!
Keep in mind that the colors will lighten when cooked, so don’t be afraid to go bold. Once your batter is colored, prepare to create some pancake art that will wow everyone at breakfast!
🔥 Step 3: Cook the Pancakes
Heat a non-stick skillet over medium heat and lightly coat it with 0.5 oz cooking spray. I recommend using a squeeze bottle or a piping bag for precision in your designs. Start by squeezing out your chosen color to form shapes, letters, or even characters directly onto the skillet.
Once the outlines are set and slightly firm, fill in the shapes with additional batter. Cook for about 2-3 minutes, or until bubbles form on the surface and the edges look set. Flip carefully using a spatula, then cook for an additional 1-2 minutes until golden brown.
⏰ Step 4: Serve with Maple Syrup
Once all your pancakes are cooked, stack them up on a plate and serve warm. Drizzle with 0.25 cup maple syrup if desired—this adds a delightful sweetness that complements your creations perfectly. Remember, each pancake should be fluffy and hold its shape beautifully.
This is the moment to enjoy your artistic breakfast! Not only do they taste great, but they also make for a fun family experience. You’ll love how proud everyone feels when they see their pancake art come to life!
Transforming Breakfast: Mastering Pancake Art Techniques
Creating pancake art is not just fun; it’s a fantastic way to engage kids in the kitchen! One tip I love is using a squeeze bottle for precision—this allows you to draw intricate designs easily. You can find these bottles at kitchen supply stores or online. 🎨
When mixing your batter, don’t over-stir! I always leave a few lumps in the mixture to ensure fluffy pancakes. Over-mixing can lead to tough pancakes, which nobody wants. The key is to gently combine the ingredients until just blended. 🌾
For vibrant colors, I recommend using gel food coloring rather than liquid. Gel coloring is more concentrated, so you’ll need less, and it won’t thin out your batter. Just add a small amount, about 0.5 teaspoon, to each bowl of batter for the best results. 🌈
Lastly, cooking at the right temperature is crucial. I set my skillet to medium heat and keep an eye on it. If the pancakes are browning too quickly, lower the heat slightly. This way, your designs will cook evenly without burning. Enjoy the creative process! 🔥
Nutrition Facts
220kcal
[recipe_ingredient_scaler]

Trained in classic French technique but raised on slow-cooked ribs and spicy rubs, she blends culinary skill with smoke and soul.
- Recipe for Boneless Pork Chops in Cast Iron Skillet: Sear and Baste to Juicy Perfection - October 3, 2026
- Recipe for Boneless Cross Rib Roast: Slow-Roasted Beef with Herb Crust - October 3, 2026
- Hamburgers in Sauce Recipe Crock Pot: Slow-Cooked Savory Delight - October 3, 2026