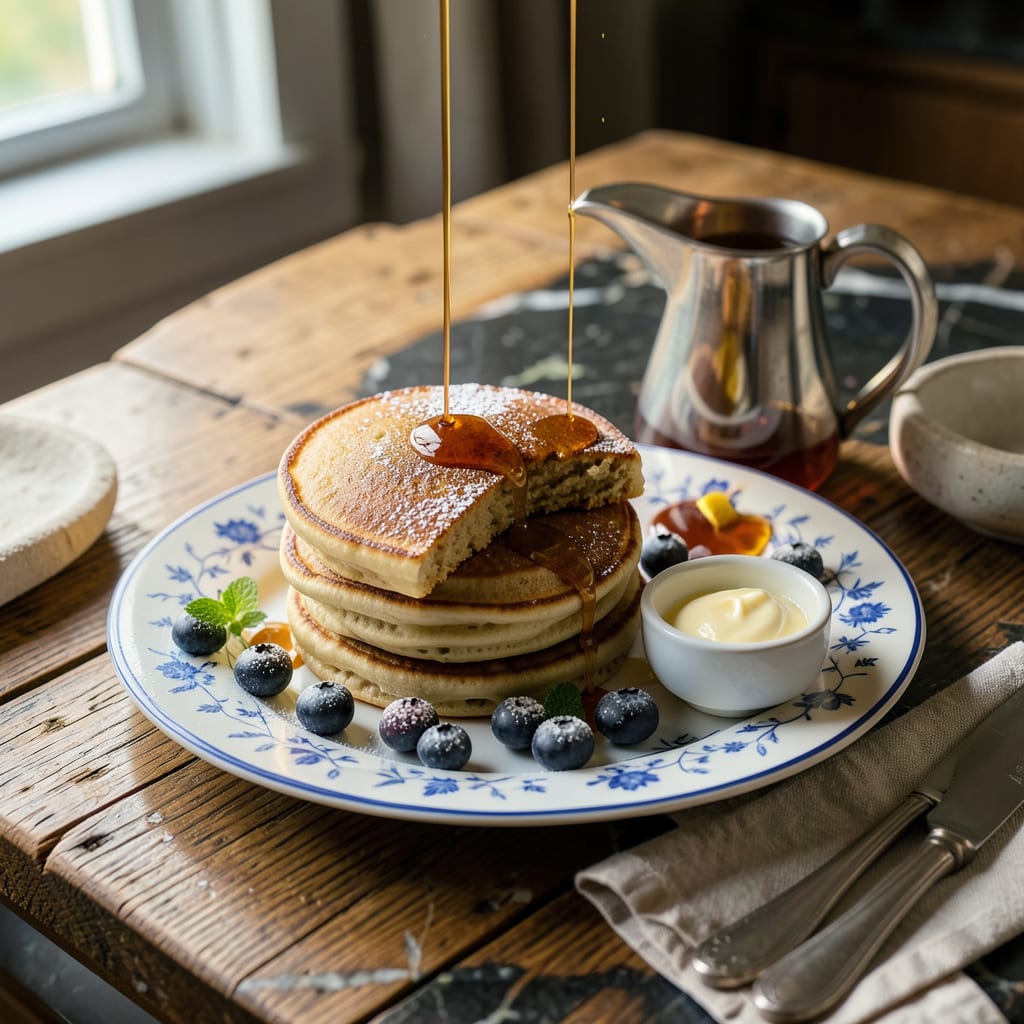
Nothing ruins a pancake breakfast faster than dense, rubbery stacks that sit like bricks in your stomach. I’ve been there—flipping sad, flat pancakes that never quite rise to the occasion. The good news? Fixing dense pancakes is easier than you think, and it starts with understanding what went wrong in the first place.
Most dense pancake problems come down to three things: overmixing the batter, using old leavening agents, or skipping the resting time. I learned this the hard way after years of making pancakes that were more like hockey pucks than fluffy clouds. The fix isn’t complicated—just a few simple adjustments to your technique and ingredients.
This recipe delivers tall, tender pancakes with crisp edges and airy centers every time. We’ll use the right ratio of leavening, proper mixing technique, and a crucial resting period that lets the gluten relax. No fancy equipment needed—just a bowl, whisk, and about 20 minutes of your time.
Whether you prefer classic buttermilk, extra-fluffy, or even vegan versions, I’ll show you how to achieve perfect pancakes. The difference between dense disappointments and restaurant-quality stacks comes down to these key techniques. Let’s get your pancake game on point.
📚 In This Guide
- What You’ll Need
- Instructions
- Tips and Common Mistakes
What Youll Need
- ● Dry Ingredients: 1 cup (120g) all-purpose flour (sifted for best results 🌟)
- ● 2 tsp baking powder (fresh, not expired!)
- ● ½ tsp baking soda (for extra lift)
- ● ¼ tsp salt (enhances flavor)
- ○ 1–2 tbsp granulated sugar (optional, for sweetness)
- ● Wet Ingredients: 1 cup (240ml) buttermilk (or milk + 1 tbsp vinegar/lemon juice)
- ● 1 large egg (room temperature)
- ● 2 tbsp melted butter (or neutral oil)
- ○ 1 tsp vanilla extract (optional, for flavor)
- ● Tools: Mixing bowls (2 medium-sized)
- ● Whisk (for smooth batter)
- ● Non-stick skillet or griddle (8–10 inches)
- ● Spatula (thin, flexible for flipping)
- ● Measuring cups/spoons (accuracy matters!)
- ○ Optional Boosters: ½ cup club soda (replaces ½ milk for extra fluffiness)
- ● 1 tbsp cornstarch (for tenderness)
- ● Cooking spray or extra butter (for greasing)
Instructions for Perfectly Fluffy Pancakes
Let’s transform your dense pancakes into light, airy stacks with these simple but crucial techniques.
Measure Ingredients Precisely
Start by accurately measuring all your dry ingredients. I use the spoon-and-level method for flour: gently spoon it into your measuring cup, then level it off with a straight edge. Packing flour into the cup adds up to 30% more flour, which creates dense pancakes.
For leavening agents, check that your baking powder and baking soda are fresh. Here’s a quick test: drop a bit of baking powder in hot water—if it doesn’t bubble vigorously, it’s time to replace it. Old leaveners won’t give you the lift you need for fluffy pancakes.
Separate and Whip the Egg Whites
This is the game-changer for fluffy pancakes. Separate your eggs, adding the yolks to your wet ingredients as usual. Place the whites in a clean, grease-free bowl and whip them with a hand mixer until they form stiff peaks—when you lift the beaters, the peaks should hold their shape.
Be patient with this step. It takes about 3-5 minutes of whipping to reach stiff peaks. The air you incorporate here will create those beautiful air pockets in your finished pancakes. Don’t skip this—it’s what transforms dense pancakes into cloud-like stacks.
Combine Wet and Dry Ingredients Gently
Create a well in your dry ingredients and pour in the wet mixture (including egg yolks). Use a silicone spatula to fold everything together with 12-15 strokes—just until you don’t see dry flour anymore. The batter should still be slightly lumpy. Overmixing develops gluten, which makes pancakes tough and dense.
Now comes the magic: gently fold in your whipped egg whites using a spatula. Make broad, sweeping motions to preserve as much air as possible. You want to see streaks of egg white throughout the batter—don’t worry about making it perfectly smooth.
Cook with Proper Heat and Timing
Heat your griddle or skillet over medium-low heat for 5 minutes before adding any batter. The surface is ready when a few drops of water dance across it without evaporating instantly. I use about ¼ cup batter per pancake, pouring it gently to avoid deflating the air bubbles.
Cook until you see bubbles forming across the surface and the edges look set—about 2-3 minutes. Then flip once and cook for another 1-2 minutes until golden brown. Resist the urge to press down with your spatula—this squeezes out all the air you worked so hard to incorporate.
Keep Them Warm Without Overcooking
As you finish each pancake, transfer it to a wire rack set over a baking sheet in a 200°F oven. This keeps them warm while allowing air to circulate, preventing the steam that makes pancakes soggy. Stacking them directly on a plate creates condensation that turns your fluffy pancakes dense and gummy.
Serve immediately while they’re at their peak fluffiness. The difference will be dramatic—light, airy pancakes that practically melt in your mouth instead of sitting like lead in your stomach. This method works with any pancake recipe, turning even the densest batches into fluffy perfection.
Tips and Common Mistakes
Here’s what I’ve learned from years of perfecting pancakes—these small details make all the difference between dense and dreamy.
The Whipping Technique: When whipping egg whites in Step 2, use a clean, grease-free bowl and beaters. Even a trace of fat prevents proper aeration. I learned this the hard way after several failed attempts with slightly oily bowls. Those 3-5 minutes of whipping should produce stiff peaks that hold their shape when you lift the beaters—this is what creates those airy pockets in your finished pancakes.
Heat Control: The 5 minutes of preheating your griddle at medium-low heat in Step 4 isn’t arbitrary. This ensures even heat distribution so pancakes cook through without burning. Test with water droplets—they should dance across the surface without evaporating instantly. If your first pancake browns too quickly, lower the heat slightly and give the griddle another minute to adjust.
Folding Strategy: In Step 3, when combining wet and dry ingredients, those 12-15 strokes are crucial. Use a silicone spatula and fold gently in broad, sweeping motions. You should still see streaks of flour and egg white—overmixing develops gluten, which is exactly what makes pancakes tough and dense. The batter should remain slightly lumpy.
Warmth Without Sogginess: The 200°F oven mentioned in Step 5 isn’t just for keeping pancakes warm—it’s for maintaining their texture. Placing them directly on a plate creates steam that makes pancakes gummy. Instead, use a wire rack over a baking sheet to allow air circulation, preserving that perfect fluffy texture until serving.
Pro Tips for Pancakes Too Dense
- Here’s what I’ve learned from years of perfecting pancakes—these small details make all the difference between dense …
- The Whipping Technique: When whipping egg whites in Step 2, use a clean, grease-free bowl and beaters. Even a trace o…
- Heat Control: The 5 minutes of preheating your griddle at medium-low heat in Step 4 isn’t arbitrary. This ensures eve…
Frequently Asked Questions
Why are my pancakes dense instead of fluffy?
Dense pancakes usually happen due to overmixing the batter (which develops gluten) or using too much flour. Other culprits? Old baking powder, cold ingredients, or pressing down with the spatula while cooking. For lighter pancakes, mix just until combined, use fresh leavening agents, and let the batter rest 5–10 minutes before cooking.
Can I fix dense pancakes after mixing the batter?
If the batter’s already mixed, try folding in 1–2 whipped egg whites or a splash of sparkling water to add air. Avoid over-stirring! If it’s too thick, thin it with a little milk (1 tbsp at a time). For future batches, measure flour correctly (spoon & level, don’t scoop!).
How long should pancake batter rest for fluffier results?
Let the batter rest 5–15 minutes at room temp. This lets the flour hydrate and the baking powder activate. Pro tip: Cover the bowl with a towel to prevent drying. Resting also reduces dense spots from uneven mixing—just don’t skip it!
What’s the best flour substitute for lighter pancakes?
Swap half the all-purpose flour for:
- Cake flour (lower protein = tender texture)
- Cornstarch (2 tbsp per cup of flour for extra fluff)
- Oat flour (blend rolled oats for a heartier but airy option)
Should I cook dense pancakes longer or at a different temperature?
Cook them low and slow! High heat burns the outside before the inside cooks, making them gummy. Use medium-low heat (325°F) and wait for bubbles to fully form and pop before flipping. A well-heated, lightly greased pan prevents sticking—no peeking!
Dense pancakes don’t have to be your breakfast fate! 🎉 With the right tweaks—like perfecting your leavening agents, avoiding overmixing, or adjusting liquid ratios—you’re just minutes away from light, airy stacks that melt in your mouth. Next time you’re in the kitchen, grab that whisk and try one of our foolproof fixes—your fluffiest pancakes yet are waiting!
Hungry for more? Bookmark this guide or experiment with a new recipe (like buttermilk or sour cream pancakes) to level up your brunch game. Happy flipping! 🥞✨

Trained in classic French technique but raised on slow-cooked ribs and spicy rubs, she blends culinary skill with smoke and soul.
- Recipe for Boneless Pork Chops in Cast Iron Skillet: Sear and Baste to Juicy Perfection - October 3, 2026
- Recipe for Boneless Cross Rib Roast: Slow-Roasted Beef with Herb Crust - October 3, 2026
- Hamburgers in Sauce Recipe Crock Pot: Slow-Cooked Savory Delight - October 3, 2026