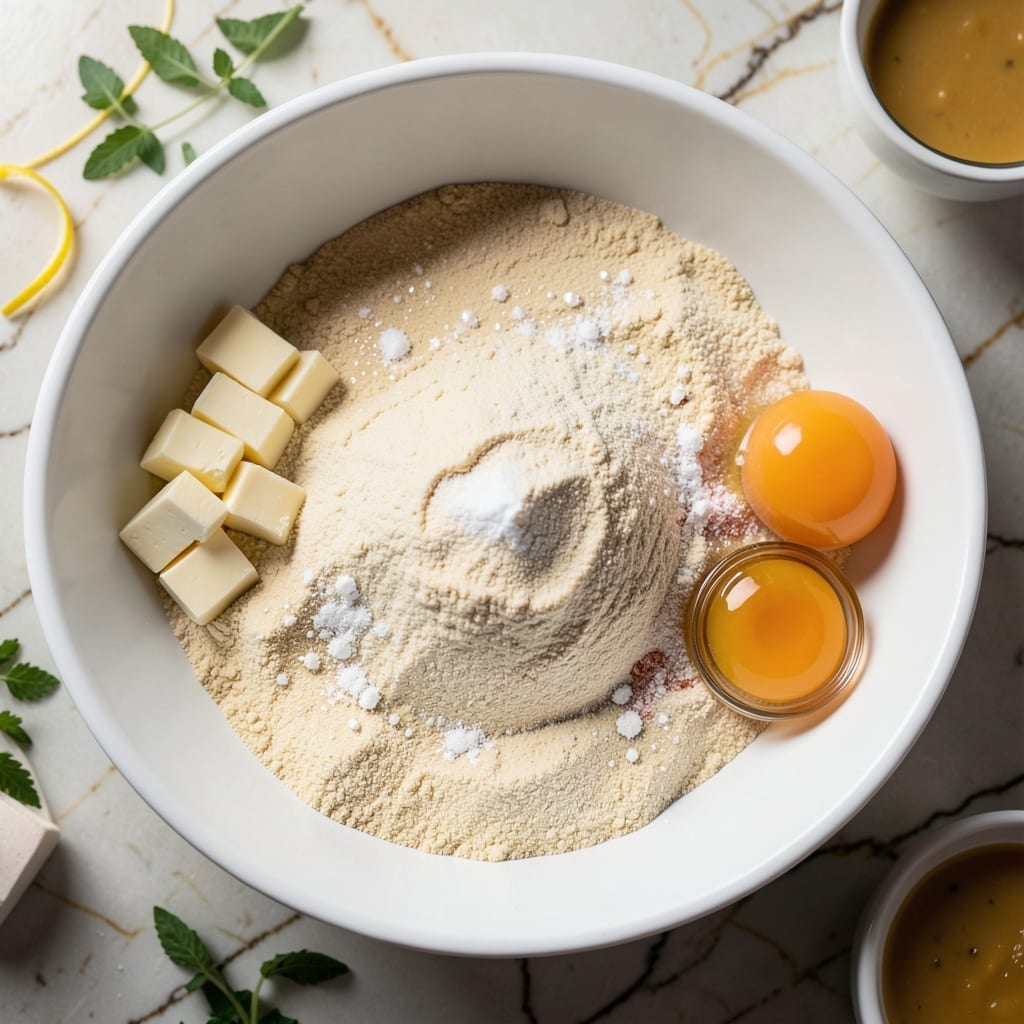
This Italian pastry base delivers a perfect balance of buttery richness and tender flakiness every time.
My method ensures consistent results with simple ingredients and precise technique, creating the ideal foundation for tarts and pies.
Ingredients for Pasta Frolla Recipe Perfect Method
Simple ingredients transform into a buttery, flaky Italian pastry base with precision and care.
| Ingredient | Amount | Notes |
|---|---|---|
| All-Purpose Flour 🌾 | 2 ½ cups | Sifted for even texture |
| Granulated Sugar 🍚 | ¼ cup | Fine grain preferred |
| Salt 🧂 | ½ tsp | Fine sea salt recommended |
| Unsalted Butter 🧈 | 1 cup | Cold, cubed for flakiness |
| Large Egg 🥚 | 1 whole | Room temperature for binding |
| Egg Yolk 🥚 | 1 whole | Extra richness and color |
| Vanilla Extract 🌿 | 1 tsp | Pure extract for best flavor |
| Lemon Zest 🍋 | 1 tsp | Finely grated for brightness |
| Baking Powder 🧂 | ½ tsp | Ensures tender crumb |
| Ice Water 💧 | 2 tbsp | As needed for dough consistency |
[recipe_ingredient_scaler]
The flour is the foundation—King Arthur all-purpose is my go-to for consistent results. Butter quality matters: Plugrá or Kerrygold deliver superior richness and flavor. Ensure it’s cold and cubed (don’t soften) for that signature flakiness. Eggs should be fresh, with the extra yolk adding depth and a golden hue to the finished crust.
No all-purpose flour? Pastry flour at a one-to-one ratio works but yields a slightly more tender crust. For a richer taste, substitute 1/4 cup of the flour with finely ground almond flour. Short on vanilla? A pinch of cinnamon can add warmth. Always use freshly grated lemon zest—bottled lacks the aromatic punch needed here.
The dough can be refrigerated for up to 2 days or frozen for 1 month. Wrap tightly in plastic to prevent drying. For best results, chill the dough at least 1 hour before rolling to relax the gluten and ensure a tender, flaky texture.
Why You’ll Love This Recipe
- I’ll be real: I always make a double batch and freeze half for last-minute baking emergencies.
- One Bowl Magic: I just dump flour, sugar, butter, and an egg in one bowl—no fancy equipment, no mess.
- Buttery Rich Crust: The cold butter and egg create this tender, melt-in-your-mouth texture that’s honestly hard to beat.
- Endless Fillings: I’ve used it for jam tarts, custard pies, even savory quiches—it never lets me down.
Step-by-Step Instructions for Pasta Frolla
This professional method ensures a tender, flaky Italian pastry base with precise technique.
Step 1: Mix Dry Ingredients for Even Distribution
In a large mixing bowl, whisk together the 2.5 cups All-Purpose Flour, 0.25 cup Granulated Sugar, 0.5 tsp Salt, and 0.5 tsp Baking Powder until fully combined. Sifting the flour first, as noted in the ingredients, prevents lumps and guarantees a uniform texture in your finished pastry.
This dry mixture creates the structural foundation. I always whisk for at least 30 seconds to ensure the baking powder is evenly dispersed, which is crucial for consistent rise and a tender crumb.
Step 2: Incorporate Cold Butter for Flakiness
Add the 1 cup Unsalted Butter (cold and cubed, as specified) to the dry ingredients. Using your fingertips or a pastry cutter, work the butter into the flour mixture until it resembles coarse crumbs with pea-sized butter pieces visible. This technique creates layers that will separate during baking, producing the desired flaky texture.
Be careful not to overwork the butter—if it melts or becomes too warm, it will lose its ability to create those distinct layers. I stop mixing when the largest butter pieces are about the size of a pea, ensuring maximum flakiness in the final product.
Step 3: Bind with Eggs and Flavorings
Create a well in the center of the butter-flour mixture. Add the 1 whole Large Egg, 1 whole Egg Yolk, 1 tsp Vanilla Extract, and 1 tsp Lemon Zest. These ingredients provide richness, binding power, and a subtle aromatic complexity that distinguishes authentic pasta frolla.
Using a fork, gradually incorporate the wet ingredients into the dry mixture. The dough will begin to come together but will still appear slightly crumbly. This is normal at this stage—resist the urge to add more liquid prematurely.
Step 4: Achieve Perfect Dough Consistency
Drizzle in the 2 tbsp Ice Water one tablespoon at a time, mixing gently with your hands until the dough just comes together. The ice water keeps the butter cold, preserving the flaky layers you’ve worked to create. You may not need all the water—stop as soon as the dough holds together when pressed.
Turn the dough out onto a lightly floured surface and knead gently just until smooth, about 30-60 seconds. Over-kneading develops gluten, which would make the pastry tough rather than tender. The final dough should be soft but not sticky, with visible butter streaks.
Step 5: Rest and Chill for Optimal Texture
Shape the dough into a disk, wrap it tightly in plastic wrap, and refrigerate for at least 1 hour or up to 24 hours. This resting period allows the gluten to relax and the butter to rechill, which is essential for easy rolling and even baking.
When ready to use, let the dough sit at room temperature for 10-15 minutes to soften slightly before rolling. This makes it more pliable and prevents cracking. The properly rested dough will roll out smoothly to your desired thickness for any Italian pastry application.
Pro Tips For Making Pasta Frolla Recipe Perfect Method
- Chill the Dough: After mixing, wrap it in plastic and refrigerate for at least 30 minutes—I learned this the hard way when my warm dough kept sticking to the rolling pin.
- Use Cold Butter: Cut the unsalted butter into small cubes and keep it ice-cold until mixing; this guarantees flaky layers instead of a dense crust.
- Skip Overworking: Mix just until the dough comes together—any longer and you’ll end up with a tough pastry that cracks when rolled out.
- Dust with Flour: Lightly flour your work surface and rolling pin before rolling out the pasta frolla; it prevents sticking without changing the texture.
Essential Equipment for Great pasta frolla recipe perfect method
Mixing Bowls
I always use a large stainless steel mixing bowl for my dry ingredients—it’s durable and keeps everything cold. A wide, shallow bowl gives me plenty of room to work the butter into the flour without spilling. Pyrex glass bowls also work well if you prefer to see through to the bottom.
Pastry Tools
A pastry cutter is my go-to for cutting butter into flour quickly and evenly. I love the OXO Good Grips model for its comfortable handle. If you don’t have one, your fingertips work just as well—just keep them cold by dipping in ice water occasionally. 💡
Measuring Accuracy
Precise measurements are crucial for consistent results. I use stainless steel measuring cups for dry ingredients and a liquid measuring cup for the ice water. A kitchen scale comes in handy for the butter—2 sticks equals 1 cup of unsalted butter.
Rolling Essentials
For rolling out the dough, a French rolling pin (without handles) gives me the most control. I also keep a bench scraper nearby to lift and turn the dough easily. A lightly floured silicone mat prevents sticking and makes cleanup a breeze.
Chilling Setup
After shaping the dough, I wrap it tightly in plastic wrap—I prefer Glad ClingWrap for its strong seal. For longer storage, I’ll use a ziplock freezer bag with all air pressed out. Always label with the date so you don’t lose track.
Baking Prep
Before baking, I use a pastry brush for egg washes and a docking tool to prevent air bubbles. A pizza cutter makes quick work of trimming edges. These tools make the final steps effortless and professional-looking. ✨
Nutrition Facts
Frequently Asked Questions
What if my dough cracks while rolling?
Let it warm at room temperature for 5-10 minutes before trying again. If cracks persist, press the edges together with your fingers. This usually seals them without affecting texture.
Can I make this ahead of time?
Yes! The dough keeps in the fridge for 2 days or can be frozen for 1 month. Thaw overnight in the fridge before using for best results.
Why did my crust turn out tough?
Overworking the dough develops gluten, making it tough. Knead just until smooth (30-60 seconds) and avoid adding excess flour.
Can I substitute the butter?
For a lighter option, use half butter and half vegetable shortening. Note that flavor and texture will differ slightly from the classic version.

Trained in classic French technique but raised on slow-cooked ribs and spicy rubs, she blends culinary skill with smoke and soul.
- Recipe for Boneless Pork Chops in Cast Iron Skillet: Sear and Baste to Juicy Perfection - October 3, 2026
- Recipe for Boneless Cross Rib Roast: Slow-Roasted Beef with Herb Crust - October 3, 2026
- Hamburgers in Sauce Recipe Crock Pot: Slow-Cooked Savory Delight - October 3, 2026