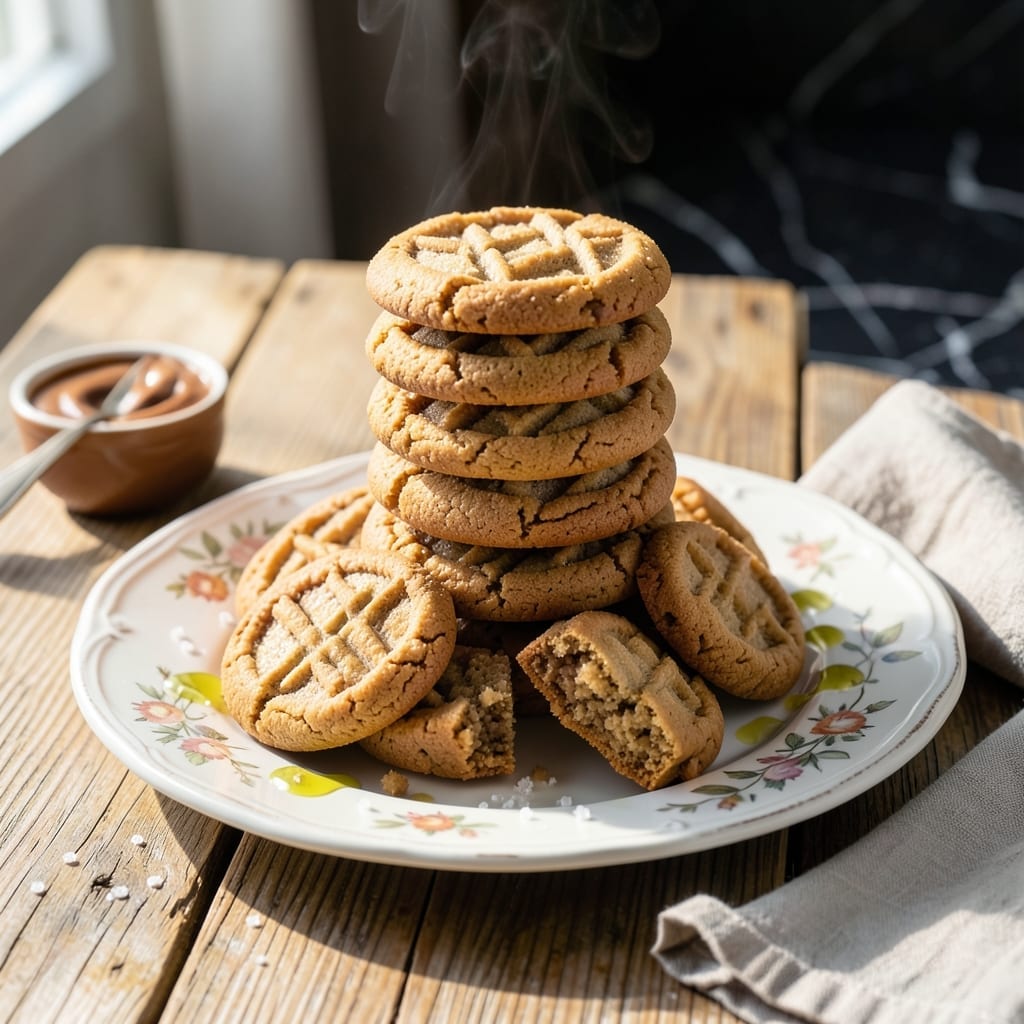
This peanut butter cookie recipe proves you don’t need brown sugar for rich, nutty flavor. The secret is using granulated sugar to achieve perfectly crumbly edges with a tender center.
With just a few simple ingredients, you’ll get cookies that are sweet, nutty, and irresistibly textured. No special tools or techniques required.
Ingredients for Peanut Butter Cookie Recipe No Brown Sugar
Granulated sugar and creamy peanut butter create these crumbly, tender cookies with nutty richness.
| Ingredient | Amount | Notes |
|---|---|---|
| Creamy Peanut Butter 🥜 | 1 cup | Natural or commercial, well-stirred |
| Granulated Sugar 🍚 | 1 cup | White sugar, not superfine |
| Large Egg 🥚 | 1 whole | Room temperature preferred |
| Unsalted Butter 🧈 | ½ cup | Softened to room temperature |
| Vanilla Extract 🌿 | 1 tsp | Pure extract, not imitation |
| Baking Soda 🧂 | 1 tsp | Ensures proper rise |
| Salt 🧂 | ½ tsp | Fine sea salt or table salt |
| All-Purpose Flour 🌾 | 1 ¼ cups | Spoon and level method |
| Roasted Peanuts 🥜 | ½ cup | Chopped for texture (optional) |
[recipe_ingredient_scaler]
The peanut butter is critical here. Jif or Skippy work perfectly for consistent texture, but natural styles need a good stir to redistribute oils. Granulated sugar is non-negotiable—it caramelizes differently than brown sugar for that signature crumbly edge. Whole Foods or Trader Joe’s carry excellent organic options if you prefer. Always check your baking soda is fresh; old cans lose potency fast.
No creamy peanut butter? Crunchy works too for extra texture. Out of eggs? A flax egg (1 tbsp ground flax + 3 tbsp water) binds adequately. Salted butter can substitute for unsalted—just reduce the added salt by a pinch. For gluten-free, King Arthur’s 1:1 flour blends seamlessly (no other adjustments needed).
Dough keeps 3 days refrigerated or 3 months frozen. Baked cookies stay fresh 5 days in an airtight container. Freeze baked cookies for up to 2 months—revive in a 300°F oven for 5 minutes.
Why You’ll Love This Recipe
- One Bowl Wonder: I mix everything right in the same bowl—peanut butter, sugar, egg, and vanilla—no extra dishes to wash.
- Rich PB Taste: The creamy peanut butter shines without brown sugar stealing the show.
- Lunchbox Hero: These cookies stay soft for days, so I pack them for school snacks all week.
- Pantry Friendly: I always have granulated sugar and peanut butter on hand, so I can bake these on a whim.
Step-by-Step Instructions for Peanut Butter Cookies
Master the technique for achieving those coveted crumbly edges and rich peanut flavor.
Step 1: Cream Peanut Butter, Sugar, and Butter
In a stand mixer fitted with the paddle attachment, combine the 1 cup Creamy Peanut Butter, 1 cup Granulated Sugar, and 0.5 cup Unsalted Butter on medium speed for 2-3 minutes. The mixture should lighten in color and become fluffy—this incorporates air for a tender crumb.
Ensure the butter is properly softened to room temperature; cold butter won’t cream properly and can result in dense cookies. Scrape down the sides of the bowl as needed to ensure even mixing.
Step 2: Incorporate Egg and Vanilla
Add the 1 whole Large Egg and 1 tsp Vanilla Extract to the peanut butter mixture. Beat on medium speed for 1 minute until fully combined and smooth. The egg binds the ingredients while the vanilla enhances the nutty flavor profile.
Don’t overmix at this stage—just ensure the egg is fully incorporated. The batter should look uniform with no streaks of egg visible.
Step 3: Add Dry Ingredients and Mix
In a separate bowl, whisk together the 1.25 cups All-Purpose Flour, 1 tsp Baking Soda, and 0.5 tsp Salt. Gradually add this dry mixture to the wet ingredients, mixing on low speed until just combined. Overmixing develops gluten, which can make the cookies tough.
The dough will be thick and slightly sticky. If using, fold in the 0.5 cup Roasted Peanuts by hand using a spatula for even distribution. These add texture and intensify the peanut flavor.
Step 4: Shape, Chill, and Bake
Roll the dough into 1-inch balls and place them 2 inches apart on a parchment-lined baking sheet. Use a fork to gently press down on each ball, creating a crisscross pattern—this is the signature look for peanut butter cookies.
Bake at 350°F for 10-12 minutes until the edges are light golden brown. The centers may look slightly underdone, but they’ll firm up as the cookies cool. Don’t overbake, or you’ll lose the tender, crumbly texture.
Step 5: Cool and Serve
Let the cookies cool on the baking sheet for 5 minutes before transferring them to a wire rack to cool completely. They’ll continue to set as they cool, developing that perfect crumbly edge.
Serve at room temperature for the best texture. The cookies should have a rich nutty aroma with a delicate crumb that gives way to buttery, sweet peanut flavor in every bite.
Pro Tips For Making Peanut Butter Cookie Recipe No Brown Sugar
- Chill the Dough: After mixing, refrigerate the dough for 30 minutes—I learned this the hard way when my first batch spread into flat, greasy puddles on the baking sheet.
- Use Room-Temp Butter: Take the unsalted butter out 1-2 hours before baking; it creams evenly with the peanut butter and sugar, unlike cold butter which leaves lumps.
- Skip Overmixing: Once the egg and vanilla are just combined, stop mixing—overworking the dough makes the cookies tough, and nobody wants a dense peanut butter cookie.
- Press With a Fork: Flatten each dough ball with a fork in a crisscross pattern; it’s not just for looks, it guarantees even baking and that classic peanut butter cookie texture.
Common Mistakes When Making peanut butter cookie recipe no brown sugar
Overmixing the Dough
Once you add the flour, mix just until combined—overworking develops gluten, which makes your cookies tough instead of tender. I stop the mixer as soon as the last streaks of flour disappear, usually 15-20 seconds on low speed. 💡
Using Cold Butter
Butter must be truly softened to room temperature, about 68°F. Cold butter won’t cream properly with the peanut butter and sugar, resulting in dense, flat cookies. I take mine out 1-2 hours before baking and cut it into cubes to speed the process.
Skipping the Chill
While not always required, chilling the dough for 30 minutes prevents excessive spreading. This is especially helpful if your kitchen is warm. I notice my cookies hold their shape better with this extra step, though I’ll admit I sometimes skip it when I’m in a hurry.
Overbaking
Pull the cookies when the edges are just light golden brown—they’ll continue cooking on the hot sheet. Overbaked cookies lose that coveted crumbly texture. Mine are perfect at exactly 11 minutes in my oven, but start checking at 10 minutes. 🔥
Incorrect Measuring
Spoon your flour into the measuring cup and level it off—don’t scoop directly from the bag. This prevents packing, which can add 20-30% more flour and make your cookies dry. I always fluff up my flour with a fork before measuring for accuracy.
Wrong Peanut Butter
Natural peanut butters with separated oils can make your dough greasy. Stick with Jif or Skippy for consistent results. If using natural, stir the oils back in thoroughly and consider reducing the butter by 1-2 tablespoons to compensate.
Nutrition Facts
Frequently Asked Questions
Can I use honey instead of sugar?
Yes, but reduce other liquids slightly. Honey adds moisture, so decrease egg by 1 tablespoon and expect softer cookies. Bake 1-2 minutes longer for proper set.
Why do my cookies spread too much?
Likely your butter was too warm or dough wasn’t chilled. For best results, chill dough for 30 minutes and use butter at 68°F. This prevents excessive flattening.
Can I make these gluten-free?
Substitute all-purpose flour with 1:1 gluten-free blend. No other adjustments needed. The texture remains tender with proper crumbly edges.

Trained in classic French technique but raised on slow-cooked ribs and spicy rubs, she blends culinary skill with smoke and soul.
- Recipe for Boneless Pork Chops in Cast Iron Skillet: Sear and Baste to Juicy Perfection - October 3, 2026
- Recipe for Boneless Cross Rib Roast: Slow-Roasted Beef with Herb Crust - October 3, 2026
- Hamburgers in Sauce Recipe Crock Pot: Slow-Cooked Savory Delight - October 3, 2026