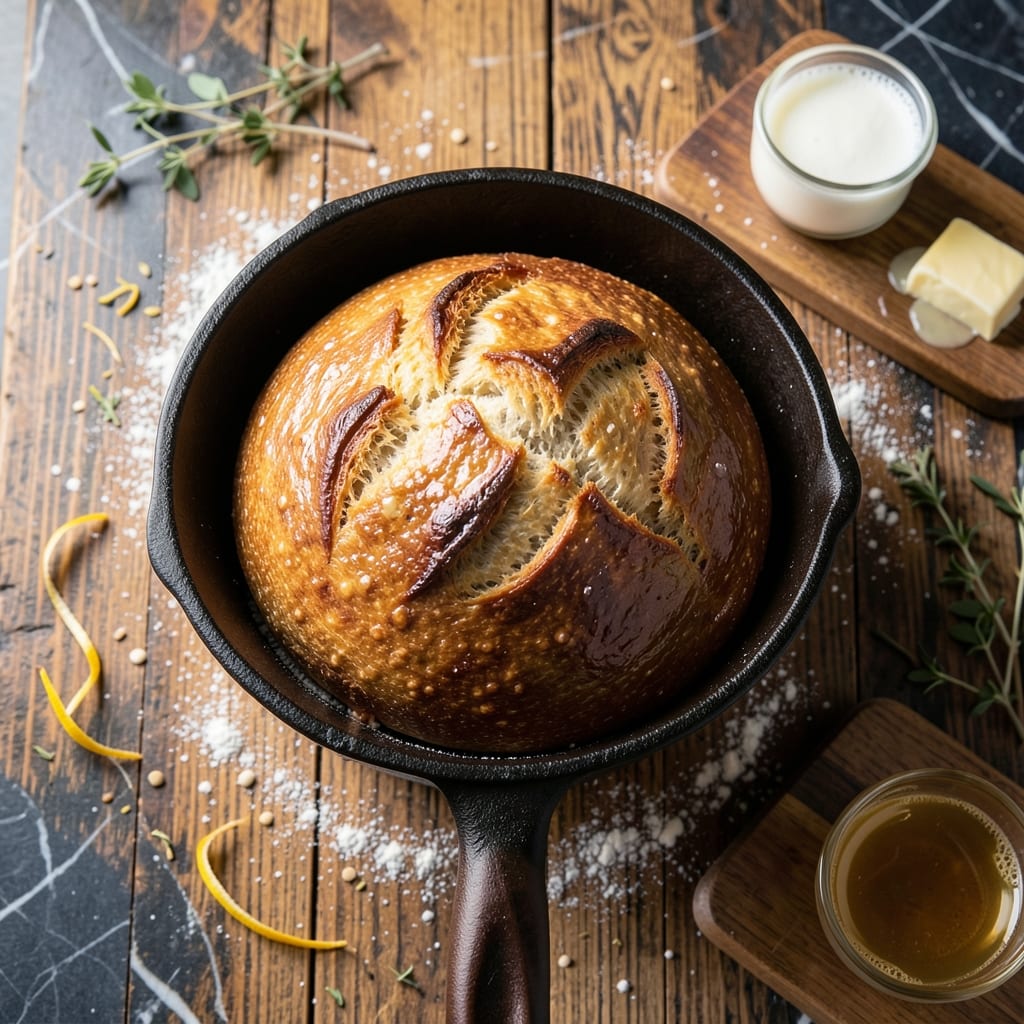
I’ve spent years perfecting this bakery-style bread to capture that signature softness and slight sweetness you love from Penn Station. The key lies in the precise balance of ingredients and a foolproof proofing process.
This recipe delivers professional results without special equipment. Simple ingredients come together through careful kneading and proper rising times to create that tender, slightly chewy texture.
What emerges from your oven is a loaf with a golden crust and soft, pillowy interior—just like the original. The aroma alone will transport you to your favorite sandwich shop.
Perfect for subs, garlic bread, or enjoying fresh with butter. Here’s how to recreate this bakery classic at home.
Ingredients for Penn Station Bread
Simple bakery staples create that signature soft, slightly sweet sandwich bread at home.
| Ingredient | Amount | Notes |
|---|---|---|
| Bread Flour 🌾 | 4 cups | Plus extra for dusting |
| Warm Water 💧 | 1 ¼ cups | 110-115°F for yeast activation |
| Active Dry Yeast 🍞 | 2 ¼ tsp | One packet plus extra quarter teaspoon |
| Granulated Sugar 🍚 | 2 tbsp | Divided for yeast and dough |
| Whole Milk 🥛 | ¼ cup | Warmed to 110°F |
| Unsalted Butter 🧈 | 2 tbsp | Melted and cooled |
| Salt 🧂 | 2 tsp | Fine sea salt preferred |
| Large Egg 🥚 | 1 whole | Room temperature for bonding |
| Honey 🍯 | 1 tbsp | Adds subtle sweetness |
| Olive Oil 🫒 | 1 tbsp | For bowl coating |
| Vital Wheat Gluten 🌾 | 1 tbsp | Optional for extra chew |
| Cornmeal 🌽 | 2 tbsp | For dusting baking sheet |
[recipe_ingredient_scaler]
The flour is non-negotiable here—King Arthur Bread Flour has the perfect protein content for that pillowy texture. Yeast freshness matters too: check the expiration date or test it in warm water with a pinch of sugar (should bubble within 5 minutes). Whole Foods or Sprouts bulk sections often have the freshest stock. For the milk and butter, organic whole milk and European-style butter add richness that mimics bakery quality.
No bread flour? All-purpose in a pinch (add 1 tbsp vital wheat gluten per cup to compensate). Out of honey? Maple syrup or agave at the same amount works. The egg can be skipped (replace with 1 tbsp flaxseed meal + 3 tbsp water), but it does help with browning. If you’re worried about the sugar content, you can reduce it by half—just know the crust won’t be as golden.
Dough rises best in a warm spot (75-80°F). I turn on my oven light and let it sit inside. Baked loaves keep 3-4 days at room temperature in a paper bag, or freeze slices for up to 3 months. Slice before freezing for easy toast-making later (worth the extra minute).
Why You’ll Love This Recipe
- Minimal Effort: I mix the yeast with warm water and sugar, let it sit, then add flour and milk—no fancy techniques, just straightforward steps.
- Rich and Buttery: The whole milk gives it that tender crumb and subtle sweetness that makes it irresistible fresh out of the oven.
- Sandwich Hero: Honestly, it’s my go-to for everything from meatball subs to breakfast toast—holds up like a champ.
- Budget Friendly: Bread flour and a few pantry staples make two loaves for the cost of one bakery version. I’ll be real: that’s a win.
Step-by-Step Instructions for Bakery-Style Bread
Here’s the method I’ve perfected to recreate that signature sandwich bread texture at home.
Step 1: Activate the Yeast and Prepare Wet Ingredients
In a stand mixer bowl, combine the 1.25 cups Warm Water, 2.25 tsp Active Dry Yeast, and 1 tbsp of the Granulated Sugar. Let it sit for 5-7 minutes until the mixture becomes foamy—that’s your confirmation the yeast is active and ready to work.
While waiting, warm the 0.25 cup Whole Milk to 110°F and melt the 2 tbsp Unsalted Butter, then let it cool slightly. Add these to the yeast mixture along with the remaining 1 tbsp Granulated Sugar, 1 whole Large Egg, and 1 tbsp Honey. Whisk until fully combined.
Step 2: Mix and Knead the Dough
Attach the dough hook to your mixer. Add the 4 cups Bread Flour, 2 tsp Salt, and 1 tbsp Vital Wheat Gluten to the wet ingredients. Mix on low speed until the flour is just incorporated—about 2 minutes.
Increase speed to medium and knead for 6-8 minutes until the dough becomes smooth and elastic. You’ll notice it pulls away from the sides of the bowl and springs back when gently pressed. If it feels too sticky, add bread flour 1 tablespoon at a time, but don’t exceed ½ cup extra.
Step 3: First Rise Until Doubled
Lightly coat a large bowl with the 1 tbsp Olive Oil. Transfer the dough to the bowl, turning to coat all sides. Cover with a damp towel or plastic wrap and place in a warm, draft-free spot.
Let it rise for 1 to 1.5 hours or until doubled in size. I check by pressing two fingers gently into the dough—if the indentations remain, it’s ready. This first rise develops the gluten structure and flavor that makes this bread special.
Step 4: Shape, Second Rise, and Bake
Punch down the dough to release air, then turn it onto a lightly floured surface. Shape into a smooth loaf and place on a baking sheet dusted with the 2 tbsp Cornmeal. Cover and let rise again for 30-45 minutes until puffy.
Preheat oven to 375°F. Bake for 25-30 minutes until the top is deep golden brown and the internal temperature reaches 190-200°F. The loaf should sound hollow when tapped on the bottom. Let it cool on a wire rack before slicing—this prevents a gummy texture.
Pro Tips For Making Penn Station Bread
- Proof the Yeast: Always dissolve the active dry yeast in the warm water with a pinch of sugar first—if it doesn’t foam within 5-10 minutes, your bread won’t rise, and you’ll waste the rest of your ingredients.
- Use Room-Temp Milk: Cold whole milk can shock the yeast and slow fermentation; I learned this the hard way after my first few loaves came out dense and flat.
- Skip the Rush: Letting the dough rise until it’s truly doubled (usually 1-2 hours at 75°F) is non-negotiable—cutting it short gives you a tight, chewy crumb instead of that soft Penn Station texture.
- Dust with Flour: A light dusting of bread flour on top before baking gives it that classic bakery look and just a little extra crispness to the crust—sounds simple, but it actually changes the outcome.
Make-Ahead Tips for Leftovers
Dough Prep Ahead
Mix and knead the dough through Step 2, then transfer to an oiled bowl. Cover tightly with plastic wrap and refrigerate for up to 24 hours. The cold slows fermentation, developing deeper flavor while fitting your schedule. 💡
First Rise Overnight
After kneading, let the dough rise in the fridge overnight. In the morning, bring it to room temperature (1-2 hours) before shaping. This method works perfectly when I’m prepping for weekend sandwiches.
Shape and Freeze
Shape the dough into loaves after the first rise, then freeze on a baking sheet for 1 hour. Wrap tightly in plastic and store for up to 1 month. Thaw overnight in the fridge before the second rise and baking.
Baked Loaf Storage
Once completely cooled, store the baked loaf in a paper bag at room temperature for 3-4 days. This maintains the crust’s texture better than plastic. For longer storage, slice and freeze in gallon freezer bags.
Reheating Slices
Toast frozen slices directly from the freezer in a toaster or under the broiler for 2-3 minutes. For a whole loaf, wrap in foil and warm at 350°F for 10-15 minutes. A quick spritz of water on the crust revives freshness.
Sandwich Assembly Tip
For meal prep, bake the loaf, cool completely, then slice and store. Assemble sandwiches with fillings the morning of—this prevents soggy bread. I learned this the hard way after too many sad lunchbox subs in my Boston apartment. 🥪
Nutrition Facts
Frequently Asked Questions
Can I use all-purpose flour instead of bread flour?
Yes, but add 1 tbsp vital wheat gluten per cup to boost protein content. Bread flour gives that signature chewy texture, but this substitution works in a pinch.
Why does my bread have a dense texture?
This usually means the dough didn’t rise enough. Check your yeast freshness and ensure the rising spot is warm (75-80°F). Also, avoid adding too much extra flour during kneading.
How do I know when the bread is fully baked?
The loaf should be deep golden brown with an internal temperature of 190-200°F. It should sound hollow when tapped on the bottom.
Can I make this without a stand mixer?
Knead by hand for 8-10 minutes until smooth and elastic. It’s a great workout and yields the same results.

Trained in classic French technique but raised on slow-cooked ribs and spicy rubs, she blends culinary skill with smoke and soul.
- Recipe for Boneless Pork Chops in Cast Iron Skillet: Sear and Baste to Juicy Perfection - October 3, 2026
- Recipe for Boneless Cross Rib Roast: Slow-Roasted Beef with Herb Crust - October 3, 2026
- Hamburgers in Sauce Recipe Crock Pot: Slow-Cooked Savory Delight - October 3, 2026