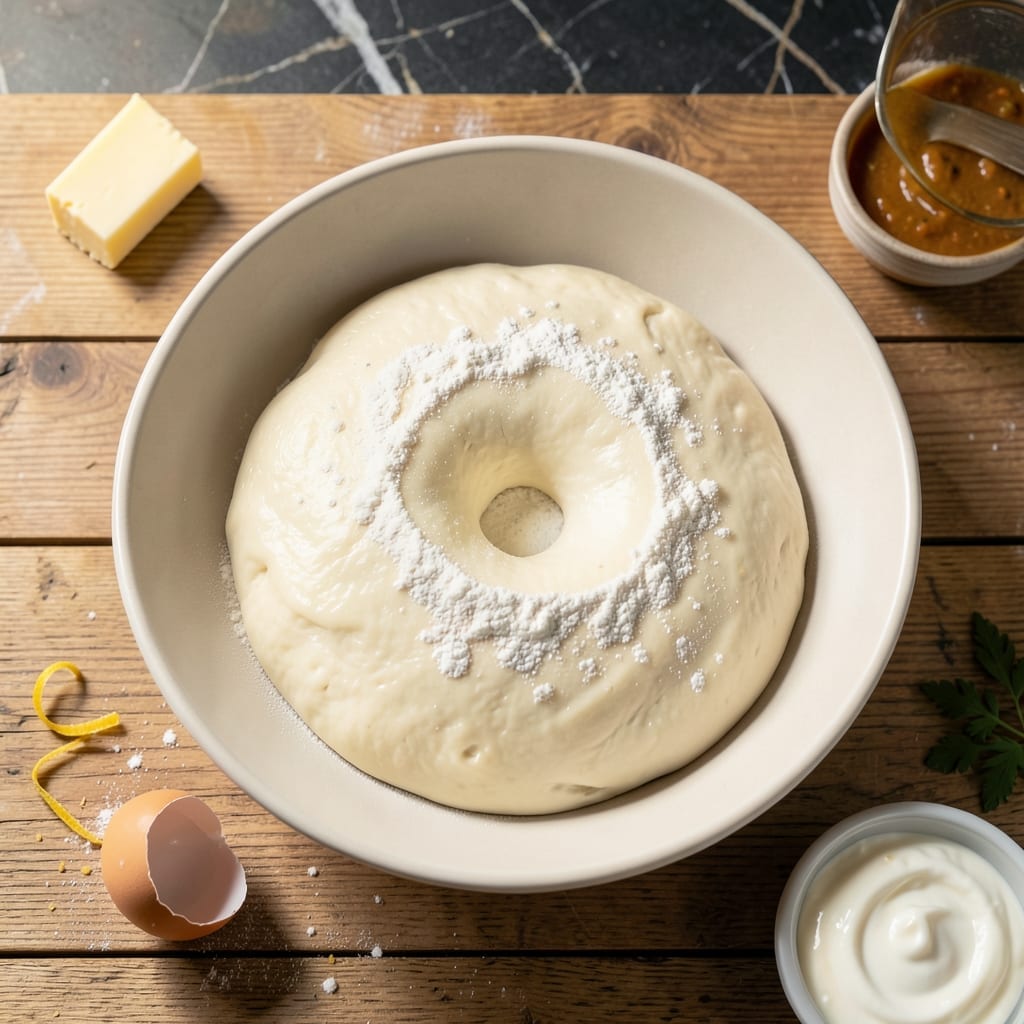
I learned the art of perogi dough from my Nonna, who insisted that the perfect wrapper should be tender yet sturdy enough to hold any filling. This recipe delivers exactly that balance.
The dough comes together with simple ingredients but requires precise kneading and resting. I’ve tested it in my small Boston kitchen to ensure it works in any space.
What you’ll end up with is smooth, elastic dough that rolls out thin without tearing. It holds savory or sweet fillings beautifully, just like tradition demands.
Let the dough rest for 30 minutes before rolling—this ensures the best texture. The result is worth every minute of effort.
Ingredients for Perogi Dough
Simple pantry ingredients transform into Nonna-approved perogi wrappers with ease.
| Ingredient | Amount | Notes |
|---|---|---|
| All-Purpose Flour 🌾 | 3 cups | Plus extra for dusting |
| Warm Water 💧 | ¾ cup | About 110°F |
| Large Egg 🥚 | 1 whole | Room temperature |
| Sour Cream 🥛 | ½ cup | Full-fat for tenderness |
| Unsalted Butter 🧈 | 2 tbsp | Melted and cooled |
| Salt 🧂 | 1 tsp | Fine sea salt preferred |
| Vegetable Oil 🫒 | 1 tbsp | For greasing bowl |
[recipe_ingredient_scaler]
The flour is the foundation—King Arthur or Gold Medal give the best texture. I always grab my all-purpose from Market Basket in Boston (cheaper than Whole Foods). Sour cream is key here; full-fat Daisy or Breakstone’s work perfectly. Don’t skimp on fat—it’s what makes the dough tender. For the egg, room temperature blends better into the dough (just set it out while you measure everything else).
No sour cream? Plain Greek yogurt at the same amount works in a pinch. Out of eggs? You can skip it, but the dough won’t be as rich. Want to make it vegan? Replace the egg with flax egg and use vegan butter. The water temperature matters—too hot kills the egg, too cold won’t activate the dough properly. 110°F is the sweet spot (like bathwater, not boiling).
The dough keeps in the fridge for 2 days wrapped tightly in plastic. For longer storage, freeze the rolled-out circles on a tray first, then transfer to a bag—they won’t stick together. Thaws in 10 minutes at room temperature. Always bring to room temp before filling.
Why You’ll Love This Recipe
- No-Fuss Mixing: I just dump the flour, egg, sour cream, and butter in a bowl—no fancy gadgets, no stress.
- Rich, Tender Bite: The sour cream and butter make the dough so soft it practically melts, with just the right chew.
- Freezer’s Best Friend: I double the batch, fill half with potato, freeze the rest, and dinner’s ready in 10 minutes flat.
- Pennywise Feast: Flour, egg, and a dab of butter feed my whole family for less than a fiver. Honestly, it’s my budget’s hero.
Step-by-Step Instructions for Perogi Dough
This method delivers tender, elastic dough that rolls out smoothly and wraps fillings perfectly.
Step 1: Mix the Wet Ingredients
In a large bowl, whisk together the 0.5 cup Sour Cream, 0.75 cup Warm Water, 1 whole Large Egg, and 2 tbsp Unsalted Butter until smooth. The butter should be melted and cooled to room temperature—this prevents it from cooking the egg when mixed.
I always use full-fat sour cream for the richest, most tender dough. The mixture will look slightly curdled, but that’s normal. Make sure the water is about 110°F—warm enough to activate the flour but not hot enough to curdle the egg or sour cream.
Step 2: Incorporate the Dry Ingredients
Gradually add the 3 cups All-Purpose Flour and 1 tsp Salt to the wet mixture, about 1 cup at a time, stirring with a wooden spoon until a shaggy dough forms. The salt enhances flavor, so don’t skip it—even in dough.
As you add the last cup of flour, the dough will start pulling away from the sides of the bowl. If it feels too sticky, resist the urge to add more flour right away. The dough will come together as it rests.
Step 3: Knead Until Smooth
Turn the dough onto a lightly floured surface and knead for 5-7 minutes until smooth and elastic. You’ll know it’s ready when it springs back slowly when poked with a finger and no longer feels sticky.
I dust my hands and the surface with just enough flour to prevent sticking, but not so much that it dries out the dough. Over-kneading can make the dough tough, so stop as soon as it feels smooth and supple.
Step 4: Rest the Dough
Shape the dough into a ball and place it in a clean bowl. Drizzle the 1 tbsp Vegetable Oil over the dough, turning it to coat all sides. This prevents a crust from forming as it rests.
Cover the bowl with a clean kitchen towel or plastic wrap and let it rest at room temperature for 30 minutes. This relaxation period makes the dough much easier to roll out thinly without springing back.
Pro Tips For Making Perogi Dough
- Knead Just Enough: Stop mixing as soon as the dough comes together—overworking it makes perogi tough. I learned this the hard way after my first three batches turned out like hockey pucks.
- Use Room-Temp Ingredients: Take the egg, sour cream, and butter out of the fridge 30 minutes early. Cold ingredients cause the butter to clump, and nobody wants lumpy dough.
- Skip the Extra Flour: Resist dusting your surface with too much flour when rolling—it makes the dough dry and cracks when boiling. A light sprinkle is all you need.
- Rest the Dough: Give it a solid 20-30 minutes wrapped in plastic before rolling. This relaxes the gluten so it doesn’t shrink back like an angry rubber band.
Common Mistakes When Making perogi dough
Overworking the Dough
Kneading beyond 7 minutes develops too much gluten, making the wrappers tough instead of tender. I stop as soon as the dough feels smooth and springs back slowly when poked.
Skipping the Rest
Rushing straight to rolling without the 30-minute rest causes the dough to shrink back as you work. This resting period relaxes the gluten, making thin rolling possible.
Using Cold Ingredients
The egg and sour cream must be room temperature to blend smoothly. Cold ingredients create lumps that disrupt the dough’s texture. I set mine out while measuring the flour. 💡
If your water is too hot (above 110°F), it can curdle the egg or sour cream, leading to a broken dough.
Adding Too Much Flour
Resist adding extra flour if the dough feels sticky during kneading. The dough absorbs flour as it rests, and excess flour makes it dry and crack-prone.
Incorrect Rolling Thickness
Rolling the dough too thick results in doughy perogi, while too thin causes tears. Aim for ⅛-inch thickness—I use a pasta roller on setting 5 or 6 for consistency.
Nutrition Facts
Frequently Asked Questions
Can I make this dough without sour cream?
Yes! Plain Greek yogurt works as a perfect substitute in the same 0.5 cup amount. The acidity helps tenderize the dough just like sour cream.
How thin should I roll the dough?
Aim for about ⅛-inch thickness. Any thinner and it may tear when filling; thicker dough makes heavy perogi. A pasta roller on setting 5 or 6 gives ideal results.
Why does my dough keep springing back?
This happens if the gluten hasn’t relaxed. Always let the dough rest for the full 30 minutes before rolling. If it still resists, cover and rest for 10 more minutes.
Can I prepare the dough ahead of time?
Wrap it tightly in plastic and refrigerate for up to 2 days. For longer storage, freeze the dough ball for 1 month. Thaw overnight in the fridge before using.

Trained in classic French technique but raised on slow-cooked ribs and spicy rubs, she blends culinary skill with smoke and soul.
- Recipe for Boneless Pork Chops in Cast Iron Skillet: Sear and Baste to Juicy Perfection - October 3, 2026
- Recipe for Boneless Cross Rib Roast: Slow-Roasted Beef with Herb Crust - October 3, 2026
- Hamburgers in Sauce Recipe Crock Pot: Slow-Cooked Savory Delight - October 3, 2026