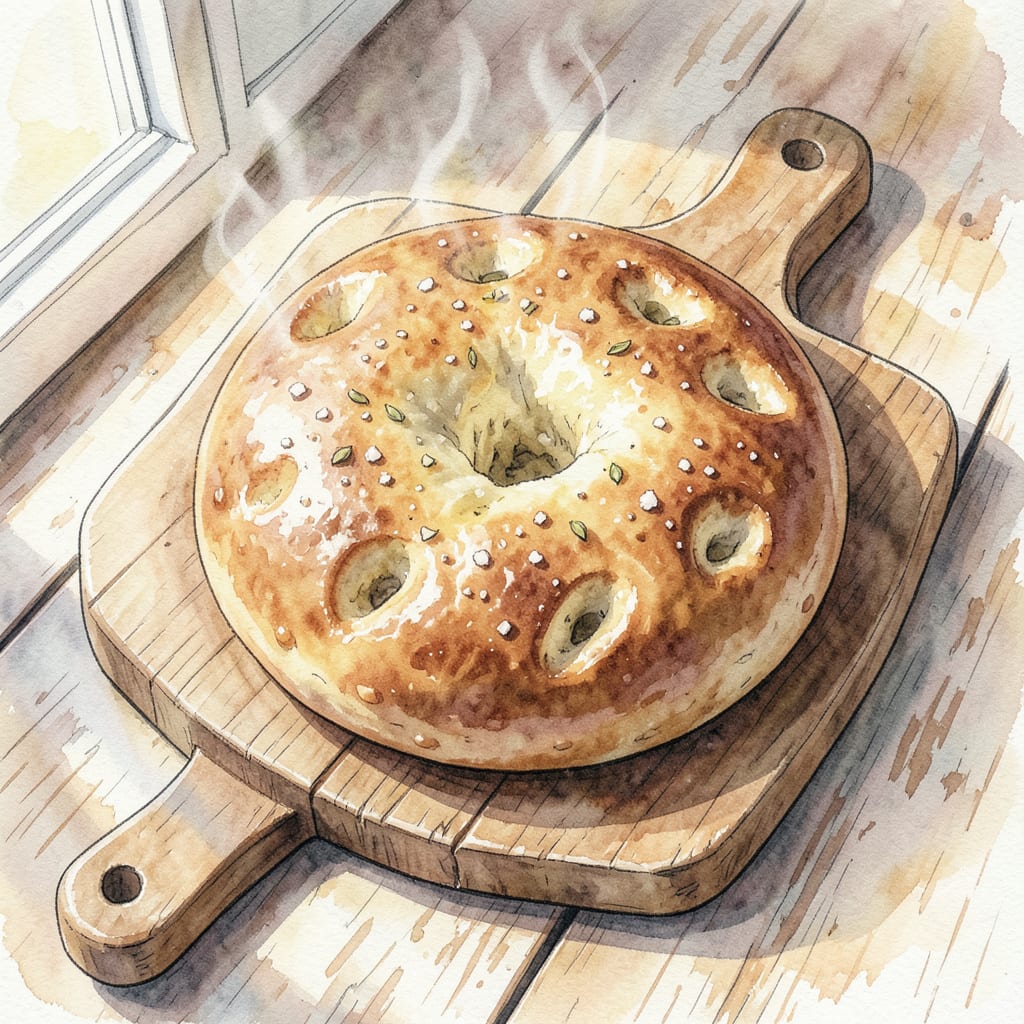
I’ve perfected a pizza dough bread recipe that yields a soft, chewy crust in just minutes. This recipe combines the best of pizza dough and artisanal bread, creating a deliciously rustic loaf that’s perfect for accompanying your favorite soups or pasta dishes.
The secret to this bread’s success lies in its simple ingredients and straightforward preparation. With just a few minutes of hands-on time, you’ll have a beautiful, golden-brown loaf that’s sure to impress. Let’s get started on this easy, foolproof recipe that’s sure to become a staple in your kitchen.
Ingredients for Pizza Dough Bread
Simple ingredients come together to create this deliciously rustic pizza dough bread recipe.
| Ingredient | Amount | Notes |
|---|---|---|
| All-Purpose Flour 🌾 | 2 ½ cups | Unbleached, unbromated preferred |
| Active Dry Yeast 🍞 | 1 tsp | Rapid rise or instant yeast |
| Salt 🧂 | 1 tsp | Kosher or sea salt |
| Sugar 🍮 | 1 tbsp | Granulated white sugar |
| Olive Oil 🫒 | 2 tbsp | Extra-virgin for richness |
| Warm Water 💧 | 1 cup | About 100°F to 110°F |
| Sesame Seeds 🌼 | 1 tbsp | Optional for topping |
[recipe_ingredient_scaler]
For the best results, use unbleached, unbromated flour—it makes a noticeable difference in texture. Most grocery stores carry reliable brands like King Arthur or Caputo. If you’re using rapid rise yeast, you can skip the traditional rise time and shape immediately. The water temperature matters—aim for 100°F to 110°F for optimal yeast activation.
No sesame seeds? Poppy seeds or everything bagel seasoning make great alternatives for topping. If you prefer a more rustic crust, try using whole wheat flour for up to half the all-purpose flour. For a richer flavor, brush the dough with garlic butter before baking. The olive oil can be replaced with other neutral oils if needed.
This bread keeps well at room temperature for 2-3 days. For longer storage, wrap it tightly and freeze for up to 3 months. To refresh, bake at 350°F for 5-7 minutes. I like to slice it before freezing so I can grab individual portions as needed.
Step-by-Step Instructions for Pizza Dough Bread
Creating this soft, chewy crust bread is straightforward with these detailed steps.
Step 1: Activate the Yeast
First, I combine the 1 cup Warm Water and 1 tsp Active Dry Yeast in a large mixing bowl. I let it sit for 5-7 minutes until the mixture becomes frothy and bubbly. This step is crucial as it ensures your yeast is active and will help your dough rise properly. You’ll know it’s working when you see a layer of foam on the surface.
While waiting for the yeast to activate, I prepare the dry ingredients. In a separate bowl, I whisk together the 2.5 cups All-Purpose Flour, 1 tsp Salt, and 1 tbsp Sugar. Whisking these ingredients helps distribute the salt and sugar evenly throughout the flour, ensuring consistent flavor in your bread.
Step 2: Mix the Dough
Once the yeast is activated, I add the dry ingredient mixture to the wet ingredients. I then add 2 tbsp Olive Oil and mix everything together until a shaggy dough forms. The dough will be sticky at this stage, which is normal. I use a stand mixer with a dough hook attachment to mix the dough for about 5 minutes until it becomes smooth and elastic. If you don’t have a stand mixer, you can knead the dough by hand for about 10 minutes on a floured surface.
During mixing, I pay attention to the dough’s consistency. If it feels too dry, I add a little more warm water, one tablespoon at a time, until I achieve the right consistency. Conversely, if it’s too sticky, I add a bit more flour. The goal is a dough that’s smooth and slightly tacky but not sticking to your hands.
Step 3: Proof the Dough
I transfer the dough to a lightly oiled bowl, turning it to coat evenly with oil. Then, I cover the bowl with plastic wrap or a damp kitchen towel and let it rise in a warm, draft-free place. The dough should double in size within 1-2 hours at room temperature. I check on it periodically; when it has doubled and springs back slowly when poked, it’s ready for the next step.
While the dough is rising, I prepare a baking sheet by lining it with parchment paper. If you’re using sesame seeds for topping, now is a good time to have them ready.
Step 4: Shape and Bake the Bread
After the dough has risen, I gently deflate it by folding it over itself a few times. Then, I shape it into a round or oblong loaf and place it on the prepared baking sheet. I cover it with plastic wrap or a clean towel and let it rise for another 30-45 minutes until it has puffed up slightly.
I preheat my oven to 400°F. Before baking, I brush the top of the loaf with a little olive oil and sprinkle with sesame seeds if using. I bake the bread for 20-25 minutes until it’s golden brown and sounds hollow when tapped on the bottom. After baking, I let it cool on a wire rack for at least 10 minutes before slicing.
Health Benefits of This Dish
Nutritional Benefits
This pizza dough bread recipe offers several health benefits due to its simple, wholesome ingredients. The whole wheat flour (if used) provides fiber and nutrients like iron and B vitamins. Even with all-purpose flour, the bread remains a good source of complex carbohydrates for sustained energy. The slow fermentation process helps break down some of the gluten, making it easier to digest for some people.
Yeast Fermentation Advantages
The yeast fermentation process in this bread recipe offers several health advantages. It enhances the bioavailability of minerals like iron and zinc, making them easier for your body to absorb. The fermentation also creates beneficial compounds that support gut health. I find that fermented breads often sit better with my stomach compared to quick-rise breads.
Lower Glycemic Impact
Unlike many commercial breads, homemade pizza dough bread typically has a lower glycemic index due to its slower digestion rate. The longer fermentation time breaks down some of the starches, resulting in a bread that won’t cause rapid spikes in blood sugar levels. This makes it a better choice for maintaining stable energy levels throughout the day.
Customization for Better Health
One of the best aspects of making your own pizza dough bread is the ability to customize it for better nutrition. You can add whole grains, seeds, or herbs to boost the nutritional content. I often add a tablespoon of chia seeds or flaxseeds for an omega-3 boost. You can also control the amount of salt and choose healthier oils for brushing the crust.
Probiotics and Gut Health
While most of the yeast is killed during baking, the fermentation process creates compounds that can benefit gut health. Some studies suggest that consuming fermented bread may help maintain a healthy gut microbiome. I notice that homemade bread tends to have a more pronounced “sourdough” flavor, which indicates a richer microbial profile.
Micronutrient Content
This bread recipe provides various micronutrients depending on the ingredients used. The sesame seeds on top add calcium and magnesium, while the olive oil contributes healthy fats. Using fortified flour can add additional nutrients like folic acid and iron. I appreciate that making bread from scratch allows me to choose ingredients that align with my nutritional needs. 🌱
Nutrition Facts

Trained in classic French technique but raised on slow-cooked ribs and spicy rubs, she blends culinary skill with smoke and soul.
- Recipe for Boneless Pork Chops in Cast Iron Skillet: Sear and Baste to Juicy Perfection - October 3, 2026
- Recipe for Boneless Cross Rib Roast: Slow-Roasted Beef with Herb Crust - October 3, 2026
- Hamburgers in Sauce Recipe Crock Pot: Slow-Cooked Savory Delight - October 3, 2026