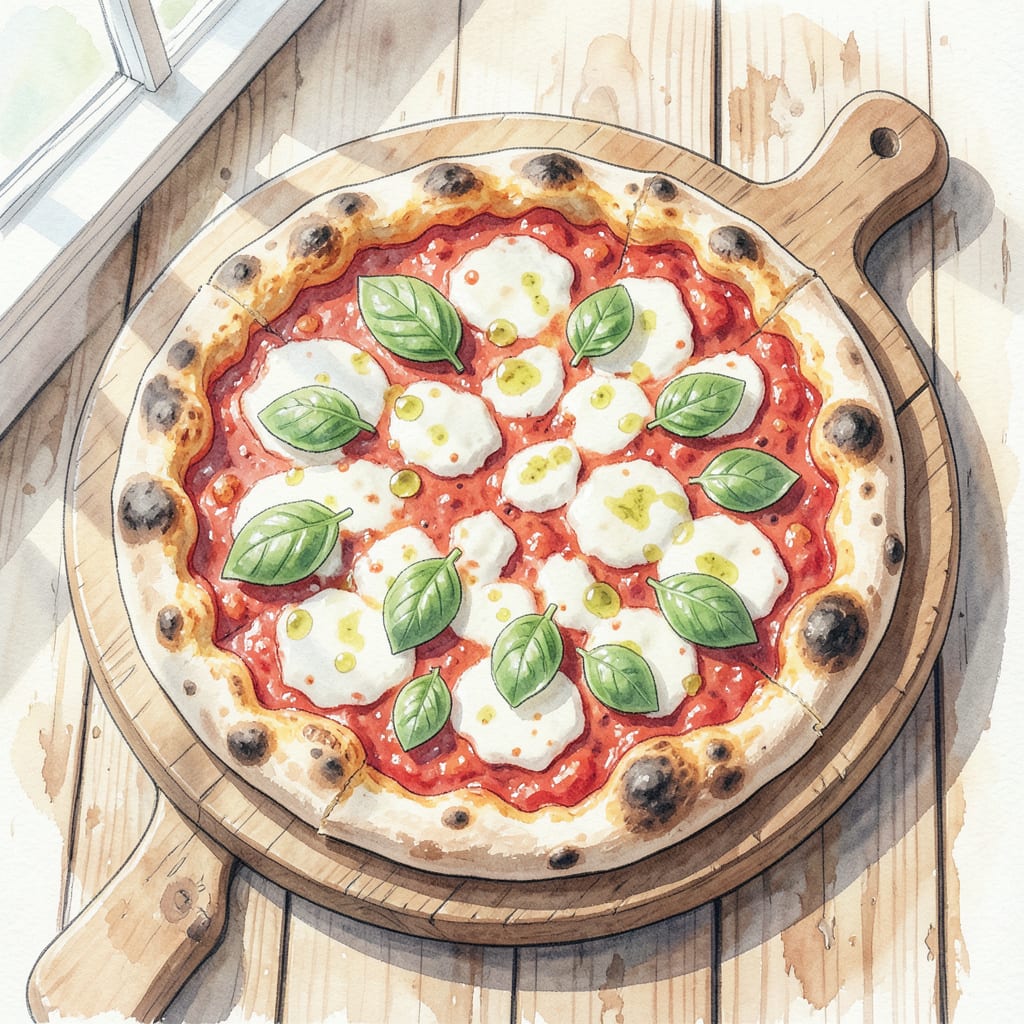
I’ve spent years perfecting my thin crust pizza dough recipe, and I’m excited to share it with you. 🔥 The secret lies in achieving that perfect balance between crispy edges and chewy center, which requires precise temperature control and timing.
This dough recipe yields a crispy crust that’s perfect for topping with your favorite ingredients. By following my instructions, you’ll be able to create a perfect thin crust pizza that’s sure to impress. Let’s get started!
Ingredients for Best Thin Crust Pizza Dough
Simple ingredients, precise technique. That’s the secret to perfect thin crust pizza.
| Ingredient | Amount | Notes |
|---|---|---|
| All-Purpose Flour 🌾 | 2 ½ cups | Unbleached, unbromated preferred |
| Active Dry Yeast 🍞 | 1 tsp | Instant yeast works too |
| Salt 🧂 | 1 tsp | Kosher or sea salt preferred |
| Extra-Virgin Olive Oil 🫒 | 2 tbsp | For dough moisture and flavor |
| Warm Water 💧 | 1 cup | About 100°F to 110°F |
| Sugar 🍮 | 1 tsp | Optional, for yeast activation |
| Cornmeal 🌽 | ¼ cup | For dusting pizza peel |
[recipe_ingredient_scaler]
The flour matters here. Caputo or All-Purpose with good protein content (around 12%) gives that perfect chew. Most grocery stores carry it, or grab it at Whole Foods. If you’re feeling fancy, try Italian ’00’ for an even more authentic texture.
No instant yeast? Active dry yeast works fine—just make sure to activate it properly. If you’re using bread machine yeast, reduce the amount by 25%. The water temperature is crucial—between 100°F and 110°F for proper yeast activation. Don’t skip the sugar if you want that perfect rise.
This dough keeps beautifully in the fridge for up to 3 days. Let it come to room temp before shaping. Freeze portions for up to 3 months—just thaw overnight in the fridge. The cornmeal on the pizza peel? Essential for that perfect slide into the oven.
Step-by-Step Instructions for Best Thin Crust Pizza Dough
Let’s make the perfect thin crust pizza dough that’ll make your taste buds dance with joy!
👨🍳 Step 1: Activate the Yeast and Mix Dry Ingredients
In a small bowl, combine the 1 cup Warm Water, 1 tsp Sugar, and 1 tsp Active Dry Yeast. Stir gently to dissolve the yeast, and let it sit for 5-10 minutes until it becomes frothy and bubbly. In a large mixing bowl, whisk together the 2.5 cups All-Purpose Flour and 1 tsp Salt. I like to use a fork to aerate the flour and ensure it’s evenly distributed.
The mixture should start to smell yeasty and wonderful – that’s your sign that the magic is happening! If you don’t see any bubbles, your yeast might be inactive, so it’s best to start over.
🍳 Step 2: Combine Wet and Dry Ingredients to Form Dough
Add the 2 tbsp Extra-Virgin Olive Oil to the dry ingredients and mix until it forms a shaggy dough. Then, pour in the yeast mixture and mix until the dough comes together in a sticky ball. Don’t worry if it looks messy – that’s exactly what you want at this stage!
I like to use a stand mixer with a dough hook attachment for this step, but you can do it by hand with a wooden spoon. The key is to mix until just combined – overmixing will lead to a tough crust.
👨🍳 Step 3: Knead the Dough to Develop Gluten
Turn the dough out onto a floured surface and knead for 5-7 minutes until it becomes smooth and elastic. You can also use your stand mixer with the dough hook attachment for this step. I like to knead by hand because it helps me feel the dough’s texture and ensure it’s just right.
The dough is ready when it passes the “windowpane test” – you should be able to stretch it thin enough to see light through without it tearing. If it’s still sticky, knead for a few more minutes until it reaches the right consistency.
⏰ Step 4: Let the Dough Rise to Perfection
Place the dough in a lightly oiled bowl, cover it with plastic wrap or a damp towel, and let it rise in a warm, draft-free place for 1-2 hours until it has doubled in size. I like to let it rise in a cozy spot, like the pantry or near the oven (not on it, though – that’s too hot!).
You’ll know it’s ready when it springs back slowly when you press it gently with your finger. Don’t rush this step – the longer, slower rise will give you a more complex flavor and better texture.
🔥 Step 5: Shape and Bake the Pizza Crust
Preheat your oven to 500°F with a pizza stone or baking steel inside (if you have one). Punch down the dough and divide it into 4 equal portions. Roll out each portion into a thin circle, about 1/4 inch thick. Place the dough on a piece of parchment paper or a lightly floured pizza peel sprinkled with the 0.25 cup Cornmeal to prevent sticking.
Top with your favorite ingredients and slide onto the preheated stone. Bake for 10-12 minutes until the crust is golden brown and crispy. You’ll know it’s done when it’s perfectly charred around the edges and smells amazing! Serve immediately and enjoy the crispy perfection.
Common Mistakes When Making Perfect Results
Overworking the Dough
One of the most common mistakes when making thin crust pizza dough is overworking the dough. This can lead to a tough, dense crust that’s more like bread than pizza. I like to mix my ingredients just until they come together in a shaggy mass, then let the dough rest for 5-10 minutes before kneading. This helps the flour absorb the water evenly and reduces the need for excessive kneading. 🔥
Incorrect Yeast Activation
Proper yeast activation is crucial for achieving that perfect rise. If your water is too hot (above 115°F), it will kill the yeast; too cold (below 90°F), and it won’t activate properly. I always use a thermometer to ensure my water is between 100-110°F. Let the yeast mixture sit for 5-10 minutes until it becomes frothy and bubbly. If you don’t see any bubbles, your yeast might be inactive, so it’s best to start over.
Insufficient Rising Time
Rushing the dough’s rise can result in a crust that’s lacking in flavor and texture. Let your dough rise in a warm, draft-free place for at least 1-2 hours until it has doubled in size. I like to let mine rise in a cozy spot, like the pantry or near the oven (not on it, though – that’s too hot!). Don’t rush this step – the longer, slower rise will give you a more complex flavor and better texture.
Incorrect Oven Temperature
A hot oven is essential for achieving that perfect thin crust. Preheat your oven to 500°F with a pizza stone or baking steel inside (if you have one). If your oven can’t reach that high temperature, consider investing in a pizza oven or using a broiler to get that intense heat.
Not Using Cornmeal
Not dusting your pizza peel with cornmeal can cause the dough to stick, making it difficult to slide onto the preheated stone. I always sprinkle a thin layer of cornmeal on my peel before placing the dough on it. This ensures a smooth transfer and prevents the dough from tearing. You can also use semolina flour or a combination of both for added texture.
Overloading with Toppings
Too many toppings can make the crust soggy and difficult to cook evenly. Keep your toppings balanced and light – a good rule of thumb is to limit yourself to 3-4 toppings max. This will ensure your crust stays crispy and cooks evenly. I like to keep it simple with a classic combination of fresh mozzarella, San Marzano tomatoes, and a sprinkle of fresh basil.
Nutrition Facts

Trained in classic French technique but raised on slow-cooked ribs and spicy rubs, she blends culinary skill with smoke and soul.
- Recipe for Fried Pork Chops With Flour: Crispy Crust and Juicy Centers - October 3, 2026
- Octopus Recipe Pan Fried: Crispy Edges With Tender Bites - October 3, 2026
- Recipe For Fried Pork Chops In An Iron Skillet: Crispy Crust With Juicy Centers - October 3, 2026