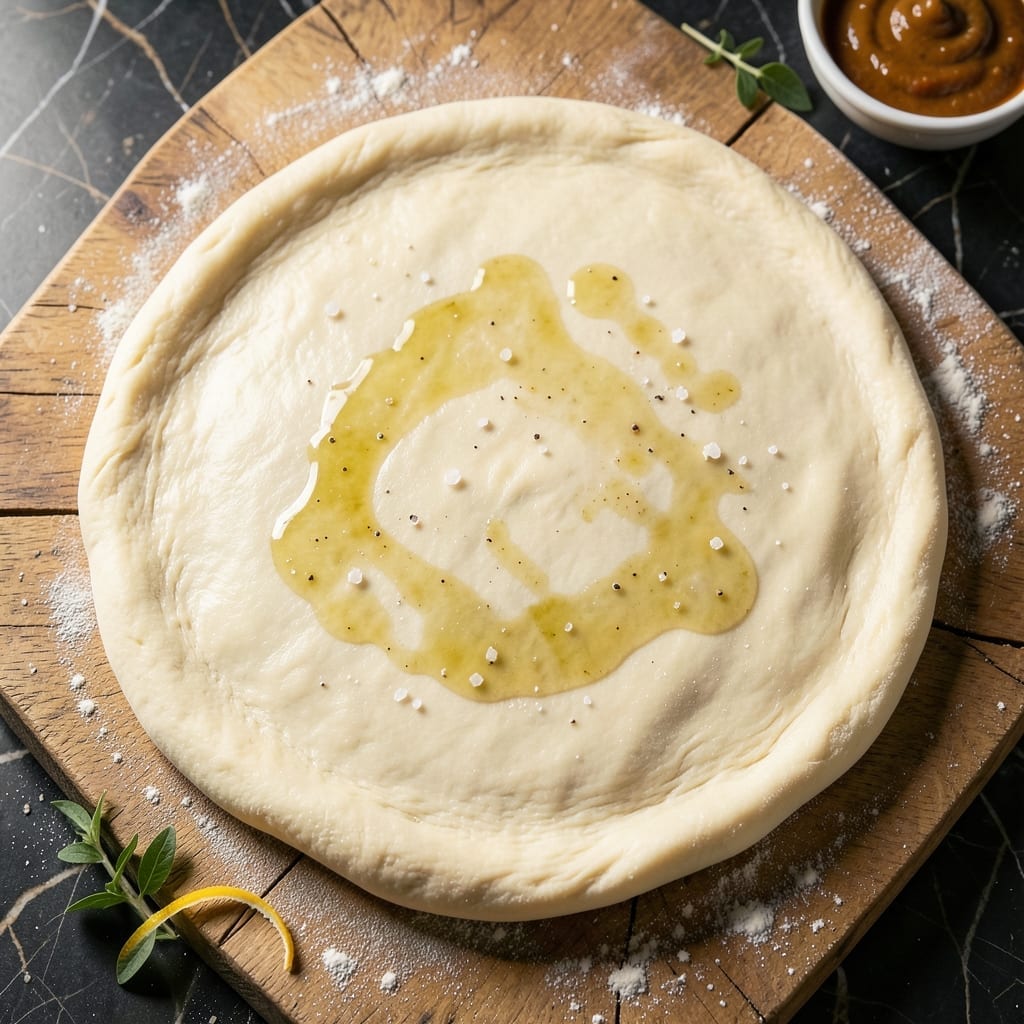
This dough recipe delivers a crispy, chewy foundation for authentic homemade pizza every time. The secret lies in the right flour blend and precise proofing.
With minimal ingredients and a foolproof method, you’ll achieve professional-quality results without specialty equipment. The texture stays perfect whether baked immediately or refrigerated overnight.
Ingredients for Pizza Dough Recipe Food
Nine simple ingredients create a restaurant-quality pizza base with crisp edges and chewy center.
| Ingredient | Amount | Notes |
|---|---|---|
| Bread Flour 🌾 | 3 ½ cups | High-protein for chewy texture |
| All-Purpose Flour 🌾 | ½ cup | Balances bread flour density |
| Active Dry Yeast 🍞 | 2 ¼ tsp | One packet, proofed in warm water |
| Granulated Sugar 🍚 | 1 tsp | Feeds yeast for activation |
| Kosher Salt 🧂 | 1 ½ tsp | Diamond Crystal preferred |
| Extra-Virgin Olive Oil 🫒 | 2 tbsp | For dough elasticity |
| Warm Water 💧 | 1 ¼ cups | 110-115°F for optimal proofing |
| Semolina Flour 🌾 | ¼ cup | For dusting work surface |
| Cornmeal 🌽 | 2 tbsp | Prevents sticking on peel |
[recipe_ingredient_scaler]
The flour blend is non-negotiable for authentic texture. King Arthur bread flour (12.7% protein) paired with standard all-purpose delivers the perfect chew-to-crisp ratio. Bob’s Red Mill works too, but avoid low-protein flours. Yeast freshness matters—check the expiration date and store unopened packets in the freezer for longevity. Warm water temperature is critical: too hot kills yeast, too cool slows proofing.
No bread flour? Substitute with all-purpose plus 1 tbsp vital wheat gluten per cup. Short on time? Instant yeast can be mixed directly into dry ingredients (skip proofing, reduce water by 2 tbsp). For a whole wheat version, replace up to 25% of the bread flour with whole wheat flour, adding 1 extra tbsp water per cup. Olive oil can be swapped for avocado oil without texture impact.
Dough keeps refrigerated for 3 days or frozen for 1 month. Portion into balls before freezing, then thaw overnight in the fridge. Bring to room temperature before shaping. For best flavor development, let refrigerated dough proof at room temp for 2 hours before using.
Why You’ll Love This Recipe
- No-Fuss Mixing: Honestly, I just dump the flours, yeast, sugar, and salt in a bowl, add water, and let the dough hook do the work.
- Crisp Yet Chewy: That combo of bread flour and all-purpose gives me a crust that crackles on the outside but stays soft inside.
- Endless Toppings: I’ve used this dough for margherita, loaded veggie, even dessert pizzas with cinnamon sugar.
- Pocketbook Friendly: A few cents’ worth of ingredients makes two large crusts—way cheaper than delivery.
Step-by-Step Instructions for Pizza Dough
Master these professional techniques for a crispy, chewy base that rivals any pizzeria.
Step 1: Activate the Yeast
In a small bowl, whisk together the 1.25 cups warm water, 1 tsp granulated sugar, and 2.25 tsp active dry yeast. The water should be between 110-115°F—any hotter and you’ll kill the yeast, any cooler and it won’t activate properly.
Let the mixture stand for 5-7 minutes until it becomes foamy and cloudy. This visual confirmation means the yeast is alive and ready to work. If you don’t see foam after 10 minutes, your yeast may be expired—start over with fresh yeast to ensure proper rise.
Step 2: Combine and Knead the Dough
In a stand mixer fitted with the dough hook, combine the 3.5 cups bread flour, 0.5 cup all-purpose flour, and 1.5 tsp kosher salt. Create a well in the center and pour in the yeast mixture and 2 tbsp extra-virgin olive oil.
Mix on low speed until the dough comes together, then increase to medium and knead for 6-8 minutes. The dough should pull away from the bowl and be smooth, elastic, and slightly tacky but not sticky. If it’s too wet, add bread flour 1 tbsp at a time; if too dry, add warm water 1 tsp at a time.
Step 3: First Rise for Flavor Development
Lightly oil a large bowl with extra-virgin olive oil. Transfer the kneaded dough to the bowl and turn it once to coat all sides. Cover with a damp kitchen towel or plastic wrap.
Let the dough rise in a warm, draft-free place for 1-2 hours or until doubled in volume. For best flavor development, I recommend a slow rise in the refrigerator for 24 hours. This extended fermentation creates a more complex flavor profile and better texture.
Step 4: Shape and Prepare for Baking
Turn the risen dough out onto a surface dusted with 0.25 cup semolina flour. Divide into 4 equal portions (about 250g each) for individual pizzas. Gently shape each portion into a ball, being careful not to overwork the dough.
Cover the balls with a damp towel and let rest for 15-20 minutes. This relaxation period makes the dough easier to stretch. While waiting, dust your pizza peel with 2 tbsp cornmeal to prevent sticking when transferring to the oven.
To shape, press a dough ball into a disc with your fingertips, then use your knuckles to stretch it gently from the center outward, leaving a slightly thicker rim for the crust. Aim for 12-inch rounds for a classic thin-crust pizza.
Pro Tips For Making Pizza Dough Recipe Food
- Proof the Yeast: Always dissolve the active dry yeast in warm water (about 110°F) with a pinch of sugar first—if it doesn’t bubble within 5 minutes, your dough won’t rise.
- Use Bread Flour: Swap all-purpose for bread flour if you want a chewier crust; the higher protein content actually changes the outcome.
- Skip Cold Water: I learned this the hard way—cold water slows yeast activation, so use warm (not hot) water to guarantee a proper rise.
- Rest Overnight: After mixing, let the dough rest in the fridge for 12-24 hours—sounds weird, but it works: deeper flavor and easier stretching.
Essential Equipment for pizza dough recipe food
Stand Mixer Essential
A stand mixer with dough hook attachment is my top recommendation—KitchenAid Artisan handles this dough perfectly. The motor power saves your arms from 8 minutes of vigorous kneading. 💪
Digital Scale Precision
Weigh ingredients with a digital kitchen scale for consistency. OXO Good Grips model gives accurate readings in grams. Precise measurements ensure your dough turns out the same every time.
Instant-Read Thermometer
Check water temperature with an instant-read thermometer—110-115°F is the sweet spot for yeast activation. ThermoWorks ThermoPop is affordable and reliable. Too hot kills yeast; too cool slows proofing.
Proofing Container
A large glass or stainless steel bowl works for proofing, but I prefer a dough-proofing bucket with measurement markings. The lid creates a perfect humid environment for consistent rising.
Pizza Peel Investment
A wooden pizza peel is essential for transferring your stretched dough to the oven. Dust it with cornmeal to prevent sticking. The long handle keeps your hands safe from the hot oven.
Baking Stone or Steel
For crispy crust, preheat a baking stone or steel in your oven at 500°F for 1 hour. Lodge makes durable cast iron options. This mimics a professional pizza oven’s heat retention. 🔥
Nutrition Facts
Frequently Asked Questions
Why use bread flour instead of all-purpose?
Bread flour has higher protein content (12-14%), creating more gluten for that perfect chewy texture. All-purpose works in a pinch but yields a less elastic crust.
Can I make this without a stand mixer?
Knead by hand for 10-12 minutes on a floured surface until smooth. The dough will be slightly stickier but still produces great results.
How do I prevent my crust from getting soggy?
Preheat your baking surface at 500°F for 1 hour and use minimal toppings. The high heat creates a crisp barrier before juices can soak in.
What’s the ideal thickness for the base?
Aim for 1/4-inch thickness in the center with a slightly thicker rim. Stretch gently to avoid tearing the delicate gluten structure.

Trained in classic French technique but raised on slow-cooked ribs and spicy rubs, she blends culinary skill with smoke and soul.
- Recipe for Boneless Pork Chops in Cast Iron Skillet: Sear and Baste to Juicy Perfection - October 3, 2026
- Recipe for Boneless Cross Rib Roast: Slow-Roasted Beef with Herb Crust - October 3, 2026
- Hamburgers in Sauce Recipe Crock Pot: Slow-Cooked Savory Delight - October 3, 2026