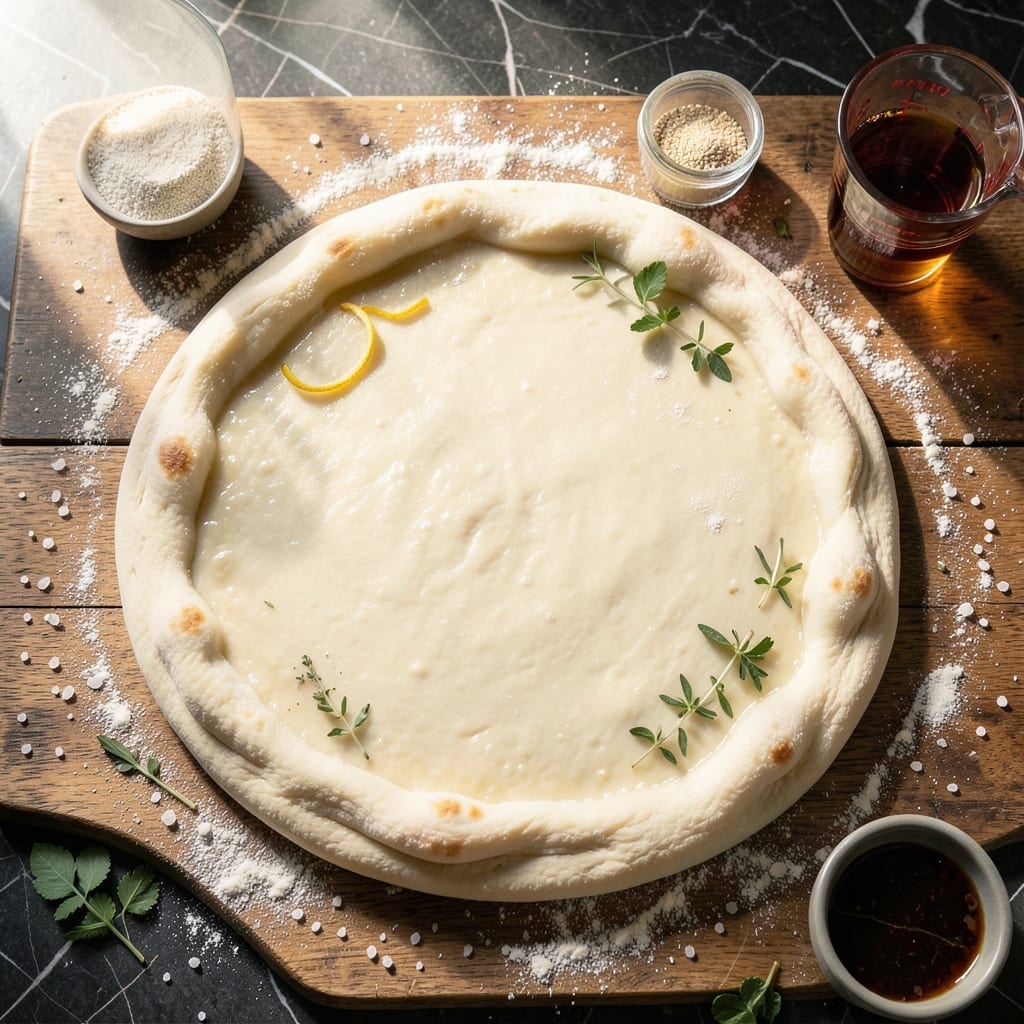
This pizza dough delivers a light and airy crust without any oil. The secret lies in the precise balance of flour, water, and yeast.
With just 5 ingredients and a 2-hour rise, you’ll achieve a crispy yet tender base perfect for your favorite toppings.
Ingredients for Pizza Dough Recipe No Olive Oil
Five simple ingredients yield a light, airy, oil-free pizza crust perfect for any topping.
| Ingredient | Amount | Notes |
|---|---|---|
| All-Purpose Flour 🌾 | 3 ½ cups | Plus extra for dusting |
| Active Dry Yeast 🍞 | 2 ¼ tsp | One packet, proofed in warm water |
| Warm Water 💧 | 1 ¼ cups | 110°F to 115°F for proofing |
| Granulated Sugar 🍚 | 1 tsp | Feeds the yeast for rising |
| Salt 🧂 | 1 ½ tsp | Fine sea salt preferred |
[recipe_ingredient_scaler]
The flour is the foundation here—King Arthur or Gold Medal all-purpose give the best texture. Yeast freshness is non-negotiable; check the expiration date or do a quick proof test in warm water with sugar (it should bubble within 5-10 minutes). Warm water temperature matters—too hot kills the yeast, too cold slows the rise. I always use a thermometer to hit that 110°F-115°F sweet spot.
No yeast? Instant yeast works at the same amount—just skip the proofing step. Out of all-purpose? Bread flour adds chew, but you’ll need slightly more water (add a tablespoon at a time). Sugar can be swapped for honey or maple syrup if you’re avoiding refined sugar (use the same amount). The salt enhances flavor, so don’t skip it—Diamond Crystal kosher is my go-to.
The dough rises best in a warm, draft-free spot—2 hours gets you that perfect airy texture. Wrap tightly in plastic and refrigerate for up to 48 hours if you want to prep ahead. It freezes well too—3 months in an airtight container. Let it thaw overnight in the fridge before using.
Why You’ll Love This Recipe
- No Fuss Dough: I love that I can mix this with just flour, yeast, water, sugar, and salt—no last-minute trips to the store for olive oil.
- Crisp Yet Tender: The crust bakes up golden with a satisfying chew, and the sugar gives it just a hint of sweetness that balances savory toppings perfectly.
- Endless Toppings: Honestly, this blank-canvas dough works for Margherita night, breakfast pizza with eggs, or even garlic knots when I’m feeling fancy.
- Budget Stretch: A batch costs pennies compared to delivery, and leftovers freeze beautifully for spontaneous pizza cravings later in the week.
Step-by-Step Instructions for Pizza Dough No Olive Oil
Here’s my trusted method for achieving a light, airy crust without a drop of oil.
Step 1: Proof the Yeast in Warm Water
In a large mixing bowl, combine the 1.25 cups Warm Water with the 1 tsp Granulated Sugar and stir until dissolved. The sugar acts as food for the yeast, kickstarting the activation process. The water should feel warm to the touch but not hot—between 110°F to 115°F is ideal.
Sprinkle the 2.25 tsp Active Dry Yeast evenly over the surface of the water. Let it sit undisturbed for 5-7 minutes until the mixture becomes foamy and cloudy. This visual confirmation means your yeast is alive and ready to work. If you don’t see bubbles, your yeast may be expired—start over with fresh yeast.
Step 2: Mix and Knead the Dough
Add the 3.5 cups All-Purpose Flour and 1.5 tsp Salt to the yeast mixture. Using a wooden spoon or dough whisk, stir until a shaggy dough forms. The salt strengthens the gluten network and controls yeast activity, preventing overproofing.
Turn the dough onto a lightly floured surface and knead by hand for 8-10 minutes. Push the dough away with the heel of your hand, fold it back over itself, and rotate a quarter turn. Repeat this rhythm until the dough becomes smooth, elastic, and slightly tacky. You’ll know it’s ready when it springs back slowly when poked with a finger.
Step 3: Let the Dough Rise Until Doubled
Lightly oil your mixing bowl (even though we’re not using oil in the dough, a tiny bit here prevents sticking), place the dough inside, and cover with a damp kitchen towel or plastic wrap. Let it rise in a warm, draft-free spot for 1 to 1.5 hours, or until doubled in size.
I like to place mine near a sunny window or on top of the refrigerator where it’s slightly warmer. The dough should look puffy and jiggle slightly when gently shaken. If your kitchen is cool, this may take closer to 2 hours—patience is key for proper gluten development.
Step 4: Punch Down and Shape the Dough
Once risen, gently punch down the dough to release the air. This step redistributes the yeast and relaxes the gluten for easier shaping. Turn it onto a lightly floured surface and divide into 4 equal portions for individual pizzas, or keep whole for a large pie.
Shape each portion into a smooth ball by tucking the edges underneath and rolling gently on the counter. Cover with a towel and let rest for 15-20 minutes. This brief rest makes the dough more pliable and easier to stretch without tearing. You’ll notice the gluten relaxes visibly during this time.
Step 5: Roll Out and Prepare for Toppings
On a floured surface, roll out each dough ball to your desired thickness. For a classic thin crust, aim for about ¼-inch thick. The dough should stretch easily without springing back too much—if it resists, let it rest for another 5-10 minutes before trying again.
Transfer the rolled dough to a parchment-lined baking sheet or pizza peel dusted with All-Purpose Flour. Add your favorite toppings, leaving a small border for the crust. The dough is now ready for baking and will yield a light, crisp crust with a tender interior—proof that you don’t need oil for perfect pizza.
Pro Tips For Making Pizza Dough Recipe No Olive Oil
- Proof the Yeast: Always dissolve the yeast in warm water with sugar first and let it sit for 5-10 minutes until foamy. I learned this the hard way after wasting flour on dough that never rose.
- Use Warm Water: The water should be around 110°F—hot enough to activate the yeast but not so hot it kills it. After burning a few batches with water that was too hot, I now use a thermometer.
- Skip Cold Ingredients: Make sure your flour isn’t straight from the fridge, as cold ingredients slow down yeast activation. Sounds weird, but it works—room temp flour gives a more consistent rise.
- Rest the Dough: Let the dough rest for at least 1 hour in a warm spot, covered with a damp towel. My grandmother swore by this, and she was right—it makes the dough easier to stretch and improves texture.
Pro Cooking Tips for This Dish
💡 Master the Heat
Preheat your oven to 475°F (245°C) for at least 30 minutes to ensure even baking. A hot oven is key to achieving a crispy, golden crust without olive oil. Use a pizza stone or inverted baking sheet for best results.
🎯 Knead It Right
Knead the dough for 8-10 minutes until smooth and elastic. This develops the gluten, giving your crust structure. If the dough feels too sticky, add flour 1 tablespoon at a time—but avoid over-flouring.
✨ Let It Rest
After shaping, let the dough rest for 10-15 minutes before adding toppings. This relaxes the gluten, preventing shrinkage during baking. For extra flavor, cover and refrigerate the dough overnight before use.
🌡️ Watch the Time
Bake the pizza for 10-12 minutes or until the crust is golden and the cheese bubbles. Rotate the pizza halfway through for even cooking. A metal peel or parchment paper makes transferring easier.
Nutrition Facts

Trained in classic French technique but raised on slow-cooked ribs and spicy rubs, she blends culinary skill with smoke and soul.
- Recipe for Boneless Pork Chops in Cast Iron Skillet: Sear and Baste to Juicy Perfection - October 3, 2026
- Recipe for Boneless Cross Rib Roast: Slow-Roasted Beef with Herb Crust - October 3, 2026
- Hamburgers in Sauce Recipe Crock Pot: Slow-Cooked Savory Delight - October 3, 2026