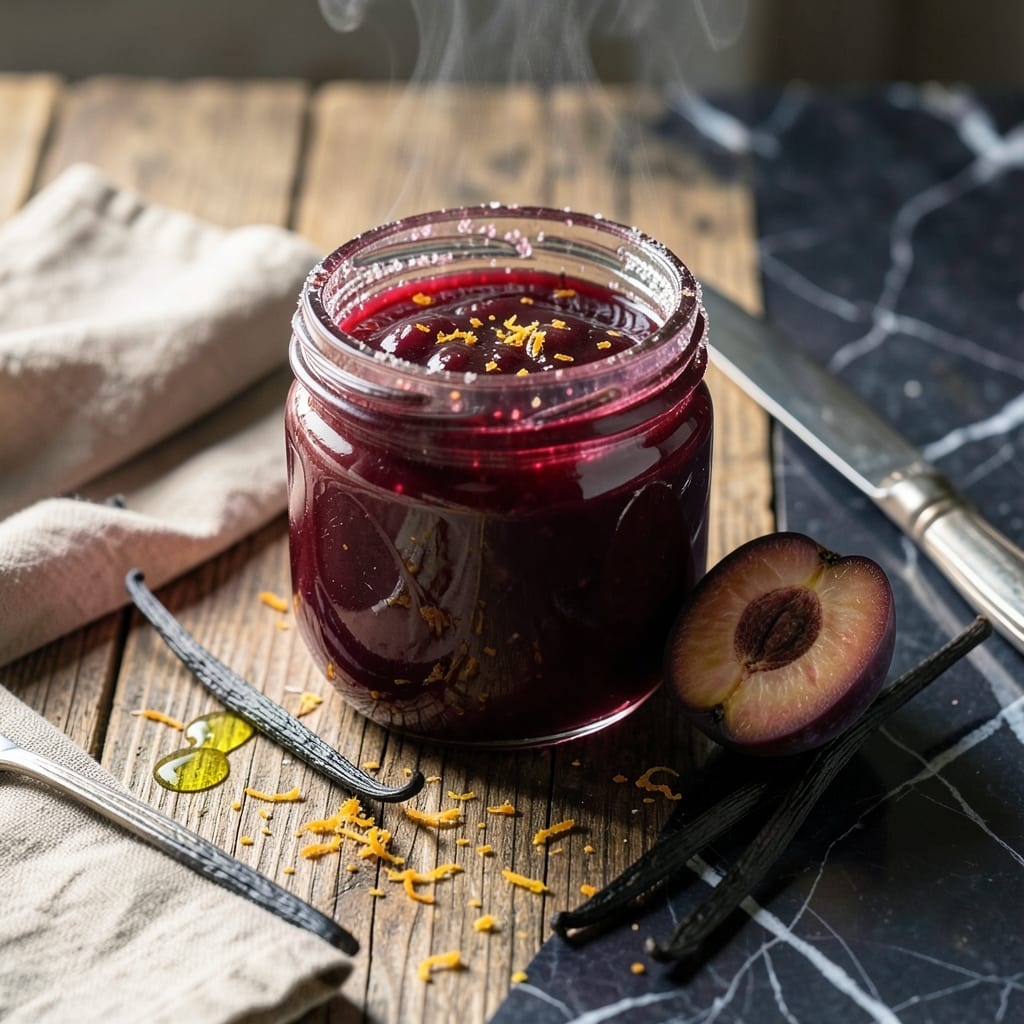
This plum jam skips the pectin but never sacrifices texture. The secret lies in the natural thickening power of citrus zest and a careful cooking process.
You’ll end up with a glossy, spreadable jam that captures the fruit’s peak sweetness. It keeps beautifully in the pantry for months.
Ingredients for Plum Jam Recipe Without Pectin
Eight ingredients transform into glossy, spreadable plum jam with natural citrus thickening power.
| Ingredient | Amount | Notes |
|---|---|---|
| Fresh Plums 🟣 | 2 ½ lb | Pitted and quartered |
| Granulated Sugar 🍚 | 2 cups | Adjust based on plum sweetness |
| Lemon Zest 🍋 | 2 tbsp | Finely grated for natural pectin |
| Lemon Juice 🍋 | ¼ cup | Freshly squeezed for acidity |
| Orange Zest 🍊 | 1 tbsp | Finely grated for depth |
| Vanilla Bean 🌿 | 1 whole | Split and scraped |
| Cinnamon Stick 🌿 | 1 whole | Optional for warmth |
| Star Anise Pod ⭐ | 1 whole | Optional for complexity |
[recipe_ingredient_scaler]
The plums are the star here. Look for ripe but firm fruit—too soft and they’ll turn to mush. Farmers markets usually have the best selection in late summer, but Whole Foods or Trader Joe’s carry solid options year-round. The citrus zest is doing double duty as thickener and flavor booster, so grab organic lemons and oranges (the good stuff, not the pre-shredded kind) to avoid pesticides in the peel.
Need to swap the sugar? Coconut sugar works at a 1:1 ratio, but it’ll darken the jam. No vanilla bean? Pure vanilla extract at 1 tsp gets you close. Skipping the spices? Fine, but they add depth. If your plums are super tart, bump the sugar up to 2.5 cups. Want a smoother texture? Pulse the cooked fruit with an immersion blender before jarring.
This keeps beautifully at room temperature for 6-12 months (sterilized jars, proper sealing). Once opened, store in the fridge for up to 3 months. The flavor deepens over time—worth making extra for gifts (or yourself).
Why You’ll Love This Recipe
- No-Fuss Cooking: No pectin, no stress—just plums, sugar, and citrus doing all the work while I stir.
- Bright & Zesty: The lemon and orange zest cut through the sweetness, making each bite taste sun-ripened and fresh.
- Pantry Staple: I spread it on toast, swirl it into yogurt, or gift it in little jars—it’s my secret weapon for quick flavor boosts.
- Budget Friendly: A bag of plums and basic pantry items turn into jars of jam for pennies. Honestly, it’s cheaper than store-bought.
Step-by-Step Instructions for Plum Jam Without Pectin
Here’s the method. Straightforward, tested, works every time.
Step 1: Prepare the Plums and Aromatics
Start by pitting and quartering the 2.5 lb Fresh Plums. I like to work with one plum at a time, slicing it in half and twisting to separate the pit. The flesh should be firm but ripe—overripe plums can make your jam too watery.
Split the 1 whole Vanilla Bean lengthwise with a sharp knife and scrape out the seeds. You’ll add both the pod and seeds to the mixture for maximum flavor. Set aside the 1 whole Cinnamon Stick and 1 whole Star Anise Pod—these will infuse the jam with warm, complex notes.
Step 2: Combine Ingredients and Begin Cooking
In a large, heavy-bottomed pot, combine the quartered plums, 2 cups Granulated Sugar, 2 tbsp Lemon Zest, 0.25 cup Lemon Juice, and 1 tbsp Orange Zest. Stir everything together so the sugar starts to dissolve even before the heat is applied.
Place the pot over medium heat and add the vanilla bean (pod and seeds), cinnamon stick, and star anise pod. Stir frequently as the mixture begins to warm—you’ll notice the sugar fully dissolving and the plums starting to release their juices after about 5 minutes.
Step 3: Simmer Until Thickened
Once the mixture comes to a gentle boil, reduce the heat to medium-low and let it simmer uncovered. Stir every 5-10 minutes to prevent sticking, especially as the jam thickens. The natural pectin from the citrus zest will start to work its magic.
After about 30-40 minutes, the jam will begin to thicken. To test for doneness, place a small spoonful on a chilled plate and return it to the freezer for 2 minutes. If it wrinkles slightly when pushed with your finger, it’s ready. The color should be deep and glossy, and the fruit should be soft but still hold its shape.
Step 4: Remove Spices and Jar the Jam
Once the jam reaches the desired thickness, remove the pot from heat. Fish out the vanilla pod, cinnamon stick, and star anise with a slotted spoon. I like to scrape any jam clinging to the vanilla pod back into the mixture—no flavor left behind.
Ladle the hot jam into clean, sterilized jars. The jam should be thick enough to coat the back of a spoon but still pourable. Leave about ½ inch of headspace at the top of each jar. As it cools, you’ll see the jam set further, and the surface will develop a slight skin.
Let the jars cool completely at room temperature. The jam will continue to thicken as it cools. Once cooled, seal the jars and store in the refrigerator for up to 3 weeks, or process in a water bath for longer shelf life.
Pro Tips For Making Plum Jam Recipe Without Pectin
- Test the Set: After 20-25 minutes of simmering, drop a spoonful on a chilled plate—if it wrinkles when pushed, it’s done. I learned this the hard way after pulling my first batch too early and ending up with syrup instead of jam.
- Pit and Chop Evenly: Cut plums into uniform 1-inch pieces so they cook at the same rate. Sounds tedious, but it prevents half your jam from turning to mush while the other half stays firm.
- Skip the Over-Stirring: Resist the urge to stir constantly once the sugar dissolves—it can break down the fruit too much. A gentle stir every 5 minutes or so keeps it from sticking without turning your jam into a purée.
- Use a Wide Pot: A broad, heavy-bottomed pot lets the jam reduce faster and more evenly. My grandmother swore by her old copper pot, and after years of uneven batches, I finally listened.
Essential Equipment for Perfect Results
Heavy-Bottomed Pot
I always reach for my Le Creuset Dutch oven—its 5-quart capacity handles 2.5 lb plums perfectly. The heavy base prevents scorching as the sugar caramelizes. A stainless steel pot works too, but requires more frequent stirring. 🔥
Wooden Spoon
A long wooden spoon is essential for stirring without scratching your pot. I prefer one with a flat edge to help crush the plums as they soften. Avoid metal spoons—they can react with the acid in the fruit.
Citrus Zester
For the 2 tbsp lemon zest and 1 tbsp orange zest, use a Microplane grater. It extracts the oils without the bitter white pith. I’ve burned through cheaper models—this is one tool worth investing in.
Chilled Plate
Keep a small white plate in your freezer for the wring test. The cold surface helps the jam set quickly so you can check its consistency. A 2-minute chill is all you need to confirm it’s ready.
Sterilized Jars
Use 8-ounce mason jars with new lids for storage. I run mine through the dishwasher’s sterilize cycle before filling. For gifts, Weck jars look beautiful and create a perfect seal. 💛
Slotted Spoon
A stainless steel slotted spoon helps remove the vanilla pod and spices without losing precious jam. I also use it to skim off any foam that rises to the surface during cooking.
Nutrition Facts
Frequently Asked Questions
Why does this use citrus zest?
The zest contains natural pectin that thickens the jam without added ingredients. It also brightens the flavor with a subtle citrus note.
How can I test if the jam is ready?
Place a spoonful on a chilled plate and freeze for 2 minutes. If it wrinkles when pushed, it’s set. If not, cook it longer.
Can I adjust the sugar amount?
Yes! For tart plums, increase to 2.5 cups. For sweeter fruit, reduce to 1.5 cups. Just note it may affect thickness.
How long does it keep?
Sealed jars last 6-12 months in a cool, dark place. Once opened, refrigerate for up to 3 months.

Trained in classic French technique but raised on slow-cooked ribs and spicy rubs, she blends culinary skill with smoke and soul.
- Recipe for Boneless Pork Chops in Cast Iron Skillet: Sear and Baste to Juicy Perfection - October 3, 2026
- Recipe for Boneless Cross Rib Roast: Slow-Roasted Beef with Herb Crust - October 3, 2026
- Hamburgers in Sauce Recipe Crock Pot: Slow-Cooked Savory Delight - October 3, 2026