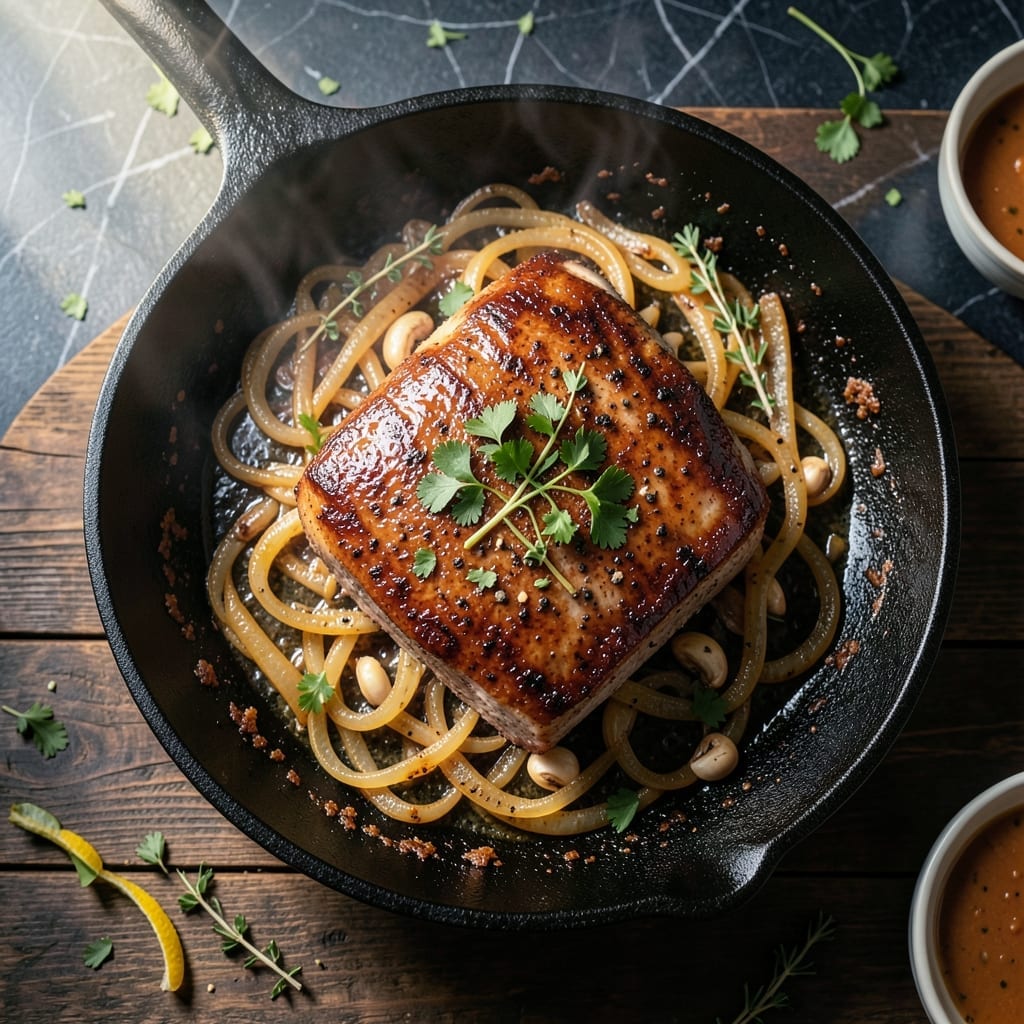
This sear-and-roast method guarantees juicy pork tenderloin every time, with a golden crust and perfectly tender interior. I’ve tested this in my small Boston kitchen more times than I can count, always with the same delicious results.
The process is simple: a quick pan sear locks in flavor and moisture, while a brief oven finish ensures even cooking. No fancy equipment or complicated steps—just a proven technique that delivers restaurant-quality meat at home.
You’ll end up with slices so tender they practically melt in your mouth, with a crisp exterior that adds just the right amount of texture. The best part? It’s ready in under 30 minutes from start to finish.
Serve with roasted vegetables or a fresh salad for a complete meal. This is the kind of dish that makes everyday cooking feel special.
Ingredients for Pork Tenderloin Recipe Pan
Pantry staples plus a quick stop at the butcher counter. Simple, flavorful ingredients for perfect pork.
| Ingredient | Amount | Notes |
|---|---|---|
| Pork Tenderloin 🥩 | 1 ½ lb | Trimmed of excess fat |
| Kosher Salt 🧂 | 1 ½ tsp | Diamond Crystal preferred |
| Black Pepper 🌶️ | 1 tsp | Freshly cracked preferred |
| Garlic Powder 🧄 | 1 tsp | Not garlic salt |
| Smoked Paprika 🌶️ | ½ tsp | Adds depth of flavor |
| Dried Thyme 🌿 | ½ tsp | Rubbed between fingers |
| Olive Oil 🫒 | 2 tbsp | High smoke point preferred |
| Unsalted Butter 🧈 | 1 tbsp | For basting during sear |
| Fresh Rosemary 🌿 | 2 sprigs | Optional for aroma |
| Fresh Garlic Cloves 🧄 | 3 cloves | Smashed for basting |
| Dijon Mustard 🟡 | 1 tbsp | For serving option |
[recipe_ingredient_scaler]
The pork tenderloin is the star here—look for 1.5 lb pieces with even thickness at Whole Foods or Market Basket. Avoid anything pre-marinated (those add weird flavors we don’t want). The fat cap should be thin—trim any excess before seasoning. I always check the date too; fresher meat sears better and stays juicier through cooking.
Out of smoked paprika? Regular paprika plus a pinch of cayenne works. No fresh rosemary? Dried rosemary at half the amount is fine (just crush it). The Dijon mustard is optional but adds a nice tang—whole grain mustard gives great texture too. If you’re avoiding dairy, swap the butter for more olive oil (you’ll miss the richness but it’ll still work).
Cook this same day you buy the pork if possible—it’s best fresh. Leftovers keep 3-4 days in the fridge, or freeze slices for 2 months (thaw overnight before reheating). The seasoning blend stays potent in a jar for about 6 months.
Why You’ll Love This Recipe
- One Pan Meal: I love that everything cooks together—just season, sear, and roast the tenderloin in the same pan.
- Smoky Depth: The smoked paprika and garlic powder give it this rich, warm flavor that’s way more exciting than plain roasted pork.
- Feeds the Family: It’s my go-to for Sunday dinner—elegant enough for guests but unfussy enough for a weeknight.
- Lunch the Next Day: Leftovers slice up beautifully for sandwiches or salads, so nothing goes to waste.
Step-by-Step Instructions for Pork Tenderloin Pan
Here’s the method I use for tender, juicy pork every time, with a perfect sear and aromatic finish.
Step 1: Season and Rest the Pork Tenderloin
Pat the 1.5 lb pork tenderloin completely dry with paper towels to ensure a good sear. In a small bowl, combine the 1.5 tsp kosher salt, 1 tsp black pepper, 1 tsp garlic powder, 0.5 tsp smoked paprika, and 0.5 tsp dried thyme (rubbed between your fingers to release the oils).
Massage this spice blend all over the pork, pressing it into the surface so it adheres well. Let the seasoned tenderloin rest at room temperature for 20-30 minutes—this step ensures even cooking and helps the spices penetrate the meat.
Step 2: Sear the Tenderloin to Build Flavor
Preheat your oven to 400°F. Heat a large oven-safe skillet over medium-high heat, then add the 2 tbsp olive oil. Once the oil shimmers, place the pork tenderloin in the pan, turning occasionally to sear all sides until golden brown—this should take 4-5 minutes total.
Add the 1 tbsp unsalted butter, 2 sprigs fresh rosemary, and 3 cloves fresh garlic cloves (smashed) to the pan. Tilt the skillet slightly and baste the pork with the melted butter for 1-2 minutes, spooning the aromatic mixture over the meat continuously.
Step 3: Transfer to Oven for Even Cooking
Once the pork is evenly seared, transfer the entire skillet to the preheated oven. Roast for 12-15 minutes, or until the internal temperature reaches 145°F in the thickest part of the tenderloin. Avoid opening the oven door unnecessarily to maintain consistent heat.
The pork is done when it feels slightly firm to the touch and the juices run clear when pierced with a knife. If you notice the rosemary or garlic beginning to burn, remove those elements from the pan but leave the pork to finish cooking.
Step 4: Rest and Slice for Optimal Tenderness
Remove the skillet from the oven and transfer the pork tenderloin to a cutting board. Tent it loosely with foil and let it rest for 10 minutes—this allows the juices to redistribute throughout the meat, ensuring every slice stays moist and flavorful.
After resting, slice the pork into ½-inch thick medallions. The center should be just barely pink, indicating perfect doneness. For extra flavor, drizzle any remaining pan juices over the sliced pork before serving.
Serve immediately with a dollop of 1 tbsp Dijon mustard on the side for dipping, if desired. The mustard’s tangy sharpness pairs beautifully with the rich, savory pork.
Pro Tips For Making Pork Tenderloin Recipe Pan
- Sear It Hot: Get your pan screaming hot before adding the tenderloin—I learned this the hard way after too many pale, steamed pork dinners. That first sizzle is how you lock in the juices and get that deep golden crust.
- Pat It Dry: Blot the tenderloin with paper towels before seasoning. Sounds tedious, but wet meat steams instead of searing, and you’ll end up with a gray, sad result instead of that perfect crust.
- Don’t Overcrowd: If your pan isn’t big enough for the whole tenderloin, use two or sear in batches. Crowding drops the temperature fast, and suddenly you’re boiling the pork in its own juices.
- Rest Before Slicing: Give it a solid 5-10 minutes under foil after cooking—yes, even if you’re starving. I used to slice right away and watched all the juices run onto the cutting board instead of staying in the meat.
Common Mistakes When Making This Recipe
Skipping the Rest
I learned the hard way—rushing the 20-30 minute room temperature rest means uneven cooking. Cold pork seizes up in the pan, creating a sad, gray band around the edges while the center stays raw. 💡
Overcrowded Pan
Using a skillet that’s too small steams the pork instead of searing it. I always reach for my 12-inch oven-safe skillet—gives the 1.5 lb tenderloin space to brown properly without touching the sides.
Neglecting the Thermometer
Guessing doneness leads to dry meat every time. I pull the pork at exactly 145°F internal temperature, measured in the thickest part. That’s the USDA safe minimum for pork, and it keeps the meat juicy.
Skipping the Dry
Wet pork won’t sear—it’ll steam. I pat the tenderloin with paper towels until it’s bone-dry before seasoning. This simple step makes the difference between a golden crust and a pale, sad exterior.
Ignoring Carryover Cooking
Pork continues cooking after it leaves the oven. That’s why I rest it for 10 minutes—the temperature climbs another 5-10°F while it sits, so pulling it at 145°F gives perfect doneness without overcooking. 🔥
Using Cold Butter
Adding cold butter to the hot pan causes splattering and uneven melting. I let my 1 tbsp unsalted butter sit on the counter for 10 minutes before starting, so it melts smoothly for basting.
Nutrition Facts
Frequently Asked Questions
What pan works best for searing?
Use a 12-inch oven-safe skillet with heavy bottom for even heat. Cast iron or stainless steel works perfectly for a good sear and oven transfer. Avoid nonstick as it can’t handle the high heat needed.
How do I know when it’s done?
Use a meat thermometer inserted in the thickest part. Pull it at 145°F—it will rise to 150-155°F while resting. The center should be slightly pink with clear juices.
Can I make this without an oven?
Yes! Complete the cooking on the stovetop over medium-low heat after searing. Cover the pan and cook for 10-12 minutes, turning occasionally until it reaches 145°F.
Why rest the meat before slicing?
Resting for 10 minutes lets juices redistribute. Slicing too soon causes all the moisture to spill out, leaving dry meat. The temperature also finishes rising to the perfect doneness.

Trained in classic French technique but raised on slow-cooked ribs and spicy rubs, she blends culinary skill with smoke and soul.
- Recipe for Boneless Pork Chops in Cast Iron Skillet: Sear and Baste to Juicy Perfection - October 3, 2026
- Recipe for Boneless Cross Rib Roast: Slow-Roasted Beef with Herb Crust - October 3, 2026
- Hamburgers in Sauce Recipe Crock Pot: Slow-Cooked Savory Delight - October 3, 2026