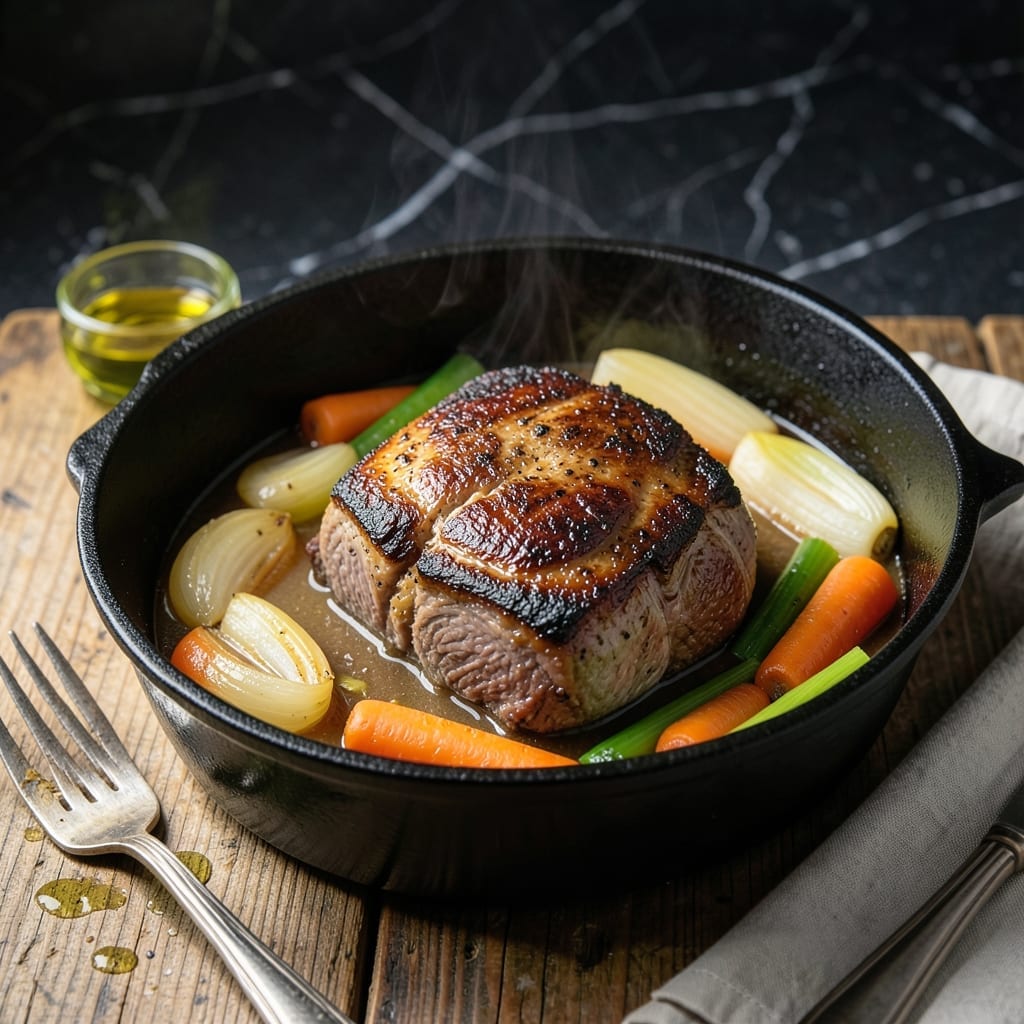
This pot roast delivers the tender results you crave without complicated liquids or wine. I developed this method after years of experimenting with different braising techniques, always returning to water as the simplest, most reliable base.
The slow cooking process transforms tough cuts into fall-apart meat while building deep, rich flavor. Water allows the beef’s natural juices to shine without overpowering the dish, creating a melting texture that’s hard to resist.
With just a handful of ingredients and low, steady heat, you’ll achieve restaurant-quality results. The meat becomes so tender it nearly dissolves with each bite, while the vegetables absorb all that savory goodness.
The secret lies in patience and proper browning before adding the liquid. This ensures every piece of beef develops maximum flavor and that signature tender finish.
Ingredients for Pot Roast Recipe with Water
Pantry staples plus fresh veggies. Nothing exotic, just good, honest cooking.
| Ingredient | Amount | Notes |
|---|---|---|
| Chuck Roast 🥩 | 3 lb | Well-marbled, trimmed of excess fat |
| Kosher Salt 🧂 | 2 tsp | Diamond Crystal preferred for even seasoning |
| Black Pepper 🌶️ | 1 tsp | Freshly ground for maximum flavor |
| Yellow Onion 🧅 | 1 whole | Large, quartered through the root |
| Carrots 🥕 | 3 whole | Large, cut into 2-inch chunks |
| Celery Stalks 🌿 | 3 whole | Cut into 2-inch pieces |
| Garlic Cloves 🧄 | 6 cloves | Smashed, peeled left whole |
| Dried Thyme 🍃 | 1 tsp | Or 1 tbsp fresh thyme leaves |
| Bay Leaves 🌿 | 2 pieces | Dried, whole leaves |
| Water 💧 | 2 cups | Hot, for braising liquid |
| Olive Oil 🫒 | 2 tbsp | Divided for searing and finishing |
| All-Purpose Flour 🌾 | 2 tbsp | For dusting beef before browning |
[recipe_ingredient_scaler]
The chuck roast is non-negotiable here—it’s the only cut that transforms into that melt-in-your-mouth texture after hours of slow cooking. Costco has the best prices for quality beef, but any supermarket with a decent butcher counter will work. Look for good marbling (those white fat streaks) which melts into the meat. If you’re buying pre-cut, ask for a single piece—it holds up better than stew meat.
Short on thyme? Rosemary or oregano both work well at the same amount. No fresh garlic? Garlic powder at one-third the quantity (about 2 tsp). The carrots and celery can be swapped for parsnips or potatoes (cut similar size). The flour for dusting? Skip it if you’re gluten-free—just sear the beef really well. Water seems too simple, but trust the process (it pulls flavor from the meat).
Leftovers taste even better the next day once the flavors meld. Stores in the fridge for 4-5 days or freezes beautifully for up to 3 months. I portion mine into containers for easy lunches—just reheat with a splash of water to keep it juicy.
Why You’ll Love This Recipe
- Minimal Effort: I toss the chuck roast, salt, pepper, onions, and carrots in the pot—no fancy steps, just set it and forget it.
- Rich and Tender: The slow cook with water turns the chuck roast into fall-apart chunks that soak up every bit of savory goodness.
- Feeds the Family: One pot, one meal that satisfies everyone, with enough for leftovers the next day.
- Budget Friendly: Honestly, a chuck roast and a few veggies stretch further than I expected, and the taste is anything but cheap.
Step-by-Step Instructions for Pot Roast With Water
This method transforms tough chuck into fall-apart tender perfection with minimal effort.
Step 1: Season and Sear the Chuck Roast
Pat the 3 lb Chuck Roast dry with paper towels—this ensures a proper sear. Season all sides aggressively with the 2 tsp Kosher Salt and 1 tsp Black Pepper, pressing the seasonings into the meat so they adhere. I like to let it sit at room temperature for 30 minutes while I prep the rest.
Heat 1 tbsp Olive Oil in a heavy Dutch oven over medium-high heat until shimmering. Dust the chuck roast lightly with the 2 tbsp All-Purpose Flour, shaking off excess. Sear the meat for 4-5 minutes per side until deeply browned and a thick crust forms. This step builds the foundation of flavor for the entire dish.
Step 2: Build the Aromatic Base
Remove the roast and set it aside. In the same pot, add the remaining 1 tbsp Olive Oil, then toss in the quartered 1 whole Yellow Onion, the 3 whole Carrots in chunks, and the 3 whole Celery Stalks. Cook over medium heat for 5-6 minutes until the vegetables soften and begin to caramelize around the edges.
Add the 6 cloves Garlic Cloves, 1 tsp Dried Thyme, and 2 pieces Bay Leaves, stirring for 1 minute until fragrant. Real talk: don’t let the garlic burn—it’ll turn bitter and ruin the dish. The aroma at this stage should be rich and savory, filling your kitchen with anticipation.
Step 3: Braise to Melting Tenderness
Return the seared chuck roast to the pot, nestling it among the vegetables. Pour in the 2 cups Water—it should come about halfway up the meat. Bring the liquid to a gentle simmer over medium-high heat, then cover the pot tightly.
Reduce the heat to low and let it braise undisturbed for 3 to 3½ hours. The magic happens when the liquid barely bubbles—that’s when the collagen in the chuck roast breaks down into gelatin, transforming the meat into something buttery and tender. You’ll know it’s ready when a fork slides in with zero resistance.
Step 4: Rest and Serve
Carefully transfer the chuck roast to a cutting board and tent it loosely with foil. Skim excess fat from the braising liquid if desired, then adjust seasoning with additional Kosher Salt or Black Pepper to taste. The liquid should be rich and flavorful—perfect for serving alongside the meat.
Let the roast rest for 15 minutes before slicing or shredding. This allows the juices to redistribute, ensuring every bite is moist and packed with the deep, savory flavors you’ve built. Serve it hot with the vegetables and braising liquid spooned over the top for the ultimate comfort meal.
Pro Tips For Making Pot Roast Recipe With Water
- Sear the Chuck: I learned this the hard way—browning the chuck roast in a hot pan for 3-4 minutes per side locks in flavor that water alone can’t extract.
- Use Hot Water: Sounds weird, but it works: starting with hot water (not cold) helps the meat cook more evenly and shortens the simmer time by about 30 minutes.
- Don’t Skip the Rest: After pulling the pot roast from the liquid, let it sit under foil for 10 minutes—it stays juicier and doesn’t fall apart when sliced.
- Cut Carrots Thick: I used to do thin coins and they’d turn to mush; now I cut them into 2-inch chunks so they hold up and actually taste like carrots, not baby food.
Storing and Reheating Leftovers
Refrigerator Storage
Let the pot roast cool completely within 2 hours of cooking—I spread it on a baking sheet first to speed this up. Transfer to an airtight container with its juices and store in the fridge for up to 4 days. The flavors deepen overnight as the meat reabsorbs the braising liquid. ❄️
Freezer Storage
For longer storage, portion the cooled pot roast and vegetables into freezer-safe containers or heavy-duty zip-top bags. Leave ½ inch headspace for expansion and freeze for up to 3 months. I label mine with the date—it’s easy to forget what’s in the freezer!
Stovetop Reheating
Gently reheat in a pot over medium-low heat with a splash of water or beef broth. Cover and warm for 10-15 minutes, stirring occasionally, until the internal temperature reaches 165°F. This method preserves the tender texture best. 🔥
Microwave Reheating
For quick meals, place portions in a microwave-safe dish with 2 tbsp water or broth. Cover loosely and heat on 50% power for 2-3 minutes, stirring halfway through. This prevents the meat from drying out.
Oven Reheating
Preheat the oven to 300°F and place the pot roast in an oven-safe dish with ¼ cup liquid. Cover with foil and heat for 20-25 minutes. This is my go-to for reviving larger portions without losing moisture.
Pro Tip
If the sauce thickens too much during storage, thin it with a little water or broth when reheating. I often add a pat of butter at the end for extra richness—Pickles would approve, though she’s more of a tuna fan. 💡
Nutrition Facts
Frequently Asked Questions
Why use water instead of broth?
Water lets the beef’s natural flavors shine without overpowering them. As the meat cooks, it releases rich juices that create a deeply flavorful braising liquid on their own.
Can I cook this in a slow cooker?
Yes! Sear the roast first, then transfer everything to the slow cooker. Cook on low for 8-10 hours or high for 5-6 hours. The results will be just as tender.
How do I know when it’s done?
The roast is ready when it reaches 195-200°F internally or when a fork slides in with no resistance. This means the collagen has fully broken down for that melt-in-your-mouth texture.
What if my liquid evaporates too much?
Check halfway through cooking. If low, add ½-1 cup hot water to maintain the braising level. The meat should stay partially submerged for even cooking.

Trained in classic French technique but raised on slow-cooked ribs and spicy rubs, she blends culinary skill with smoke and soul.
- Recipe for Boneless Pork Chops in Cast Iron Skillet: Sear and Baste to Juicy Perfection - October 3, 2026
- Recipe for Boneless Cross Rib Roast: Slow-Roasted Beef with Herb Crust - October 3, 2026
- Hamburgers in Sauce Recipe Crock Pot: Slow-Cooked Savory Delight - October 3, 2026