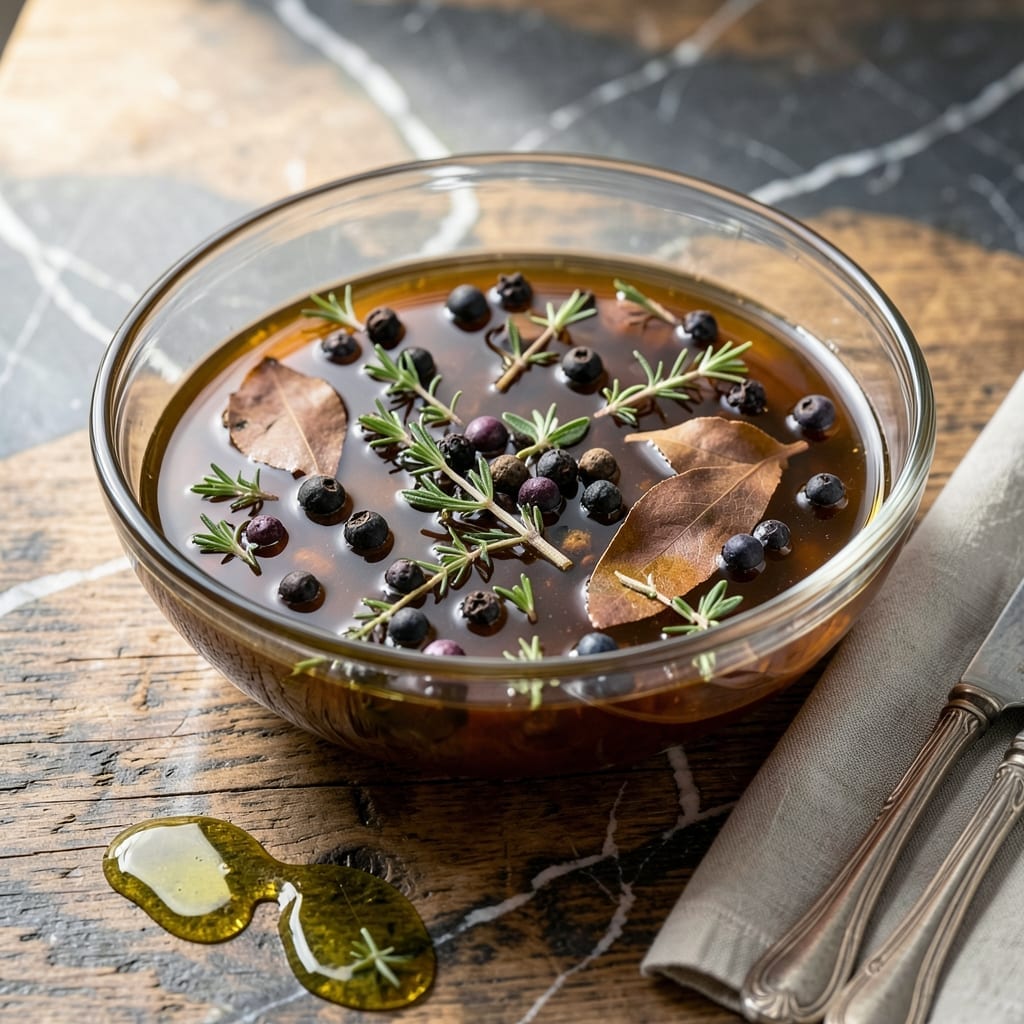
Brining quail transforms the meat from good to unforgettable, ensuring juicy results every time. I developed this method after years of trial and error with game birds, perfecting the balance of salt and aromatics.
The key is a precise ratio of salt to water, enhanced with sugar and spices that penetrate deeply without overpowering. This creates a brine that seasons the meat throughout while maintaining its natural flavor.
After just 4-6 hours in the brine, the quail absorbs maximum flavor and moisture. The result is meat that stays succulent through cooking, with skin that crisps beautifully when roasted or grilled.
Store the brine in the refrigerator and use within 24 hours for best results. This technique works for any small game bird.
Ingredients for Quail Brine
Nine ingredients create a brine that guarantees juicy, flavorful quail every single time.
| Ingredient | Amount | Notes |
|---|---|---|
| Water 💧 | 4 cups | Cold, filtered preferred |
| Diamond Crystal Kosher Salt 🧂 | ½ cup | Fine grain for even dissolution |
| Granulated Sugar 🍚 | ¼ cup | Balances saltiness in brine |
| Black Peppercorns 🌶️ | 1 tbsp | Lightly crushed for infusion |
| Bay Leaves 🍃 | 4 pieces | Dried, whole for aroma |
| Juniper Berries 🌿 | 1 tsp | Gently crushed to release oils |
| Fresh Thyme Sprigs 🍃 | 4 pieces | Lightly bruised for flavor |
| Garlic Cloves 🧄 | 6 cloves | Smashed, peeled for pungency |
| Lemon Slices 🍋 | 4 slices | Thin, with peel for brightness |
[recipe_ingredient_scaler]
The salt is critical here—Diamond Crystal Kosher Salt dissolves evenly without over-salting. Use cold water to prevent premature cooking of the meat. Whole spices like juniper berries and bay leaves infuse better than ground. For best results, source fresh thyme and garlic from a farmers market or specialty grocer.
No juniper berries? Allspice berries at half the amount work well. Out of fresh thyme? Dried thyme at one-third the quantity substitutes adequately. Bay leaves can be swapped for fresh rosemary sprigs. The sugar can be omitted for a salt-only brine, though flavor depth will suffer.
Store brine in a non-reactive container (glass or stainless steel) in the refrigerator. Use within 24 hours for peak effectiveness. Discard after use—never reuse brine as it may harbor bacteria from raw meat.
Why You’ll Love This Recipe
- 5-Minute Mix: I just stir water, salt, sugar, peppercorns, and bay leaves—no chopping, no fuss.
- Juicy Every Time: The sugar and salt work magic, locking in moisture so the quail stays tender.
- Freezer Friendly: I brine a batch on Sunday, freeze the quail, and pull it out for quick dinners all week.
- Pantry Staples: Honestly, I always have these ingredients on hand—no last-minute grocery runs.
Step-by-Step Instructions for Quail Brine
This professional method ensures maximum moisture retention and perfectly seasoned meat every time.
Step 1: Bloom the Aromatics
In a medium saucepan, combine the 4 cups Water with the 0.5 cup Diamond Crystal Kosher Salt and 0.25 cup Granulated Sugar. Heat over medium until both dissolve completely—this creates the brine base. You should see no visible grains when you stir.
Add the 1 tbsp Black Peppercorns, 4 pieces Bay Leaves, and 1 tsp Juniper Berries. Lightly crush the juniper berries just before adding to release their essential oils. Bring the mixture to a gentle simmer, then remove from heat immediately to prevent bitterness from the aromatics.
Step 2: Infuse with Herbs and Citrus
Add the 4 pieces Fresh Thyme Sprigs (lightly bruised), 6 cloves Garlic Cloves (smashed and peeled), and 4 slices Lemon Slices to the warm brine. The thin lemon slices with peel add bright citrus notes that balance the saltiness.
Cover the saucepan and let steep for 20-30 minutes until the liquid takes on a light golden hue and the kitchen fills with fragrant aromas. This infusion period allows the flavors to meld completely. Stir once halfway through to ensure even extraction of flavors.
Step 3: Cool Completely Before Use
Transfer the brine to a non-reactive container large enough to hold the quail. Add ice cubes or place the container in an ice bath to chill rapidly. This is critical—brining in warm liquid will begin cooking the meat and compromise texture.
Stir occasionally as it cools to ensure even temperature distribution. The brine must reach 40°F or below before adding the quail. This typically takes 30-45 minutes for this volume. Once cooled, the brine is ready for use and can be stored refrigerated for up to 3 days.
Step 4: Brine the Quail
Submerge the quail completely in the cooled brine, ensuring no parts remain exposed to air. Use a weight or plate to keep them submerged if necessary. The ideal brining time for quail is 4-6 hours in the refrigerator.
Any longer and the meat can become overly salty; any shorter and the seasoning won’t penetrate fully. Remove the quail from the brine and pat thoroughly dry with paper towels before cooking. This drying step is essential for achieving crisp skin when you roast or grill the birds.
Pro Tips For Making Quail Brine
- Chill the Brine: I learned this the hard way—always refrigerate your brine for at least 30 minutes before adding the quail. Warm brine can start cooking the meat, making it tough instead of tender.
- Use Diamond Crystal: Sounds picky, but Diamond Crystal kosher salt dissolves more evenly in brines than Morton’s. Measure by weight if you can—2 tablespoons of Diamond Crystal equals about 28 grams.
- Crush the Peppercorns: After burning a batch of quail with whole peppercorns, I finally figured out that lightly crushing them releases more flavor without the harsh bite.
- Brine 4-12 Hours: Skip the overnight soak—quail is small and over-brining turns the meat mushy. Stick to 4-12 hours max, then rinse and pat dry before cooking.
Common Mistakes When Making This Recipe
Over-Salting the Brine
Using table salt instead of Diamond Crystal Kosher Salt can nearly double the saltiness since it’s much finer. I always measure by weight for precision—140g of kosher salt per 4 cups water is my go-to ratio. This prevents that dreaded overly salty first bite. 🧂
Skipping the Cool Down
Adding quail to warm brine starts cooking the meat, resulting in a tough texture. I learned this the hard way at my first local BBQ competition. Always chill to 40°F or below first, using an ice bath for speed.
Inconsistent Submersion
Parts exposed to air won’t absorb the brine evenly. Use a plate or zip-top bag filled with water to keep quail fully submerged. I find gallon-sized bags work perfectly for small batches.
Over-Brining Time
Leaving quail in the brine for more than 6 hours draws out too much moisture. Stick to the 4-6 hour window for optimal flavor and texture. Any longer and you risk meat that’s salty and mushy.
Reusing Brine
Never reuse brine after raw meat has been in it—this is a food safety hazard. I always make fresh brine for each batch. It’s a small price for safe, delicious results.
Ignoring Non-Reactive Containers
Metal containers can react with the acid in lemon and salt. Stick to glass or food-grade plastic for brining. I keep a few large Pyrex containers just for this purpose. 💡
Nutrition Facts
Frequently Asked Questions
How long should I brine quail?
For best results, brine quail for 4-6 hours in the refrigerator. Any longer risks over-salting, while shorter times won’t fully season the meat.
Can I use table salt instead of kosher salt?
It’s not recommended. Table salt is finer and nearly twice as salty by volume. Stick to Diamond Crystal Kosher Salt for consistent results.
What container should I use for brining?
Always use non-reactive containers like glass or food-grade plastic. Metal can react with the acid in lemon and salt, affecting flavor.
Can I reuse the brine?
Never reuse brine after raw meat has been in it. This creates a food safety hazard. Always make fresh brine for each batch.

Trained in classic French technique but raised on slow-cooked ribs and spicy rubs, she blends culinary skill with smoke and soul.
- Recipe for Boneless Pork Chops in Cast Iron Skillet: Sear and Baste to Juicy Perfection - October 3, 2026
- Recipe for Boneless Cross Rib Roast: Slow-Roasted Beef with Herb Crust - October 3, 2026
- Hamburgers in Sauce Recipe Crock Pot: Slow-Cooked Savory Delight - October 3, 2026