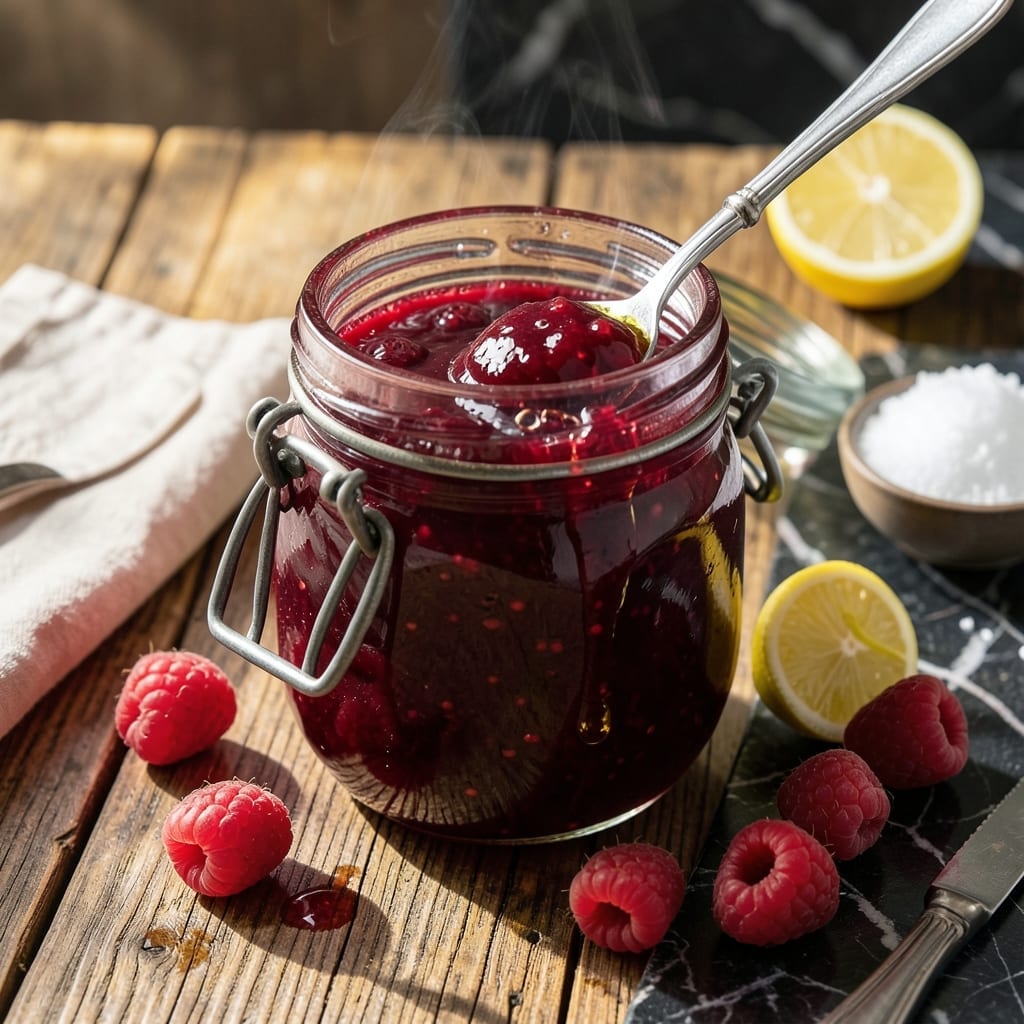
There’s something deeply satisfying about making homemade raspberry jam that captures the essence of summer in every jar. This recipe uses pectin to ensure a perfect set and long shelf life without compromising on flavor.
With just a few simple ingredients and precise timing, you’ll create a bright, vibrant spread that’s ideal for toast, pastries, or gifting. The process is straightforward yet rewarding.
Ingredients for Raspberry Jam Recipe with Pectin
Six ingredients transform into a vibrant, shelf-stable fruit spread with perfect consistency every time.
| Ingredient | Amount | Notes |
|---|---|---|
| Fresh Raspberries 🍓 | 4 cups | Fully ripe, lightly crushed |
| Granulated Sugar 🍚 | 7 cups | Fine white sugar preferred |
| Powdered Pectin 🧂 | 1 ¾ oz | 1 box standard pectin |
| Lemon Juice 🍋 | ¼ cup | Freshly squeezed preferred |
| Water 💧 | ½ cup | For pectin activation |
| Vegan Butter 🧈 | ½ tsp | Optional, reduces foam |
[recipe_ingredient_scaler]
The raspberries are non-negotiable here—fresh, fully ripe berries yield the brightest flavor and color. Farmers markets or pick-your-own patches are ideal in season, but Costco and Trader Joe’s carry excellent frozen options (thaw completely and drain first). For pectin, Ball or Sure-Jell are reliable brands. The sugar quantity seems high, but it’s essential for proper set and preservation.
Swapping the sugar? Do not reduce the amount—it affects the jam’s ability to gel. You can use organic cane sugar if preferred, but avoid honey or alternative sweeteners (they won’t work with pectin). No fresh lemon juice? Bottled works in a pinch, but fresh gives a brighter acidity. The vegan butter is optional but helps reduce foam during cooking.
This jam keeps beautifully. Once sealed, it’s shelf-stable for up to 1 year. After opening, store in the fridge for up to 3 weeks. For gifting, use sterilized jars and proper canning techniques to ensure safety and longevity.
Why You’ll Love This Recipe
- One-Pot Wonder: I just dump raspberries, sugar, and pectin in a single pot—no fancy equipment, no fuss.
- Bright & Tangy: The lemon juice cuts through the sweetness, making that classic raspberry pop.
- Gift Jar Ready: I can it and suddenly I’m the hero at breakfast, brunch, or any potluck.
- Stretches Summer: A batch costs less than store-bought and keeps raspberry season alive all year in my pantry.
Step-by-Step Instructions for Raspberry Jam With Pectin
This method ensures a bright, glossy spread with perfect consistency and extended shelf stability.
Step 1: Prepare the Fruit and Pectin Mixture
Begin by lightly crushing the 4 cups Fresh Raspberries to release their juices. I use a potato masher for this—just enough pressure to break them down without turning them to pulp. This step ensures even cooking and proper pectin distribution throughout the mixture.
In a separate small bowl, whisk together the 1.75 oz Powdered Pectin with the 0.25 cup Lemon Juice until completely smooth. The acid in the lemon juice activates the pectin, which is essential for achieving the proper gel set in your finished jam.
Step 2: Combine Ingredients and Bring to a Boil
In a large, heavy-bottomed pot (I recommend stainless steel for even heat distribution), combine the crushed raspberries with the 7 cups Granulated Sugar and the 0.5 cup Water. Stir well to dissolve the sugar as much as possible before applying heat.
Place the pot over medium-high heat and bring the mixture to a full rolling boil that cannot be stirred down. This typically takes 5-7 minutes. Stir frequently during this phase to prevent scorching at the bottom of the pot, especially as the sugar dissolves and the mixture thickens.
Step 3: Incorporate Pectin and Achieve Full Gel
Once at a full boil, immediately stir in the pectin-lemon juice mixture. Add the 0.5 tsp Vegan Butter at this point to reduce foaming. Return the mixture to a hard boil and let it cook undisturbed for exactly 1 minute—this timing is critical for proper pectin activation.
After the minute has passed, remove the pot from heat. You should notice the mixture beginning to thicken slightly. To test for doneness, place a small spoonful on a chilled plate (keep one in your freezer for this purpose). If it wrinkles when pushed with a finger and sheets off the spoon, it’s ready.
Step 4: Process and Store for Long Shelf Life
Ladle the hot jam into sterilized jars, leaving ¼-inch headspace at the top. I use a wide-mouth funnel for this to prevent spills and ensure clean jar rims. Wipe the rims with a clean, damp cloth to remove any stickiness that could interfere with the seal.
Process the jars in a water bath canner for 10 minutes to ensure shelf stability. Alternatively, you can skip the canning process and simply refrigerate the jam, where it will keep for up to 3 weeks, or freeze it for up to 6 months. The jam will continue to thicken as it cools, reaching its final consistency after 24 hours.
Pro Tips For Making Raspberry Jam Recipe With Pectin
- Test for Ripeness: Press a raspberry between your fingers—if it crushes easily and smells sweet, it’s ready. I learned this the hard way after using underripe berries that left my jam tart and runny.
- Mix Pectin First: Whisk the powdered pectin into the sugar before adding it to the berries. This prevents clumping and guarantees even distribution, which I skipped once and ended up with jam that set in lumps.
- Boil Hard for 1 Minute: Once the jam reaches a full rolling boil, let it rage for a full 60 seconds—no peeking. After burning two batches, I finally figured out that timing is non-negotiable for a proper set.
- Skim the Foam: Use a cold metal spoon to skim off foam as it forms. Sounds tedious, but it’s the only way to get that clear, glossy finish—my grandmother swore by this, and she was right.
Essential Equipment for This Recipe
Large Heavy Pot
I always use a wide, heavy-bottomed stainless steel pot (at least 6 quarts) for jam making. The wide surface area helps the mixture reach a boil faster and reduces cooking time. I love my All-Clad stainless steel—it distributes heat evenly and prevents hot spots that can scorch the sugar. 🔥
Immersion Blender
For a smoother texture, I use an immersion blender to lightly blend the raspberries before cooking. This breaks down the fruit without creating a puree, giving you that perfect slightly chunky texture. A Cuisinart Smart Stick is my go-to for this task.
Candy Thermometer
A candy thermometer clipped to the side of the pot is essential for accuracy. You’re aiming for 220°F for proper gel set. I recommend the Taylor Classic—it’s affordable and reliable. Without one, you’re guessing, and that can lead to runny jam.
Wide-Mouth Funnel
Ladling hot jam into jars without spills is tricky. A wide-mouth canning funnel fits perfectly over jar openings and makes filling them mess-free. I use the Ball canning funnel—it’s sturdy and fits most jar sizes. This small tool saves so much time and frustration.
Jar Lifter
When processing jars in a water bath, a jar lifter is non-negotiable for safety. It lets you lower and remove hot jars without burning your hands. The Ball jar lifter has rubber-coated grips that hold jars securely. Never try to handle hot jars with bare hands or regular tongs.
Chilled Plate
Keep a small plate in your freezer before starting. This is for the gel test—place a spoonful of hot jam on the cold plate to check if it wrinkles when pushed. It’s the most reliable way to test for doneness. I use a small ceramic plate that fits easily in my freezer. 💡
Nutrition Facts
Frequently Asked Questions
Can I use frozen raspberries instead of fresh?
Yes, frozen raspberries work perfectly. Thaw them completely and drain excess liquid before using to maintain the proper fruit-to-sugar ratio.
Why is lemon juice added to the recipe?
The acidity in lemon juice activates the pectin, ensuring a proper gel set. It also balances the sweetness and enhances the raspberry flavor.
How do I know when the jam is ready?
Perform the gel test: place a spoonful on a chilled plate. If it wrinkles when pushed and sheets off the spoon, it’s done. This takes 1 minute of boiling after adding pectin.
Can I reduce the sugar in this recipe?
No, sugar is essential for gel formation and preservation. Reducing it may result in runny jam or shorter shelf life.

Trained in classic French technique but raised on slow-cooked ribs and spicy rubs, she blends culinary skill with smoke and soul.
- Recipe for Boneless Pork Chops in Cast Iron Skillet: Sear and Baste to Juicy Perfection - October 3, 2026
- Recipe for Boneless Cross Rib Roast: Slow-Roasted Beef with Herb Crust - October 3, 2026
- Hamburgers in Sauce Recipe Crock Pot: Slow-Cooked Savory Delight - October 3, 2026