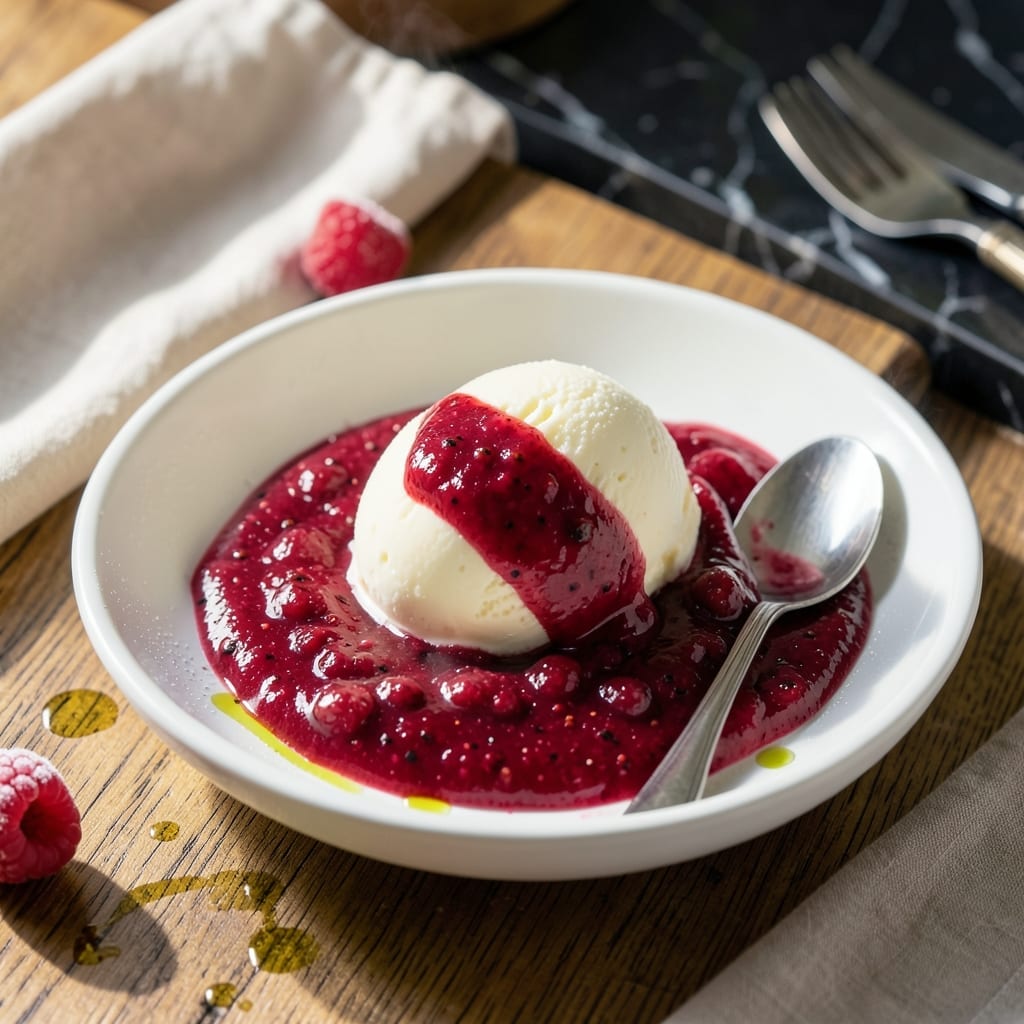
This raspberry sauce transforms ordinary ice cream into a restaurant-worthy dessert with its vibrant color and bright tartness. I developed this recipe to add a fresh, fruity contrast to rich, creamy scoops.
The secret lies in balancing the natural sweetness of raspberries with just enough sugar to complement without overpowering. A splash of lemon juice enhances the fruit’s natural acidity, creating that perfect tangy finish.
You’ll end up with a smooth, glossy sauce that drizzles beautifully over vanilla, chocolate, or any ice cream flavor. It comes together in 10 minutes with just a handful of ingredients.
Make a batch and keep it on hand for impromptu dessert upgrades. Here’s how to create this simple yet impressive topping.
Ingredients for Raspberry Sauce Recipe for Ice Cream
Six ingredients transform into a glossy, vibrant sauce perfect for ice cream.
| Ingredient | Amount | Notes |
|---|---|---|
| Fresh Raspberries 🍇 | 3 cups | Fully ripe for best flavor |
| Granulated Sugar 🍚 | ½ cup | Adjust to sweetness preference |
| Lemon Juice 🍋 | 2 tbsp | Freshly squeezed preferred |
| Water 💧 | ¼ cup | For thinning sauce consistency |
| Vanilla Extract 🌿 | 1 tsp | Pure extract for depth |
| Salt 🧂 | 0.125 tsp | Fine sea salt preferred |
[recipe_ingredient_scaler]
Fresh raspberries are non-negotiable—organic from Whole Foods or Trader Joe’s have the best flavor. Look for plump, deep red berries (avoid mushy or dull ones). The sugar can be swapped for coconut sugar if you’re avoiding refined, but granulated dissolves fastest. Vanilla extract should be pure, not imitation, for that background warmth. I always keep a bottle of Nielsen-Massey on hand.
Short on raspberries? Frozen works at 1:1 ratio—just thaw and drain excess liquid first. No lemon juice? Substitute apple cider vinegar at half the amount. The water can be replaced with orange juice for a citrus twist, but keep the quantity the same. For a seedless version, strain the sauce through a fine-mesh sieve (worth the extra minute).
Sauce keeps in an airtight container in the fridge for up to 10 days. Freeze in ice cube trays for 3 months—thaw single cubes as needed. The color deepens slightly over time but flavor stays bright.
Why You’ll Love This Recipe
- One Pot Wonder: I just dump the raspberries, sugar, and a splash of lemon juice in a saucepan—simmer and stir.
- Tart Meets Sweet: The raspberries’ natural tang cuts through the ice cream’s richness, and the vanilla extract gives it this warm depth.
- Dessert Upgrade: Honestly, it turns store-bought ice cream into something that feels fancy.
- Keeps for Days: I’ll make a double batch on Sunday and still be drizzling it over waffles or yogurt by Thursday.
Step-by-Step Instructions for Raspberry Sauce for Ice Cream
Master this simple technique for a vibrant, balanced sauce that complements any frozen dessert.
Step 1: Macerate the Fresh Raspberries
In a medium saucepan, combine the 3 cups Fresh Raspberries with the 0.5 cup Granulated Sugar. I use a potato masher to gently crush about half the berries—this releases their juices while leaving some texture intact. Let the mixture sit for 5 minutes to begin drawing out the natural pectin.
This maceration step intensifies the raspberry flavor and helps create a thicker sauce without added thickeners. You’ll notice the sugar starting to dissolve into a vibrant red syrup as the berries break down. The mixture should look juicy but not watery at this stage.
Step 2: Simmer with Aromatics
Place the saucepan over medium heat and add the 0.25 cup Water and 2 tbsp Lemon Juice. Stir to combine, then bring to a gentle simmer. The lemon juice brightens the raspberry flavor and balances the sweetness with a subtle tartness.
Once simmering, reduce the heat to medium-low and cook for 8-10 minutes, stirring occasionally. The mixture will thicken slightly as the berries continue to break down. Watch for the sauce to reduce by about one-third and take on a glossy sheen—this indicates the sugars are concentrating properly.
Step 3: Finish and Strain for Smoothness
Remove the sauce from heat and stir in the 1 tsp Vanilla Extract and 0.125 tsp Salt. The vanilla adds depth to the sauce, while the salt enhances all the flavors without tasting salty. Let the sauce sit for 2 minutes to allow the vanilla to infuse.
For a perfectly smooth sauce, press the mixture through a fine-mesh sieve into a clean bowl, using a spoon or spatula to extract all the liquid. Discard the seeds and pulp left in the sieve. This step ensures a silky texture that drapes beautifully over ice cream without any unwanted grit.
Step 4: Cool and Store Properly
Let the sauce cool to room temperature, which takes about 30 minutes. As it cools, it will thicken further to the ideal consistency for drizzling. You’ll know it’s ready when it coats the back of a spoon but still flows easily.
Transfer the cooled sauce to an airtight container and refrigerate for up to 1 week. The sauce will continue to thicken slightly in the fridge. For best results, bring it to room temperature or warm it gently in a saucepan with a splash of water before serving to restore its pourable consistency.
Pro Tips For Making Raspberry Sauce Recipe For Ice Cream
- Simmer, Don’t Boil: Keep the heat at a gentle simmer—boiling raspberries too hard turns them bitter and breaks down the texture. I learned this the hard way after my first batch tasted jammy instead of fresh.
- Mash Some Berries: Before cooking, lightly mash about a quarter of the raspberries with a fork. This releases pectin faster, so your sauce thickens naturally without needing cornstarch.
- Strain the Seeds: For a smooth sauce, press the cooked mixture through a fine-mesh sieve. Skip this if you like texture, but I was skeptical until I tried it—ice cream deserves that silky finish.
- Add Vanilla Last: Stir in the vanilla extract after you take the sauce off the heat. High heat can mute its flavor, and you’ll actually taste the difference when it’s added at the end.
Health Benefits of This Recipe
Antioxidant Powerhouse
Raspberries pack a serious nutritional punch with high levels of vitamin C and ellagic acid, a potent antioxidant. Just 1 cup provides 54% of your daily vitamin C needs, supporting immune function and skin health. This sauce delivers those benefits in a delicious package. 💪
Fiber Boost
Each 3-cup serving of raspberries in this sauce gives you about 18 grams of dietary fiber. Fiber aids digestion and helps maintain steady blood sugar levels, making this a smarter topping choice than syrupy alternatives. The seeds contain most of this fiber.
Low Calorie Indulgence
The entire recipe contains roughly 300 calories for 6 servings, or just 50 calories per 2-tbsp portion. You can enjoy that vibrant raspberry flavor without the guilt that comes with heavier sauces or toppings. Perfect for watching your calorie intake.
Natural Sweetness
With only ½ cup of sugar for 3 cups of berries, this sauce relies on the fruit’s natural sweetness. Raspberries have a lower glycemic index than many other fruits, so this topping provides a gentle, sustained energy boost rather than a sugar crash.
Heart Health Support
The polyphenols in raspberries have been linked to improved heart health by reducing inflammation and improving blood pressure. Regular consumption of berry-based sauces like this one may contribute to long-term cardiovascular benefits. 💯
Versatile Nutrition
Beyond ice cream, this sauce adds nutrients to yogurt, oatmeal, or pancakes. The lack of artificial additives means you’re getting pure, wholesome ingredients with every drizzle. I love knowing exactly what’s in my food.
Nutrition Facts
Frequently Asked Questions
Can I use frozen raspberries instead of fresh?
Yes, frozen works perfectly at a 1:1 ratio. Thaw and drain excess liquid first to prevent a watery sauce. The flavor remains vibrant and the texture stays smooth after cooking.
How do I make the sauce seedless?
Press the cooked mixture through a fine-mesh sieve using a spoon. This removes all seeds while keeping the rich color and flavor. It takes 1-2 minutes extra but creates a silky texture.
What if my sauce is too thick?
Thin it with warm water, 1 tablespoon at a time, until it reaches your desired consistency. The sauce naturally thickens as it cools, so adjust while it’s still warm.
Can this be made ahead of time?
Store in an airtight container in the fridge for up to 10 days. The flavor actually deepens over time. For longer storage, freeze for up to 3 months.

Trained in classic French technique but raised on slow-cooked ribs and spicy rubs, she blends culinary skill with smoke and soul.
- Recipe for Boneless Pork Chops in Cast Iron Skillet: Sear and Baste to Juicy Perfection - October 3, 2026
- Recipe for Boneless Cross Rib Roast: Slow-Roasted Beef with Herb Crust - October 3, 2026
- Hamburgers in Sauce Recipe Crock Pot: Slow-Cooked Savory Delight - October 3, 2026