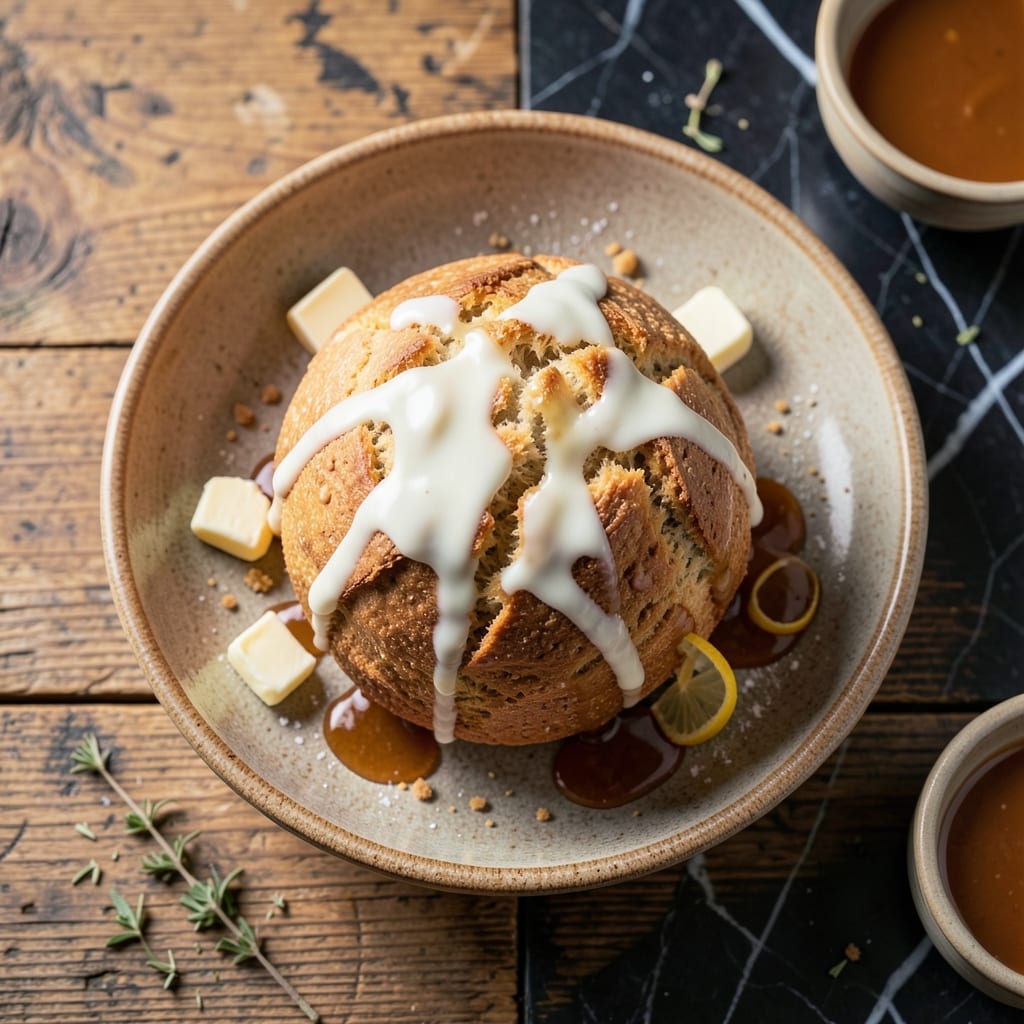
This no-yeast bread delivers a cloud-like texture using just self-rising flour and basic pantry staples. The leavening agents in the flour create lift without traditional proofing.
You’ll achieve a light, fluffy loaf with minimal effort. Perfect for beginners or when you’re out of yeast but crave fresh bread.
Ingredients for Recipe for Bread Made with Self Rising Flour
Pantry staples plus a few fridge basics. Simple enough for any day.
| Ingredient | Amount | Notes |
|---|---|---|
| Self-Rising Flour 🌾 | 3 cups | All-purpose self-rising, sifted |
| Plain Greek Yogurt 🥛 | 1 ½ cups | Full-fat for richness |
| Large Egg 🥚 | 1 whole | Room temperature preferred |
| Granulated Sugar 🍚 | 2 tbsp | Fine white sugar |
| Baking Powder 🧂 | 1 tsp | Ensures extra lift |
| Salt 🧂 | ½ tsp | Fine sea salt |
| Unsalted Butter 🧈 | ¼ cup | Melted and cooled |
| Honey 🍯 | 1 tbsp | Optional for sweetness |
| Milk 🥛 | ¼ cup | Whole milk for creaminess |
| Olive Oil 🫒 | 1 tbsp | For greasing pan |
| All-Purpose Flour 🌾 | ¼ cup | For dusting surface |
[recipe_ingredient_scaler]
The self-rising flour is doing all the work here—White Lily or Gold Medal are reliable picks at most supermarkets. Check the label to confirm it includes baking powder and salt (some brands vary). The Greek yogurt adds that cloud-like texture, so Fage or Chobani full-fat gives the best results. Don’t skimp on the fat content here (trust me, it’s worth the extra minute to grab the right kind).
No Greek yogurt? Sour cream at the same amount works in a pinch. Out of honey? Skip it or swap in maple syrup. The egg is key for structure, but if you’re vegan, try 1 tbsp ground flaxseed plus 3 tbsp water. The milk can be any kind—oat milk or almond milk if you’re avoiding dairy.
The loaf keeps well wrapped at room temperature for 2-3 days. For longer storage, freeze slices in a zip-top bag for up to 3 months. Reheat briefly in the oven to restore that fresh-baked feel.
Why You’ll Love This Recipe
- No Fuss Mixing: I just dump the self-rising flour, yogurt, and egg in a bowl—no yeast, no waiting, no complicated steps.
- Warm, Slightly Sweet: The sugar and yogurt give it this cozy, subtly sweet flavor that’s perfect with butter or jam.
- Breakfast to Snack: Honestly, it’s my go-to for toast in the morning or a quick afternoon pick-me-up with soup.
- Pantry Starter: I always have these ingredients on hand, so fresh bread is never more than an hour away.
Step-by-Step Instructions for Bread Made With Self Rising Flour
Here’s the simple method for achieving that cloud-like texture without any yeast.
Step 1: Mix the Wet Ingredients
In a large bowl, whisk together the 1.5 cups Plain Greek Yogurt, 1 whole Large Egg, 2 tbsp Granulated Sugar, 0.25 cup Unsalted Butter, 1 tbsp Honey, and 0.25 cup Milk until smooth and fully combined. I use a silicone spatula to scrape the sides and ensure every bit is incorporated.
The yogurt should be full-fat for richness, and the egg at room temperature blends more evenly. You’ll notice the mixture thickens slightly as you whisk—this is the acid in the yogurt reacting with the other ingredients, which is exactly what we want for lift and structure.
Step 2: Combine with Dry Ingredients
Sift the 3 cups Self-Rising Flour and 1 tsp Baking Powder directly into the wet mixture. Add the 0.5 tsp Salt as well. Using the same spatula, fold everything together gently until just combined. The batter will be thick and slightly sticky.
Be careful not to overmix—this can develop the gluten too much, resulting in a dense loaf. A few lumps are fine; they’ll even out during baking. The baking powder gives an extra boost to ensure a light, airy texture that self-rising flour alone might not achieve.
Step 3: Prepare the Baking Pan
Use the 1 tbsp Olive Oil to generously grease a 9×5-inch loaf pan, making sure to coat all the corners and the rim. Then, dust the inside of the pan with the 0.25 cup All-Purpose Flour, tapping out any excess. This creates a non-stick surface and adds a subtle crust to the bread.
Sprinkle a little all-purpose flour on your work surface and turn out the dough. Gently shape it into a loaf that fits your pan, then place it in the prepared pan. The dough should rise slightly above the rim—this is normal and ensures a nice dome as it bakes.
Step 4: Bake to Golden Perfection
Preheat your oven to 375°F and bake the loaf on the middle rack for 45-50 minutes. You’ll know it’s done when the top is deep golden brown and a toothpick inserted into the center comes out clean or with just a few moist crumbs.
If the top starts browning too quickly, tent the pan loosely with foil to prevent over-browning. The bread should pull away slightly from the sides of the pan, and the internal temperature should read about 200°F when fully baked.
Remove from the oven and let it cool in the pan for 10 minutes, then transfer to a wire rack to cool completely. This cooling period is crucial—it allows the structure to set, so your bread doesn’t crumble when sliced.
Pro Tips For Making Recipe For Bread Made With Self Rising Flour
- Preheat the Oven: Crank it to 375°F and give it a full 15 minutes to stabilize—I learned this the hard way after pulling out dense loaves from a lukewarm oven.
- Use Thick Yogurt: Strain your plain Greek yogurt for 10 minutes in a cheesecloth if it’s watery, or the bread won’t hold its shape. My first few tries collapsed like a soufflé with stage fright.
- Skip Overmixing: Stir just until the flour disappears—about 15-20 folds with a spatula. After ruining a batch with a tough, chewy crumb, I finally accepted that less is more.
- Add a Pinch More Baking Powder: Toss in ½ teaspoon extra baking powder if your self-rising flour is old. Sounds weird, but it works: I was skeptical until I tried it and got a noticeably lighter crumb.
Troubleshooting Great recipe for bread made with self rising flour
Dense or Flat Loaf
If your bread turns out dense, you likely overmixed the batter. Self-rising flour develops gluten quickly, so fold just until combined. Also, check your self-rising flour expiration date—old leavening agents lose potency. 💡
Bread Doesn’t Rise
This usually means the leavening agents didn’t activate properly. Ensure your baking powder is fresh and that you didn’t skip the 1 tsp addition. Also, avoid substituting low-fat yogurt, as the fat content affects lift.
Overly Browned Top
If the top browns too fast, tent with foil halfway through baking. Your oven might run hot, so check at 35 minutes. I also recommend rotating the pan once for even baking.
Sticky or Wet Center
A toothpick with wet batter means it needs more time. The internal temp should reach 200°F. If the top is browning too much, lower the oven temp to 350°F and extend baking by 5-10 minutes. ⏰
Crumbly Texture
This often happens if you slice too soon. Let the bread cool in the pan for 10 minutes, then transfer to a rack for another 30 minutes. The structure sets as it cools, preventing crumbles.
Uneven Baking
If one side is darker, your oven may have hot spots. Next time, place a baking stone or sheet on the lower rack to distribute heat evenly. Also, avoid opening the oven door during the first 30 minutes.
Nutrition Facts
Frequently Asked Questions
Can I use regular flour instead?
No, regular flour lacks the leavening agents. To substitute, add 1.5 tsp baking powder and 0.5 tsp salt per cup of all-purpose flour.
Why does this recipe include extra baking powder?
The extra 1 tsp boosts lift for a lighter texture. Self-rising flour’s leavening can be inconsistent, so this ensures a fluffy loaf every time.
Can I skip the yogurt?
Sour cream works as a 1:1 substitute, but avoid low-fat options. The fat in yogurt is key for moisture and structure in this no-yeast bread.
How do I store leftovers?
Wrap tightly in plastic and keep at room temperature for 2-3 days. For longer storage, freeze slices for up to 3 months.

Trained in classic French technique but raised on slow-cooked ribs and spicy rubs, she blends culinary skill with smoke and soul.
- Recipe for Boneless Pork Chops in Cast Iron Skillet: Sear and Baste to Juicy Perfection - October 3, 2026
- Recipe for Boneless Cross Rib Roast: Slow-Roasted Beef with Herb Crust - October 3, 2026
- Hamburgers in Sauce Recipe Crock Pot: Slow-Cooked Savory Delight - October 3, 2026