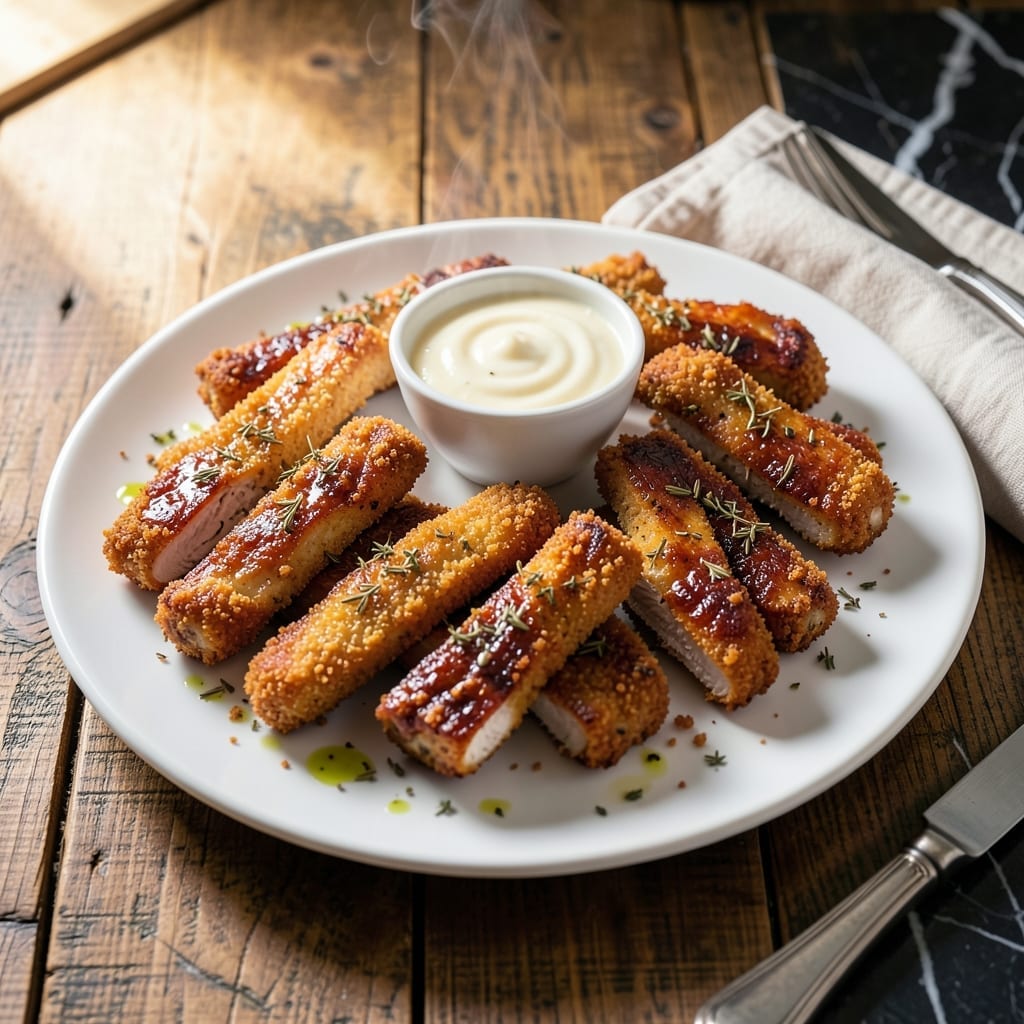
I developed this recipe after years of testing different coatings and cooking methods to achieve crispy yet tender chicken strips consistently. The herb-infused coating makes all the difference.
This method works in any home kitchen, even my old Boston apartment with its temperamental stove. The secret lies in the double-dredging technique and precise cooking temperature.
You’ll end up with golden, shatteringly crispy exteriors giving way to juicy, tender chicken inside. Each bite delivers perfect texture and herbaceous flavor.
Serve these as an appetizer, in salads, or as the star of a main course. The versatility makes them a family favorite.
Ingredients for Recipe for Chicken Tenderloin Strips
A few pantry staples and fresh chicken create these perfectly crispy, herb-infused strips.
| Ingredient | Amount | Notes |
|---|---|---|
| Chicken Tenderloins 🍗 | 1 ½ lb | Patted dry for crispiness |
| All-Purpose Flour 🌾 | 1 cup | For initial dredging |
| Large Eggs 🥚 | 2 whole | Beaten for egg wash |
| Panko Breadcrumbs 🍞 | 1 ½ cups | For extra-crispy coating |
| Dried Thyme 🌿 | 1 tsp | Crushed between fingers |
| Dried Oregano 🍃 | 1 tsp | Crushed between fingers |
| Garlic Powder 🧄 | 1 tsp | For savory depth |
| Onion Powder 🧅 | 1 tsp | For savory depth |
| Paprika 🌶️ | 1 tsp | Sweet or smoked variety |
| Salt 🧂 | 1 tsp | Diamond Crystal preferred |
| Black Pepper 🌶️ | ½ tsp | Freshly ground preferred |
| Vegetable Oil 🫒 | ½ cup | For frying, high smoke point |
| Buttermilk 🥛 | ½ cup | For second dredge, adds tenderness |
| Cornstarch 🌾 | ¼ cup | Mixed with flour for crispiness |
[recipe_ingredient_scaler]
The chicken tenderloins are key here. Look for plump, pale pieces—avoid any with grayish tinges. Most grocery stores sell them pre-packaged, but the butcher counter at Whole Foods or Publix often has fresher options. Pat them bone-dry before coating (this prevents soggy breading). If you can only find whole breasts, slice them into 1-inch thick strips yourself. The panko breadcrumbs are non-negotiable for that shatteringly crisp crust.
No buttermilk? Whole milk with 1 tbsp vinegar or lemon juice works in a pinch. Out of panko? Crushed cornflakes or saltines can sub, but the texture won’t be quite as crisp. For the herbs, fresh thyme and oregano at one-third the amount would be amazing if you’ve got them growing. The paprika adds color more than heat—smoked paprika gives a nice depth though.
Best eaten fresh, but leftovers keep in the fridge for 3-4 days. Reheat in a 400°F oven for 10-12 minutes to restore some crispiness (microwaving turns them soggy). Freeze uncooked breaded strips on a tray first, then transfer to bags—they’ll keep for 2-3 months.
Why You’ll Love This Recipe
- Weeknight Hero: Honestly, I can get these from fridge to table in 20 minutes flat with just one bowl and a baking sheet.
- Crispy Perfection: That panko-thyme crust gives every bite a golden crunch with a hint of earthy warmth.
- Feeds the Crew: Whether it’s picky kids or a last-minute dinner party, these strips disappear faster than I can make them.
- Budget Stretch: A pound of tenderloins turns into enough for leftovers—my wallet and my lunchbox both thank me.
Step-by-Step Instructions for Chicken Tenderloin Strips
Here’s the method. Straightforward, tested, works every time.
Step 1: Prepare and Season the Chicken
Pat the 1.5 lb Chicken Tenderloins completely dry with paper towels. This is non-negotiable—moisture is the enemy of crispiness. I press down firmly to remove every bit of moisture from the surface and cavity.
Season both sides generously with all of the 1 tsp Salt and 0.5 tsp Black Pepper. The salt should be visible on the surface. This step ensures the meat stays tender and flavorful throughout cooking.
Step 2: Create the Dredging and Breading Stations
In a shallow dish, whisk together the 1 cup All-Purpose Flour and 0.25 cup Cornstarch along with the 1 tsp Dried Thyme, 1 tsp Dried Oregano, 1 tsp Garlic Powder, 1 tsp Onion Powder, and 1 tsp Paprika. The cornstarch is what gives that extra crunch.
In a second shallow dish, beat the 2 whole Large Eggs with the 0.5 cup Buttermilk until fully combined. Place the 1.5 cups Panko Breadcrumbs in a third shallow dish. This three-step breading process creates layers of texture.
Step 3: Bread the Chicken Tenderloins
Dredge each seasoned chicken tenderloin in the flour mixture, pressing lightly to adhere. Shake off any excess—you want a thin, even coating, not a thick paste. Then dip it into the egg and buttermilk mixture, letting any excess drip off.
Finally, press the tenderloin into the panko breadcrumbs, turning to coat completely. I like to press firmly to ensure the breadcrumbs really stick. Place the breaded tenderloins on a wire rack set over a baking sheet and let them rest for 10 minutes to help the coating set.
Step 4: Fry to Golden Perfection
Heat the 0.5 cup Vegetable Oil in a large skillet over medium-high heat until it shimmers and a pinch of panko sizzles when dropped in. Add the chicken tenderloins in a single layer, being careful not to overcrowd the pan. You’ll need to work in batches if your pan isn’t large enough.
Fry for 4-5 minutes per side until golden brown and crispy. The internal temperature should reach 165°F. Don’t flip too early—wait until the coating releases easily from the pan. Transfer the cooked tenderloins to a paper towel-lined plate to drain excess oil.
Step 5: Rest and Serve
Let the chicken tenderloin strips rest for 2-3 minutes before serving. This brief rest allows the juices to redistribute, ensuring each bite is tender and moist rather than dry. The coating should stay crispy if you’ve fried them properly and drained them well.
Serve immediately while hot and crispy. These tenderloin strips are perfect on their own, with dipping sauces, or as the star of a hearty sandwich. The contrast between the crispy exterior and tender interior is what makes this dish special.
Pro Tips For Making Recipe For Chicken Tenderloin Strips
- Preheat the Oil: Get your oil hot—about 350°F—before adding the chicken. I learned this the hard way after soggy breading ruined my first three batches.
- Dry the Chicken: Pat the tenderloins completely dry with paper towels before dredging. Sounds tedious, but it’s the only way the flour and panko actually stick.
- Skip the Overcrowding: Fry in small batches so the oil temperature doesn’t drop. Resist the urge to rush—crowding just steams the coating instead of crisping it.
- Double Dredge: After the egg wash, dip the tenders back into the flour, then eggs, then panko. My grandmother swore by this, and she was right: it makes the crust thicker and crunchier.
Wine and Beer Pairings for These Flavors
Crisp White Wines
A Sauvignon Blanc from New Zealand with its zesty citrus and herb notes complements the herb-infused coating beautifully. I love Kim Crawford for this pairing. The acidity cuts through the richness of the fried chicken while enhancing the thyme and oregano flavors. 🍷
Light Beer Options
For beer lovers, a crisp pilsner like Sam Adams or a lager such as Harpoon works perfectly. The carbonation cleanses your palate between bites, and the light malt profile doesn’t compete with the dish’s flavors. I always keep a few in my Boston fridge for testing.
Rich White Wines
A buttery Chardonnay from California can also work wonderfully, especially if you’re serving these strips with cream-based dipping sauces. The oak notes in wines like Kendall-Jackson complement the savory, spiced breading.
Wheat Beers
A Hefeweizen with its clove and banana notes offers an interesting contrast to the crispy, savory strips. Weihenstephaner from Germany is my go-to choice. The slight sweetness balances the spices in the coating without overpowering them.
Rosé Pairings
Dry Rosé from Provence, like Whispering Angel, provides a refreshing counterpoint. Its subtle berry flavors and crisp finish make it ideal for warm weather serving. I’ve tested this pairing many times in my tiny Boston kitchen with great results.
Avoid Heavy Reds
Steer clear of bold red wines like Cabernet Sauvignon—they’ll overpower the delicate herb flavors in your meal. The tannins can also clash with the crispy texture, creating an unpleasant mouthfeel.
Nutrition Facts
Frequently Asked Questions
Can I bake these instead of frying?
Yes! Bake at 400°F for 15-20 minutes, flipping halfway. Use a wire rack on a baking sheet for crispiness. The texture will be slightly different but still delicious.
How do I keep them crispy after cooking?
Place cooked strips on a wire rack in a 200°F oven while finishing batches. Avoid stacking, which traps steam. Serve within 30 minutes for best texture.
What dipping sauces work best?
Classic pairings include honey mustard, BBQ sauce, or ranch. For something different, try a garlic aioli or spicy sriracha mayo. The herb coating pairs well with creamy or tangy sauces.
Why did my coating fall off?
This usually happens if the chicken wasn’t dried properly or the oil wasn’t hot enough. Ensure oil shimmers before adding strips, and pat the meat very dry before breading.

Trained in classic French technique but raised on slow-cooked ribs and spicy rubs, she blends culinary skill with smoke and soul.
- Best Smoked Oxtail Recipe: Deep-Rich Flavor After Low-and-Slow Cooking - October 14, 2026
- Pit Boss Smoked Prime Rib Roast Recipe: Bark-to-Bone Crispness in 4 Hours - October 14, 2026
- Smoked Tuna Steak Recipe: Seared Crust Meets Silky Centers - October 14, 2026