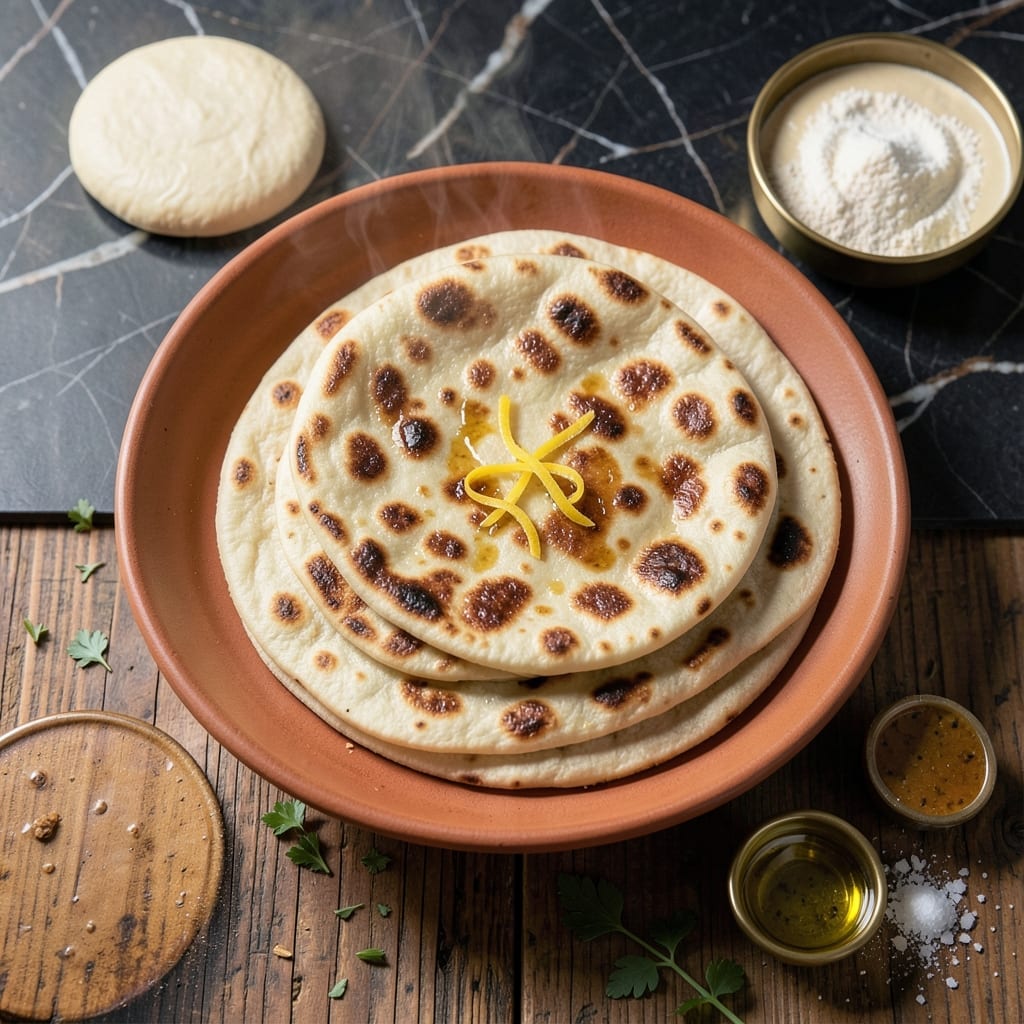
There’s nothing like the taste of homemade roti, warm and soft straight from the pan. This simple flatbread requires just a few pantry staples and a bit of practice to perfect.
With the right technique, you’ll achieve pliant, golden rounds that pair perfectly with curries or stand alone as a delicious side. The process is straightforward, rewarding patience with every bite.
Ingredients for Recipe for Making Roti
A handful of pantry staples transform into warm, pillowy flatbreads ready for any meal.
| Ingredient | Amount | Notes |
|---|---|---|
| Whole Wheat Flour 🌾 | 2 cups | Plus extra for dusting |
| All-Purpose Flour 🌾 | ½ cup | For softer texture |
| Warm Water 💧 | ¾ cup | About 110°F |
| Vegetable Oil 🫒 | 2 tbsp | Plus extra for kneading |
| Salt 🧂 | ½ tsp | Fine sea salt preferred |
| Sugar 🍚 | ½ tsp | Optional, for slight sweetness |
| Plain Yogurt 🥛 | 2 tbsp | For extra softness |
[recipe_ingredient_scaler]
The flour blend sets the texture. Whole wheat gives that nutty flavor while all-purpose keeps it soft. I grab King Arthur from Whole Foods—consistent quality every time. Water temp matters (warm, not hot) to activate the gluten without killing it. Bottled spring water if your tap tastes funky—flavor shows in the final bread.
No yogurt? A splash of warm milk works in a pinch. Out of all-purpose flour? Bread flour’s okay (just slightly chewier). The sugar’s optional but helps with browning. Want it richer? Swap the vegetable oil for ghee or melted butter. The salt can be regular table salt at half the amount if that’s what you’ve got.
Kneaded dough keeps 1-2 days wrapped tight in the fridge. Cooked roti? Stack with parchment between each, seal in a bag—they’ll stay soft for 3 days. Freeze extras for up to 1 month (reheat straight from frozen).
Why You’ll Love This Recipe
- No-Fuss Dough: I just mix whole wheat and all-purpose flour with warm water, a touch of oil, and salt—no resting, no waiting.
- Warm, Earthy Bite: The whole wheat flour gives it that nutty, hearty flavor that pairs perfectly with curries or even plain yogurt.
- Pairs With Anything: I’ve served these with dal, used them for wraps, or even as a quick side for soup. Between us, they’re my blank canvas.
- Pocket-Friendly Staple: A bag of flour, some water, and a pinch of salt stretch into multiple meals. Honestly, it’s cheaper than takeout every time.
Step-by-Step Instructions for Making Roti
Here’s how I make perfectly soft and pliable roti every single time.
Step 1: Combine and Knead the Dough
In a large mixing bowl, combine the 2 cups Whole Wheat Flour, 0.5 cup All-Purpose Flour, 0.5 tsp Salt, and 0.5 tsp Sugar. I like to whisk these dry ingredients together first to ensure even distribution of the salt and sugar throughout the flour.
Make a well in the center and add the 0.75 cup Warm Water, 2 tbsp Vegetable Oil, and 2 tbsp Plain Yogurt. The warm water should feel comfortable to touch—about 110°F. Using a wooden spoon or your hands, gradually incorporate the flour into the wet ingredients until a shaggy dough forms.
Turn the dough out onto a clean surface dusted with a little extra whole wheat flour. Knead for 8-10 minutes until the dough becomes smooth and elastic. You’ll know it’s ready when you can press your finger into the dough and it springs back slowly. If it’s too sticky, add a teaspoon of flour at a time; if too dry, add a teaspoon of warm water.
Step 2: Rest the Dough for Optimal Texture
Form the kneaded dough into a ball and place it in a lightly oiled bowl. Cover with a damp kitchen towel or plastic wrap to prevent drying. Let it rest at room temperature for 30-45 minutes. This resting period allows the gluten to relax, making the dough easier to roll out and resulting in softer roti.
I’ve found that the yogurt in this recipe makes a noticeable difference—it adds a subtle tang and makes the roti incredibly tender. During the rest, you’ll see the dough rise slightly, but it won’t double in size like bread dough. It should feel smooth and pliable when you’re ready to use it.
Step 3: Divide and Roll Out the Roti
After resting, punch down the dough to release any air bubbles. Divide it into 8-10 equal portions (this recipe makes about 8-10 rotis for 4 servings). Form each portion into a smooth ball between your palms. Keep the balls covered with a towel to prevent them from drying out while you work.
Dust your work surface with a bit of whole wheat flour. Take one dough ball and roll it out into a thin circle, about 6-7 inches in diameter. Rotate the dough as you roll to maintain an even thickness. The edges should be slightly thinner than the center—this helps the roti puff up nicely when cooking.
If the dough springs back as you roll, let it rest for a minute or two before continuing. This indicates the gluten is still tight and needs a moment to relax.
Step 4: Cook the Roti on High Heat
Heat a cast-iron skillet or tawa over medium-high heat until hot. Place a rolled-out roti on the hot surface. Cook for 30-45 seconds until small bubbles start to form on the surface and the bottom has light brown spots. Flip it over and cook the other side for another 30 seconds.
At this point, you’ll notice the roti starting to puff up in spots. Press down gently with a clean kitchen towel or spatula to encourage even puffing. Flip again and cook for another 20-30 seconds until both sides are light golden brown with some darker spots. The roti should be fully puffed and soft to the touch.
If any areas aren’t fully cooked, hold the roti with tongs directly over the flame for a few seconds to finish cooking. Be careful not to burn it—this step just ensures even cooking.
Step 5: Keep Warm and Serve
Transfer the cooked roti to a clean kitchen towel-lined basket or plate. This keeps them warm and prevents them from drying out. Continue cooking the remaining dough balls in the same manner, stacking the cooked rotis with parchment paper or foil between each to prevent sticking.
Serve the rotis warm, straight from the towel-lined container. They should be soft, pliable, and slightly chewy with a beautiful golden-brown surface. If you need to reheat them later, wrap in foil and warm in a 350°F oven for 5-10 minutes, or briefly heat on a dry skillet.
Real talk: the first roti is always my test one—I adjust the heat and rolling thickness based on how it turns out. By the second or third, I’ve got the rhythm down perfectly.
Pro Tips For Making Recipe For Making Roti
- Knead Until Smooth: Work the dough for at least 8-10 minutes until it’s elastic and no longer sticky—this builds the gluten needed for soft, pliable roti.
- Use Warm Water: I learned this the hard way—cold water makes the dough tough, so use warm (not hot) water to activate the gluten properly.
- Rest the Dough: Let the dough sit covered for 20-30 minutes before rolling; skipping this makes the roti shrink back while you work.
- Roll Evenly Thin: Aim for a uniform 1/8-inch thickness—any thicker and the roti won’t puff, any thinner and it’ll dry out.
Creative Variations of This Dish
Garlic Herb Infusion
Mix 2 minced garlic cloves and 1 tbsp chopped cilantro into the dough during kneading for fragrant, herbaceous roti. I also brush the hot flatbreads with garlic butter right after cooking. This simple addition transforms them into a restaurant-style treat. 🌿
Whole Grain Boost
Swap 1 cup whole wheat flour for 1 cup chickpea flour to create besan roti, a protein-packed variation popular in North India. The dough will be slightly stickier, so use extra flour when rolling. These have a nutty flavor that pairs wonderfully with spicy curries.
Spiced Masala Version
Add 1 tsp cumin seeds, ½ tsp turmeric, and ½ tsp ajwain to the dry ingredients for masala roti. The turmeric gives a beautiful golden color while ajwain aids digestion. I love these with dal or simple yogurt dips.
Missi Roti Twist
For this Punjabi favorite, replace ½ cup all-purpose flour with ½ cup gram flour (besan) and add 1 tsp each of cumin and coriander powder. The result is a slightly denser, more flavorful flatbread that’s especially good with pickles.
Sweet Cinnamon Roti
Incorporate 1 tsp cinnamon and 2 tbsp powdered sugar into the dough for a sweet breakfast version. These are amazing with honey or maple syrup drizzled on top. My kids love them as an after-school snack.
For extra richness, I sometimes add 1 tbsp melted butter to the dough. 💛
Nutrition Facts
Frequently Asked Questions
Why does the dough need to rest?
Resting relaxes the gluten, making the dough easier to roll out thinly. This step ensures your rotis stay soft and pliable after cooking. 30-45 minutes is ideal for best texture.
Can I make roti without yogurt?
Yes! Replace yogurt with 2 tbsp warm milk or water. The yogurt adds softness, but the bread will still turn out well. Just knead a minute longer to develop the gluten.
How do I get roti to puff up fully?
Roll the edges thinner than the center and cook on medium-high heat. Press gently with a towel while cooking to encourage even puffing. A hot pan is key!
What’s the best way to store leftover roti?
Stack with parchment between each and seal in an airtight container. They’ll stay soft for 3 days at room temperature or freeze for up to 1 month.

Trained in classic French technique but raised on slow-cooked ribs and spicy rubs, she blends culinary skill with smoke and soul.
- Recipe for Boneless Pork Chops in Cast Iron Skillet: Sear and Baste to Juicy Perfection - October 3, 2026
- Recipe for Boneless Cross Rib Roast: Slow-Roasted Beef with Herb Crust - October 3, 2026
- Hamburgers in Sauce Recipe Crock Pot: Slow-Cooked Savory Delight - October 3, 2026