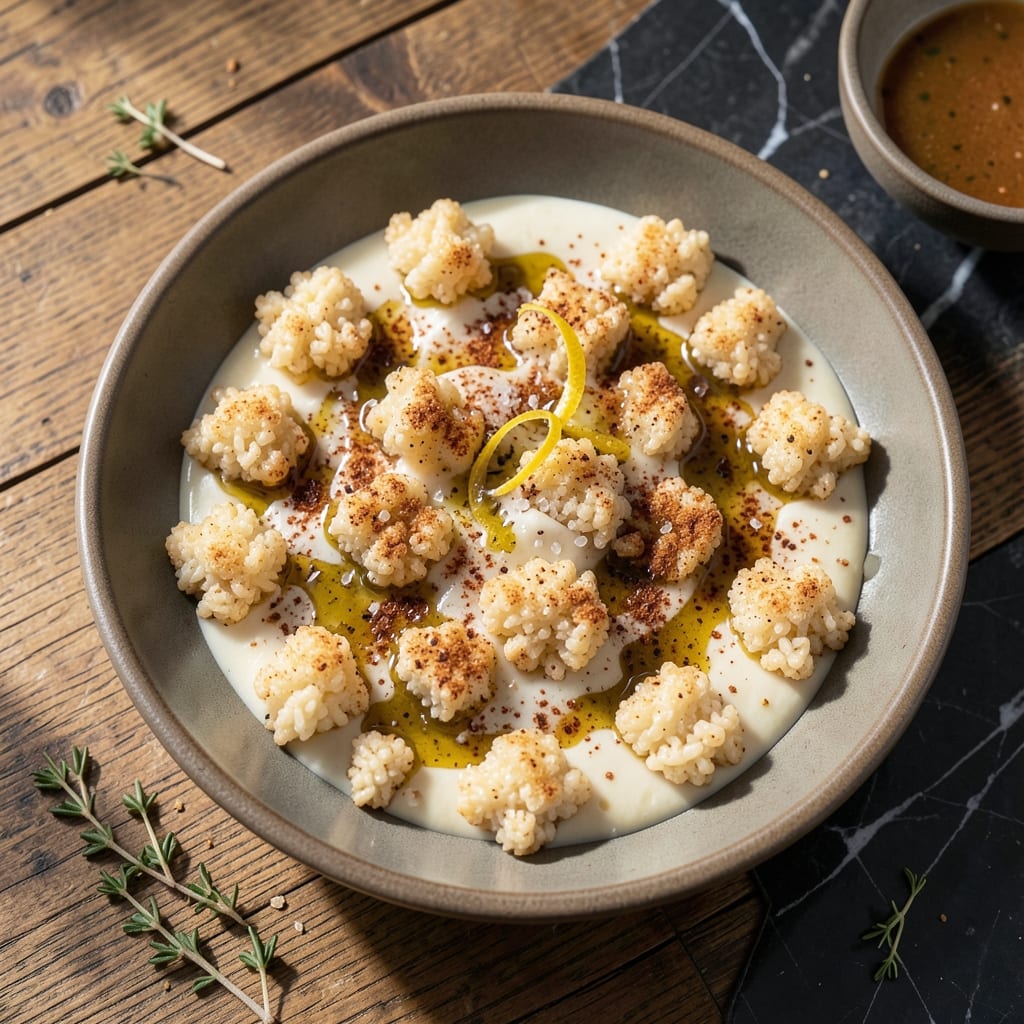
This homemade method turns simple puffed rice into light, airy rice cakes with ease. No special equipment is needed—just patience and a few basic ingredients.
You’ll achieve crispy edges and a delicate texture by pressing the mixture firmly and baking at the right temperature. These bites are perfect for snacking or pairing with your favorite toppings.
Ingredients for Recipe for Rice Cakes from Puffed Rice
Basic ingredients create these airy, crispy puffed rice cakes at home.
| Ingredient | Amount | Notes |
|---|---|---|
| Puffed Rice Cereal 🌾 | 4 cups | Plain, unsweetened variety preferred |
| Rice Flour 🌾 | ½ cup | For binding the mixture |
| Water 💧 | ½ cup | Warm for better binding |
| Sea Salt 🧂 | ½ tsp | Fine grain for even distribution |
| Olive Oil 🫒 | 2 tbsp | For greasing the molds |
| Garlic Powder 🧄 | ½ tsp | Optional for savory flavor |
| Onion Powder 🧅 | ½ tsp | Optional for depth of flavor |
| Smoked Paprika 🌶️ | ¼ tsp | Optional for a hint of smokiness |
| Nutritional Yeast 🧀 | 2 tbsp | Optional for cheesy flavor |
| Sesame Seeds 🌰 | 1 tbsp | Optional topping for crunch |
[recipe_ingredient_scaler]
The puffed rice is the foundation here. Any plain, unsweetened brand works—just avoid the sugary cereal versions. I grab mine from Whole Foods bulk bins (cheaper and fresher), but regular grocery store brands are fine too. Rice flour binds everything—Bob’s Red Mill is reliable, but check the Asian aisle for cheaper options. The warm water activates the binding, so don’t skip heating it up.
No rice flour? All-purpose flour at half the amount works in a pinch (texture’s slightly different but still crispy). Want more flavor? Swap the olive oil for toasted sesame oil—adds a nutty depth. The nutritional yeast is my secret weapon for a cheesy kick without dairy. Skip the spices entirely if you’re going for a neutral base for sweet toppings.
Store the cakes in an airtight container at room temp for up to 5 days. They crisp back up in a 300°F oven for 5 minutes if they soften. Freeze for 1 month (re-crisp before serving). Perfect for meal prep—double the batch and stash extras.
Why You’ll Love This Recipe
- No-Fuss Mixing: I just stir puffed rice cereal, rice flour, water, and a pinch of sea salt—no fancy equipment, no waiting.
- Crispy outside, tender inside: The olive oil gives them a golden crust while keeping the center light and airy.
- Snack or Side: They’re my go-to for lunchboxes, afternoon bites, or even a quick side with soup.
- Pantry Heroes: Puffed rice cereal and rice flour are already in my cupboard, so I can make these anytime without a special trip.
Step-by-Step Instructions for Rice Cakes From Puffed Rice
Here’s how I make these airy, crisp bites with a satisfying crunch every time.
Step 1: Combine the Dry Ingredients
In a large mixing bowl, whisk together the 0.5 cup Rice Flour, 0.5 tsp Sea Salt, 0.5 tsp Garlic Powder, 0.5 tsp Onion Powder, and 0.25 tsp Smoked Paprika. These seasonings create the savory base that makes these rice cakes irresistible. I always use fine grain sea salt to ensure even distribution throughout the mixture.
Next, stir in the 2 tbsp Nutritional Yeast, which adds a subtle cheesy depth to the flavor profile. This step ensures all the dry ingredients are evenly incorporated before the wet elements are added.
Step 2: Bind the Mixture with Warm Water
Gradually pour in the 0.5 cup Water (warm works best) while stirring continuously. The goal is to achieve a thick, cohesive batter that holds the 4 cups Puffed Rice Cereal together without being too runny. If the mixture feels too thin, add a touch more rice flour, but I’ve found this ratio works perfectly.
Once the batter is smooth, fold in the puffed rice cereal gently. You want every piece coated evenly without crushing the cereal—this preserves the light, airy texture that defines these rice cakes.
Step 3: Prep the Molds and Shape the Cakes
Lightly grease your rice cake molds or a muffin tin with 2 tbsp Olive Oil. This prevents sticking and helps achieve a golden, crispy exterior. I use a pastry brush to ensure every nook is coated.
Spoon the mixture into the molds, pressing down lightly to compact it. The cakes should hold their shape but still feel light to the touch. Sprinkle the tops with 1 tbsp Sesame Seeds for added crunch and visual appeal.
Step 4: Cook Until Crispy and Golden
Heat a non-stick skillet over medium heat and add the filled molds. Cook for 4-5 minutes until the edges turn golden brown and crisp. Resist the urge to flip too early—the bottom should release easily when it’s ready.
Carefully flip each cake and cook for another 3-4 minutes until the other side is equally crisp and golden. The rice cakes should feel firm to the touch and have a consistent color throughout.
Transfer to a wire rack to cool. This final step ensures they stay crispy and don’t steam from residual heat. Serve warm or at room temperature for the best texture.
Pro Tips For Making Recipe For Rice Cakes From Puffed Rice
- Heat the Oil First: Get your olive oil hot—about 350°F—before adding the puffed rice mixture. I learned this the hard way after ending up with greasy, soggy cakes that refused to crisp up.
- Use Fresh Puffed Rice: Skip the stale cereal from the back of the pantry; fresh puffed rice absorbs the batter better and gives a lighter, crispier texture.
- Don’t Overmix the Batter: Stir the rice flour and water just until combined—overworking it makes the cakes dense and chewy instead of light and airy.
- Press Firmly in Pan: Pack the mixture tightly into the pan before baking or frying; loose rice cakes fall apart, and nobody wants that.
Dietary Considerations for This Recipe
Gluten-Free Friendly
These puffed rice cakes are naturally gluten-free, making them safe for those with celiac disease or gluten sensitivity. The base relies on puffed rice cereal and rice flour, both of which are inherently free from gluten. Always double-check your cereal label to ensure it hasn’t been processed in a facility with gluten-containing grains. 💪
Vegan and Dairy-Free
This recipe aligns perfectly with a vegan diet, as it contains no animal products. The nutritional yeast adds a cheesy flavor without dairy, and olive oil replaces butter. It’s a fantastic plant-based snack or side dish.
Low-Calorie Option
Each cake contains roughly 80-100 calories, depending on size. The light, airy texture comes from puffed rice, which adds volume without excess calories. Perfect for mindful snacking or pairing with nutrient-dense toppings like avocado or hummus.
Allergen Considerations
This recipe is free from the top 8 allergens (milk, eggs, fish, shellfish, tree nuts, peanuts, wheat, and soy) if you use certified allergen-free ingredients. For nut allergies, ensure your sesame seeds are processed in a dedicated facility. 🌱
Low-Sodium Adaptation
To reduce sodium, simply omit the sea salt or replace it with a salt-free seasoning blend. The garlic powder and onion powder still provide plenty of flavor without added sodium. Ideal for those watching their salt intake.
Customizable for Dietary Needs
Swapping the olive oil for coconut oil makes this recipe suitable for those avoiding olive derivatives. The versatility of this base lets you tailor it to nearly any dietary restriction while keeping the crisp texture intact.
Nutrition Facts
Frequently Asked Questions
Can I bake these instead of pan-frying?
Yes! Bake at 350°F for 12-15 minutes, flipping halfway. They’ll be slightly less crispy but still delicious. Use a silicone mat for easy removal.
Why did my cakes fall apart?
Too much water or insufficient pressing causes crumbling. Ensure the mixture is thick and compact it firmly in the molds. Let them cool completely before handling.
What can I use instead of rice flour?
All-purpose flour works in a pinch, but use half the amount. For gluten-free, try tapioca or cornstarch. The texture may vary slightly.
How do I make them extra crispy?
Press the mixture very tightly into molds and cook at medium heat for 5 minutes per side. Cool on a wire rack to prevent sogginess.

Trained in classic French technique but raised on slow-cooked ribs and spicy rubs, she blends culinary skill with smoke and soul.
- Recipe for Boneless Pork Chops in Cast Iron Skillet: Sear and Baste to Juicy Perfection - October 3, 2026
- Recipe for Boneless Cross Rib Roast: Slow-Roasted Beef with Herb Crust - October 3, 2026
- Hamburgers in Sauce Recipe Crock Pot: Slow-Cooked Savory Delight - October 3, 2026