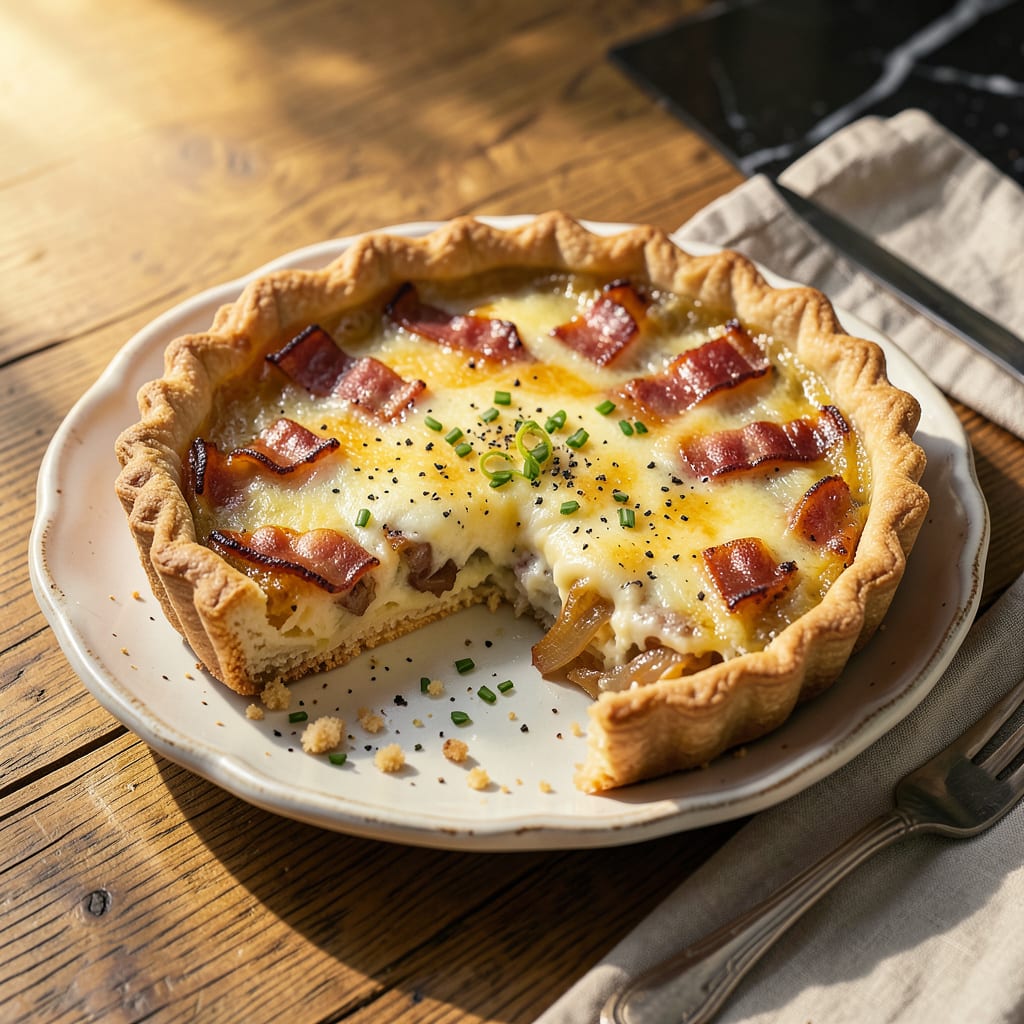
Nothing ruins a perfect quiche faster than a soggy crust or rubbery filling—except maybe microwaving it. I’ve lost count of how many beautiful slices I’ve wrecked by rushing the reheat, but oven method changed everything. The key is gentle heat that warms through without drying out that delicate custard or turning your flaky crust into cardboard.
Here’s the thing—your oven is basically a time machine for quiche. Set it to 325°F, give it 15-20 minutes, and you’ll get that just-baked texture all over again. I always tent mine with foil for the first 10 minutes to prevent over-browning, then let it finish uncovered for that perfect golden top. The difference between this and nuking it? Night and day.
You’ll know it’s ready when the center feels warm (not hot) to the touch and the crust regains its crispness. No guesswork—just perfectly reheated quiche with that creamy filling and flaky crust you worked so hard to create. And yes, this works for frozen slices too—just add 10 extra minutes.
Between you and me, this method makes leftovers taste even better than the first serving. The flavors meld while the texture stays spot-on. Now let’s get that quiche back to its former glory—no sad, soggy slices allowed.
📚 In This Guide
- What You’ll Need
- Instructions
- Tips and Common Mistakes
What Youll Need
- ● Quiche – 1 pre-baked quiche (whole or sliced, thawed if frozen).
- ● Oven – Conventional or convection (preheated to 325°F–350°F).
- ● Baking sheet or oven-safe dish – 1 (light-colored for even heating).
- ○ Aluminum foil – 1 sheet (to prevent over-browning, optional but recommended).
- ○ Parchment paper – 1 sheet (optional, for easy cleanup).
- ● Oven mitts – 1 pair (safety first!).
- ● Knife or pie server – For slicing (if reheating whole quiche).
- ○ Cooling rack – Optional, to keep the crust crispy after reheating.
- ○ Cooking spray or butter – Optional, to refresh the crust if it’s dry.
- ○ Thermometer – Optional (to check internal temp hits 165°F).
Instructions
Here’s how to bring your quiche back to life with that just-baked texture and flavor.
Preheat Your Oven Properly
Start by preheating your oven to 325°F. This moderate temperature is key—it’s hot enough to warm the quiche through without overheating the delicate custard filling or burning the crust. I always recommend using the middle rack position for even heat distribution.
While the oven heats, take your quiche directly from the refrigerator and let it sit at room temperature for 10-15 minutes. This brief rest prevents thermal shock when it hits the hot oven, which could cause the filling to separate or the crust to become soggy.
Prepare the Quiche for Even Reheating
Place the quiche on a baking sheet lined with parchment paper or aluminum foil. This makes handling easier and protects against potential drips. If your quiche has been stored in a pie dish, you can reheat it directly in that dish—just make sure it’s oven-safe.
For best results, I like to tent the quiche loosely with aluminum foil for the first half of reheating. This prevents the top from browning too quickly while allowing the center to warm gently. Create a loose dome shape that doesn’t touch the quiche surface, leaving about 1 inch of space for air circulation.
Reheat Gently Until Warm Throughout
Place the quiche in the preheated oven and reheat for 15-20 minutes with the foil tent in place. After this initial period, carefully remove the foil to allow the top to crisp slightly. Continue reheating for another 5-10 minutes until the internal temperature reaches 165°F when tested with an instant-read thermometer.
You’ll know it’s perfectly reheated when the crust looks golden and flaky, not soggy or pale. The filling should jiggle slightly in the center when gently shaken—this indicates it’s warmed through but hasn’t overcooked. If you notice the edges browning too quickly, you can cover just the crust edge with a thin strip of foil.
Rest Briefly Before Serving
Remove the quiche from the oven and let it rest for 5 minutes before slicing. This brief rest allows the custard filling to set slightly, preventing it from running out when you cut into it. The residual heat will continue to gently warm the center during this time.
The perfect reheated quiche should have a crust that’s crisp and flaky to the touch, not soft or rubbery. When you slice into it, the filling should be creamy and cohesive, not watery or separated. If you’ve reheated it properly, each bite will have that just-baked quality with the custard holding its shape while still being tender.
Tips and Common Mistakes
Reheating quiche perfectly is all about gentle heat and patience—here’s what I’ve learned from years of trial and error.
The Temperature Factor: That 325°F setting in Step 1 isn’t arbitrary—it’s the sweet spot for warming through without drying out the custard. I’ve found that higher temps make the crust tough while lower temps leave the center chilly. Use an oven thermometer to verify your oven’s accuracy, as many run hotter or cooler than their dials indicate.
Foil Technique: In Step 2, when tenting with foil, make sure it’s truly loose—about that 1 inch of space mentioned. I used to press it right against the quiche, which created steam and made the crust soggy. The dome shape allows just enough air circulation to prevent condensation while protecting the top from over-browning.
Resting Matters: That 5 minutes of resting in Step 4 might seem unnecessary when you’re hungry, but it’s crucial. The custard continues to set during this time, and skipping it means you’ll have filling running out when you slice. I set a timer to resist the temptation to cut in early—trust me, it’s worth the wait.
Visual Cues: When checking doneness after the 15-20 minutes of covered reheating, look for subtle signs: the crust should feel firm when gently pressed, and the center should have just a slight wobble. If the edges brown before the center warms, cover just the crust edge with a foil strip as mentioned in Step 3.
Pro Tips for Reheat Quiche In Oven
- Reheating quiche perfectly is all about gentle heat and patience—here’s what I’ve learned from years of trial and error.
- The Temperature Factor: That 325°F setting in Step 1 isn’t arbitrary—it’s the sweet spot for warming through without …
- Foil Technique: In Step 2, when tenting with foil, make sure it’s truly loose—about that 1 inch of space mentioned. I…
Frequently Asked Questions
Can I reheat quiche in the oven straight from the fridge?
Yes! For best results, let it sit at room temperature for 10–15 minutes while the oven preheats to 350°F (175°C). This prevents a soggy crust from temperature shock. If you’re in a rush, add 5–10 extra minutes to the reheating time.
How long does it take to reheat quiche in the oven?
A whole quiche needs 15–20 minutes, while a single slice takes 8–12 minutes. Cover loosely with foil to avoid over-browning the crust. Check at the lowest time—it’s done when the center reaches 165°F (74°C).
What’s the best way to reheat quiche without drying it out?
Place a small dish of water on the oven rack below the quiche to add moisture. Alternatively, lightly brush the crust with melted butter or olive oil before reheating. Avoid microwaving—it turns the filling rubbery and the crust soggy!
Can I reheat frozen quiche in the oven?
Thaw it overnight in the fridge first, then reheat as usual. If frozen solid, bake at 325°F (163°C) for 30–40 minutes, covered with foil. Uncover the last 10 minutes to crisp the crust.
Is it safe to reheat quiche more than once?
The USDA recommends reheating leftovers only once to avoid bacterial growth. If you must, ensure it reaches 165°F (74°C) every time and store properly (airtight container, fridge within 2 hours). When in doubt, toss it!
Reheating quiche in the oven is the easiest way to bring back that fresh-from-the-kitchen magic—crispy crust, creamy filling, and all! 🥧 With just a few simple steps and a watchful eye, you can avoid soggy disappointments and enjoy a meal that tastes just as delicious as day one.
Now that you’re armed with the know-how, why not put it to the test? Preheat that oven, grab your leftovers, and treat yourself to a warm, satisfying slice. Bon appétit! 😊

Trained in classic French technique but raised on slow-cooked ribs and spicy rubs, she blends culinary skill with smoke and soul.
- Recipe for Boneless Pork Chops in Cast Iron Skillet: Sear and Baste to Juicy Perfection - October 3, 2026
- Recipe for Boneless Cross Rib Roast: Slow-Roasted Beef with Herb Crust - October 3, 2026
- Hamburgers in Sauce Recipe Crock Pot: Slow-Cooked Savory Delight - October 3, 2026