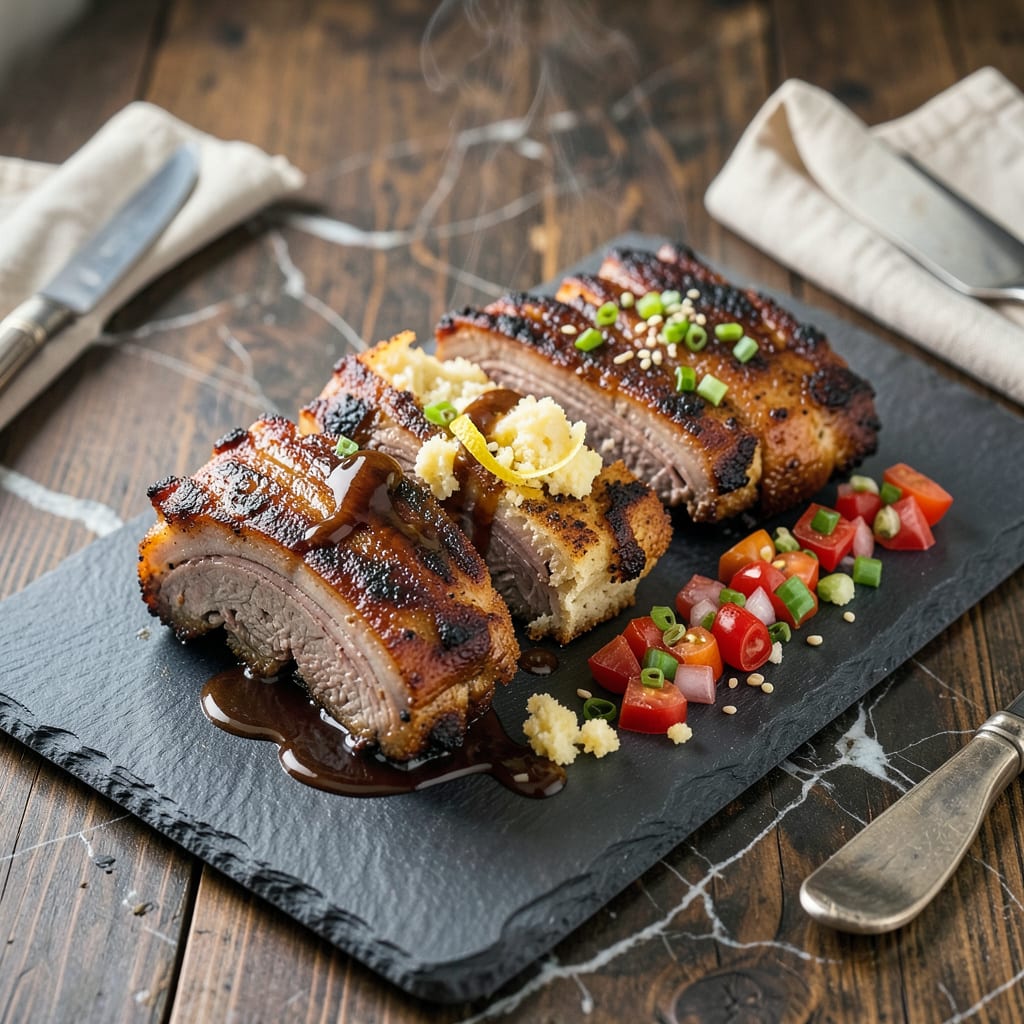
I’ll be real with you—I never thought I’d make fall-off-the-bone ribs in a toaster oven until I tried this method. Growing up around smoke pits and slow-cooked racks, I was skeptical about using countertop appliances for ribs. But after burning through three test batches (and nearly setting off my smoke alarm), I cracked the code for tender, flavorful ribs without a grill or smoker.
Here’s the thing—your toaster oven can deliver restaurant-quality ribs if you know the right tricks. We’re talking low-and-slow cooking with a dry rub that forms a flavorful crust, then finishing with a quick broil for that coveted caramelized edge. No fancy equipment needed, just a standard toaster oven and about 2.5 hours of mostly hands-off time.
The result? Meat that pulls cleanly from the bone with just a fork, sticky-sweet glaze clinging to every bite, and that deep, smoky flavor you’d expect from a pitmaster’s setup. I’ve served these at backyard gatherings, and nobody believes they came from a toaster oven—until they see the proof.
Perfect for when you’re craving BBQ but don’t want to fire up the grill, or when you need to feed a crowd without heating up the whole kitchen. The best part? Cleanup is a breeze—no charcoal ashes or greasy grill grates to scrub. Let’s get those ribs cooking!
📚 In This Guide
- What You’ll Need
- Instructions
- Tips and Common Mistakes
What Youll Need
- ● Ribs: 1 full rack (about 2–3 lbs) of baby back ribs or St. Louis-style ribs (thawed if frozen)
- ● Dry rub: 2 tbsp (or store-bought—your favorite BBQ blend works too!)
- ● BBQ sauce: ½ cup (plus extra for serving)
- ● Aluminum foil: Heavy-duty, enough to wrap the ribs twice (or a large foil pan)
- ● Toaster oven: With broil function and a temperature range up to 400°F (preheated!)
- ● Baking sheet or tray: Fits inside your toaster oven (with a rack if possible)
- ○ Meat thermometer: Optional but highly recommended for perfect doneness (aim for 195–203°F)
- ● Basting brush: Silicone or heat-safe for saucing
- ● Tongs: For flipping and serving (avoid piercing the meat!)
- ○ Apple juice or broth: ¼ cup (optional) for extra moisture during cooking
- ○ Plastic wrap: Optional for marinating ribs beforehand
- ● Cutting board & sharp knife: For trimming excess fat if needed
Step-by-Step Instructions for Ribs in a Toaster Oven
Here’s exactly how to achieve tender, flavorful ribs without a grill or smoker.
Prepare the Ribs for Maximum Flavor
Start by removing the membrane from the bone side of the ribs. Slide a butter knife under the thin membrane, then lift and pull it off with a paper towel for better grip. This step ensures your seasoning penetrates the meat and creates a better texture.
Pat the ribs completely dry with paper towels. Any moisture on the surface will prevent your dry rub from adhering properly. I like to let them sit uncovered in the fridge for 30 minutes after patting dry—this helps the surface dry out even more for better bark formation.
Season Generously for Deep Flavor
Apply your dry rub liberally to all sides of the ribs, pressing it into the meat so it sticks. Don’t be shy—you want a visible layer of seasoning. I always rub the seasoning in with my hands for better coverage and connection with the meat.
Let the seasoned ribs rest at room temperature for 20-30 minutes before cooking. This allows the salt in the rub to begin penetrating the meat and the spices to bloom. You’ll notice the surface becomes slightly tacky—that’s perfect for developing a good crust in the toaster oven.
Set Up Your Toaster Oven for Slow Cooking
Preheat your toaster oven to 275°F and position the rack in the middle. For even cooking, I recommend using a small wire rack set inside a baking sheet—this allows air to circulate around the ribs and prevents them from steaming in their own juices.
Place the ribs bone-side down on the rack. If your toaster oven is small, you may need to cut the rack in half to fit. Leave about 1 inch of space around the ribs for proper air circulation. This setup mimics a low-and-slow cooking environment similar to a smoker.
Cook Low and Slow for Tenderness
Cook the ribs for 3-4 hours, checking occasionally. You’re looking for the meat to shrink back from the bones by about ¼ inch—that’s your visual cue they’re getting tender. If the ribs start to darken too quickly, tent them loosely with foil.
The ribs are done when the internal temperature reaches 195-203°F and the meat bends easily when picked up with tongs. I always do the “bend test”—if the ribs bend and the surface cracks slightly, they’re perfectly tender. Don’t rely on time alone; smaller racks may finish earlier.
Rest and Serve for Best Results
Transfer the cooked ribs to a cutting board and let them rest for 10-15 minutes before slicing. This resting period allows the juices to redistribute throughout the meat instead of running out when you cut into them. Tent them loosely with foil to keep warm.
Slice between the bones to separate the ribs. You’ll know you’ve done it right when the meat pulls back cleanly from the bones with just a little resistance. Serve immediately while still warm—they’ll be at their most tender and flavorful right out of the toaster oven.
Tips and Common Mistakes
After years of perfecting toaster oven ribs, I’ve learned these key details make all the difference between good and spectacular results.
Preparation Insight: Don’t rush the 30-minute drying time in Step 1—this creates that perfect crust. I’ve found that placing the ribs on a wire rack in the fridge during this time (instead of directly on a plate) allows air to circulate on all sides, resulting in even better bark formation. The surface should feel slightly tacky when you’re ready to season.
Seasoning Technique: When applying your rub in Step 2, here’s what I’ve discovered: slightly dampening the ribs with a spritz of water or apple juice before adding the rub helps the seasoning adhere even better. The 20-30 minute rest isn’t just about flavor penetration—it’s when the salt starts breaking down proteins for more tender meat. You’ll actually see the surface change from dry to slightly glossy.
Cooking Environment: The 1-inch space requirement in Step 3 isn’t arbitrary—it’s crucial for proper air circulation. I learned this the hard way when my first batch steamed instead of roasted. If your toaster oven is particularly small, try propping the ribs up on crumpled foil balls to elevate them slightly above the rack for better airflow.
Doneness Check: During the 3-4 hour cooking time in Step 4, start checking at the 2.5-hour mark for smaller racks. The ¼-inch shrinkage is your best visual cue, but here’s my pro trick: when the ribs reach about 190°F internally, brush them lightly with apple juice or broth—this creates a beautiful glaze as they finish cooking to that perfect 195-203°F range.
Pro Tips for Ribs In Toaster Oven
- After years of perfecting toaster oven ribs, I’ve learned these key details make all the difference between good and …
- Preparation Insight: Don’t rush the 30-minute drying time in Step 1—this creates that perfect crust. I’ve found that …
- Seasoning Technique: When applying your rub in Step 2, here’s what I’ve discovered: slightly dampening the ribs with …
Frequently Asked Questions
Can I cook ribs in a toaster oven without pre-boiling them?
While pre-boiling can speed up cooking, it’s not required. For tender results, pat ribs dry, season well, and cook low-and-slow (275–300°F) for 2–3 hours. Use foil to trap moisture, then finish with a broil for crispiness. Skip the boil for richer flavor!
How long does it take to cook ribs in a toaster oven?
Timing depends on rib type and thickness:
Pro tip: Check doneness at 195°F internal temp—ribs should bend easily when lifted with tongs.
What’s the best alternative if my toaster oven is too small?
No space? No problem! Try these:
- Oven: Use the same method but scale up time slightly.
- Air fryer: Cut ribs into single bones, cook at 350°F for 20–25 mins (flip halfway).
- Grill: Indirect heat + foil pouch for 2–3 hours.
Why are my ribs tough/dry in the toaster oven?
Common culprits:
- Too hot/fast: Stick to 275–300°F max—high heat dries meat.
- Not enough moisture: Add ½ cup apple juice/broth to the foil pouch.
- Overcooking: Pull ribs at 195–203°F (use a meat thermometer! ).
Can I use BBQ sauce in the toaster oven without burning it?
Yes! Add sauce only in the last 15–20 mins of cooking. Brush lightly, then broil 2–3 mins (watch closely!). For extra protection, mix sauce with 1 tsp honey or brown sugar to caramelize—not burn.
Cooking ribs in a toaster oven proves you don’t need a smoker—or even a grill—to enjoy tender, flavorful results! 🍖 With the right prep, temperature control, and a little patience, you’ll master this easy method in no time. Whether it’s a weeknight craving or a game-day snack, your toaster oven delivers big flavor with minimal fuss.
Ready to try it? Grab your favorite rub or sauce, preheat that oven, and dig in—your taste buds will thank you! For extra inspiration, experiment with different glaze combinations or side dishes next time. Happy cooking! 😊

Trained in classic French technique but raised on slow-cooked ribs and spicy rubs, she blends culinary skill with smoke and soul.
- Indian Lamb Curry Recipe Pressure Cooker: Fragrant Spices in a Fraction of the Time - October 3, 2026
- Recipe for Oven Roasted: Golden Crisp Perfection Without the Fryer - October 3, 2026
- Recipe for Fried Pork Chops With Flour: Crispy Crust and Juicy Centers - October 3, 2026