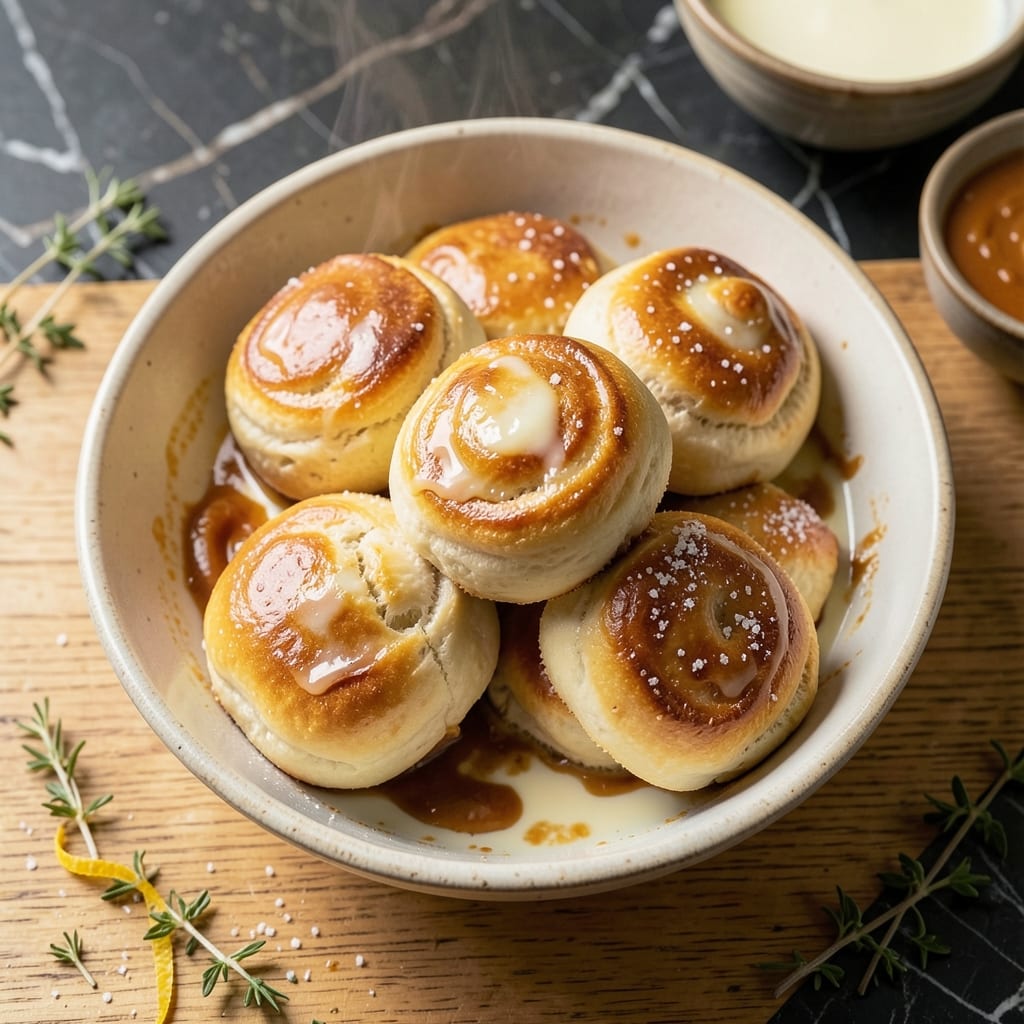
There’s nothing quite like pulling warm yeast rolls from the oven, their golden tops glistening with butter. I’ve tested this method in my tiny Boston kitchen more times than I can count, always chasing that perfect fluffy texture.
The secret lies in proper proofing and a touch of patience. These rolls rise twice—once for the dough, then again after shaping—creating those airy layers that make them impossible to resist. The aroma alone will have everyone gathering in the kitchen.
Each bite delivers a soft, pillowy interior with just the right amount of chew. The tops develop a beautiful golden brown crust that gives way to tender perfection inside. They’re worth every minute of the process.
Serve them warm with dinner or as a special treat any time of day. Here’s how to make these irresistible rolls at home.
Ingredients for Ryan’s Yeast Rolls
Pantry staples plus a few fresh items make these golden, fluffy rolls possible.
| Ingredient | Amount | Notes |
|---|---|---|
| Active Dry Yeast 🍞 | 2 ¼ tsp | 1 packet, proofed in warm water |
| Warm Water 💧 | 1 ¼ cups | 110-115°F for yeast activation |
| Granulated Sugar 🍚 | ¼ cup | Divided for yeast and dough |
| Whole Milk 🥛 | 1 cup | Warmed to lukewarm |
| Unsalted Butter 🧈 | ½ cup | Melted and cooled |
| Large Egg 🥚 | 1 whole | Room temperature |
| All-Purpose Flour 🌾 | 5 cups | Plus extra for dusting |
| Salt 🧂 | 2 tsp | Fine sea or table salt |
| Olive Oil 🫒 | 1 tbsp | For greasing bowl |
| Honey 🍯 | 2 tbsp | Optional for brushing tops |
[recipe_ingredient_scaler]
The yeast is non-negotiable here. Fleet or Red Star are my go-tos—check the expiration date, old yeast won’t rise properly. Whole milk gives the richest flavor, but 2% works in a pinch (skip the skim). I always buy my flour from King Arthur—consistent quality, and their all-purpose handles yeast doughs beautifully. Butter should be unsalted so you control the seasoning yourself.
No yeast on hand? Instant yeast works at the same ratio—just skip the proofing step. Short on milk? Evaporated milk plus water (half and half) mimics whole milk’s richness. For a lighter texture, swap half the all-purpose for bread flour. The egg can be skipped, but you’ll sacrifice some richness and color (add 2 tbsp extra milk to compensate).
Dough rises best in a warm spot—turn your oven light on for a perfect proofing environment. Baked rolls keep 2-3 days at room temp, but they’re best fresh. Freeze for up to 3 months—reheat straight from frozen, wrapped in foil at 350°F for 10 minutes.
Why You’ll Love This Recipe
- No-Fuss Dough: I love that I can mix the yeast, warm water, and sugar, then let the dough rise while I prep the rest of dinner.
- Buttery Softness: The whole milk and unsalted butter make these rolls so tender they practically melt in your mouth.
- Crowd Pleaser: Honestly, these disappear faster than I can pull them from the oven at family gatherings.
- Budget Friendly: Five simple ingredients, most of which I already have, means I can make fresh rolls without breaking the bank.
Step-by-Step Instructions for Fluffy Yeast Rolls
Here’s my trusted method for achieving bakery-quality rolls with a soft interior and beautiful golden crust.
Step 1: Activate the Yeast Properly
In a large mixing bowl, combine the 2.25 tsp Active Dry Yeast with the 1.25 cups Warm Water (it should feel like warm bath water, 110-115°F) and 1 tablespoon of the 0.25 cup Granulated Sugar.
Let this mixture sit for 5-7 minutes until it becomes frothy and bubbly. This is your visual confirmation that the yeast is alive and active. If it doesn’t bubble, your water might have been too hot or cold, or the yeast may be expired.
I always use a thermometer for the water—guessing can lead to disappointment. The sugar helps feed the yeast and speeds up the activation process.
Step 2: Create the Dough Base
Once the yeast is activated, add the remaining granulated sugar, the 1 cup Whole Milk (warmed to lukewarm), the 0.5 cup Unsalted Butter (melted and cooled to room temperature), and the large egg.
Whisk these wet ingredients together until well combined. The butter should be cool enough that it doesn’t kill the yeast—if it feels warm to the touch, let it sit a few more minutes.
This mixture will look slightly curdled, which is perfectly normal. The fat from the butter and milk will create that tender texture we’re after in the final rolls.
Step 3: Incorporate Dry Ingredients and Knead
Gradually add 2 cups of the 5 cups All-Purpose Flour and the 2 tsp Salt to the wet mixture. Stir with a wooden spoon until a shaggy dough forms. Then add the remaining 3 cups of flour, ½ cup at a time, mixing until the dough pulls away from the sides of the bowl.
Turn the dough onto a lightly floured surface and knead for 8-10 minutes until smooth and elastic. You’ll know it’s ready when you can stretch a small piece thin enough to see light through it without it tearing (the windowpane test).
The dough should be slightly tacky but not sticky—if it’s sticking to your hands, add flour 1 tablespoon at a time until it reaches the right consistency.
Step 4: First Rise Until Doubled
Lightly grease a large bowl with the 1 tbsp Olive Oil, place the dough in the bowl, and turn it to coat all sides. Cover with a clean kitchen towel or plastic wrap.
Let the dough rise in a warm, draft-free place for 1-1.5 hours or until doubled in size. I like to turn my oven on to its lowest setting (170°F), then turn it off and place the bowl inside with the door closed.
You’ll know it’s ready when the dough has roughly doubled in volume and springs back slowly when gently pressed with your finger.
Step 5: Shape, Second Rise, and Bake
Punch down the risen dough and turn it onto a lightly floured surface. Divide into 12 equal portions (about 3.5 oz each) and shape into smooth balls. Place them in a greased 9×13-inch baking pan, spacing them slightly apart.
Cover and let rise again for 30-45 minutes until puffy. Preheat oven to 375°F. Bake for 15-18 minutes until golden brown on top.
For extra shine, brush the warm rolls with the 2 tbsp Honey diluted with 1 teaspoon of warm water immediately after removing from the oven.
Pro Tips For Making Ryan’S Yeast Rolls
- Test the Yeast: Always bloom your active dry yeast in the warm water with a pinch of sugar first—I learned this the hard way after wasting a batch when my yeast was dead. If it doesn’t foam within 5 minutes, start over.
- Warm the Milk: Heat your whole milk to about 110°F before mixing it with the yeast. Too hot kills the yeast, too cold slows activation, and I’ve ruined rolls by guessing the temperature.
- Soften Butter Right: Use unsalted butter that’s soft but not melted—press your finger into it and it should leave a slight indent. Melting it makes the dough greasy instead of tender.
- Double the Rise: Let the dough rise until it’s truly doubled in size, even if it takes longer than expected. I used to rush this and ended up with dense rolls—patience actually changes the outcome.
Common Mistakes When Making Great ryans yeast rolls
Water Temperature Issues
Using water that’s too hot (above 120°F) will kill your yeast instantly. I learned this the hard way in my tiny Boston kitchen—always use a thermometer. Water that’s too cold (below 105°F) won’t activate the yeast properly. 🌡️
Old or Inactive Yeast
Expired yeast or yeast that’s been stored improperly won’t give you that beautiful rise. Always check the expiration date and store yeast in the fridge after opening. I recommend Red Star or Fleet for consistent results.
Over-Flouring the Dough
Adding too much flour makes rolls dense instead of fluffy. The dough should be slightly tacky after kneading. If it sticks to your hands, add flour 1 tbsp at a time—I often find I need less than I think.
Insufficient Rising Time
Rushing the rise is the most common mistake. The first rise needs 1-1.5 hours in a warm spot. Don’t be tempted to move on until the dough has truly doubled in size. Patience pays off here.
Skipping the Second Rise
The second rise after shaping is crucial for that airy texture. These rolls need 30-45 minutes to puff up properly. I set a timer so I don’t get distracted by the tempting aroma.
Overbaking
Golden brown is perfect—dark brown means they’re overdone. Start checking at 15 minutes at 375°F. The internal temperature should reach 190-200°F when done. My first batch came out hockey puck hard!
Nutrition Facts
Frequently Asked Questions
Can I use a stand mixer for kneading?
Yes! Use the dough hook attachment on medium speed for 6-8 minutes. It saves time and ensures even development. Just watch the dough—it should pull away from the bowl sides when ready.
Why didn’t my rolls rise properly?
Check your yeast freshness first. Also, water temperature is critical—it needs to be 110-115°F. Cold drafts or a too-cool kitchen can slow rising, so use a warm oven for proofing.
Can I make these ahead of time?
Shape the rolls, cover, and refrigerate overnight. The next morning, let them rise at room temperature for 1-2 hours before baking. Perfect for holiday meals.
How do I store leftovers?
Keep in an airtight container at room temperature for 2-3 days. Reheat in foil at 350°F for 5-10 minutes to restore softness.

Trained in classic French technique but raised on slow-cooked ribs and spicy rubs, she blends culinary skill with smoke and soul.
- Recipe for Boneless Pork Chops in Cast Iron Skillet: Sear and Baste to Juicy Perfection - October 3, 2026
- Recipe for Boneless Cross Rib Roast: Slow-Roasted Beef with Herb Crust - October 3, 2026
- Hamburgers in Sauce Recipe Crock Pot: Slow-Cooked Savory Delight - October 3, 2026