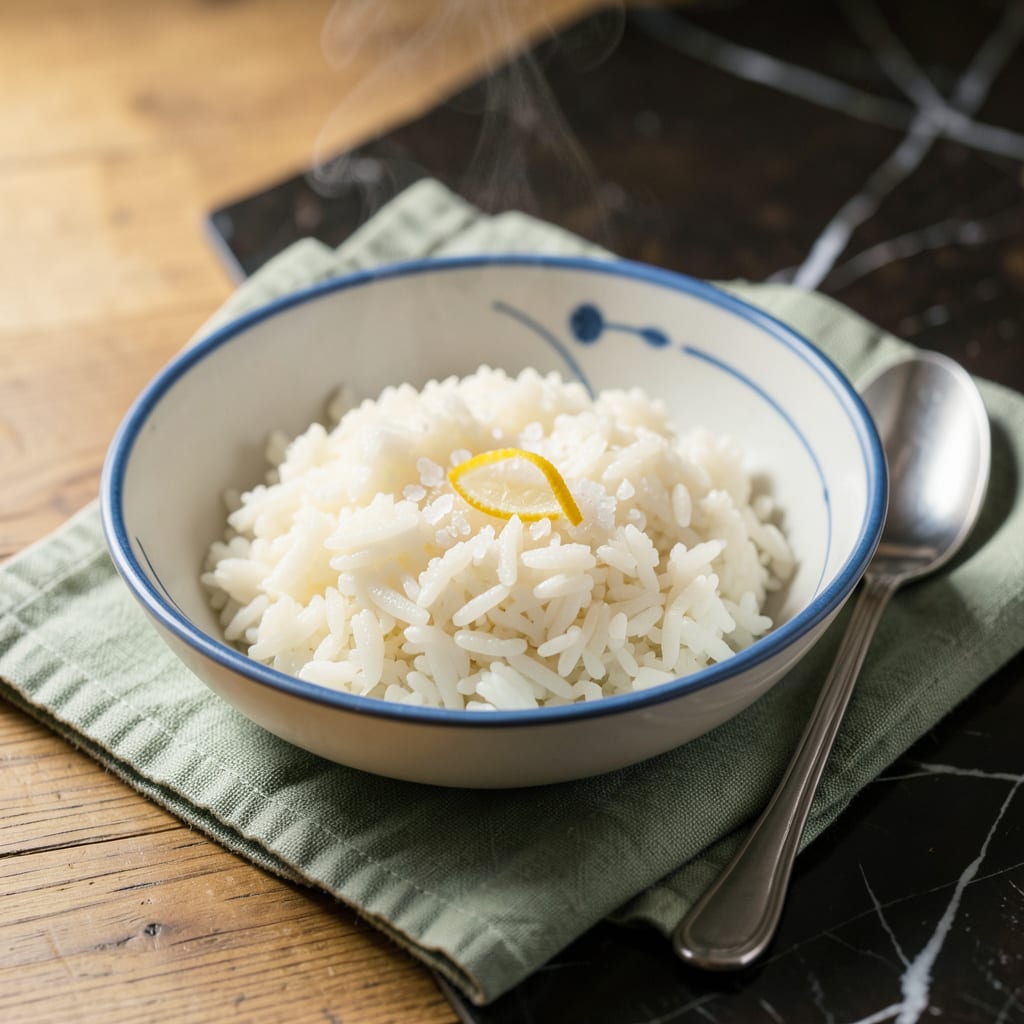
I’ll be real with you: the difference between bland, sticky rice and perfectly fluffy grains often comes down to one simple thing—salt. Not just any salt, but the right amount added at the right time. After years of experimenting (and more than a few failed batches), I’ve cracked the code for rice that’s tender, separate, and full of flavor every single time.
Here’s the thing—most people either skip salt entirely or dump it in without measuring. The trick is using 1/2 teaspoon per cup of rice, added to the cooking water before it even hits the stove. This seasons the grains from within, enhancing their natural flavor without making them taste salty. Whether you’re cooking white, basmati, or brown rice, this method works like magic.
What you’ll end up with is rice that’s light, aromatic, and ready to shine as a side dish or base for your favorite one-pot meals. The salt doesn’t just add flavor—it actually helps regulate how the grains absorb water, preventing that gummy texture we’ve all suffered through. No fancy equipment needed, just a pot, water, and this simple technique.
Perfect for meal prep, family dinners, or when you need a foolproof side that pairs with everything. Let’s get that rice cooking right—no more guesswork, no more disappointment.
📚 In This Guide
- What You’ll Need
- Instructions
- Tips and Common Mistakes
What Youll Need
- ● Rice: 1 cup (white, basmati, jasmine, or long-grain—pick your favorite!)
- ● Water: 1.5–2 cups (adjust based on rice type—check the package!)
- ● Salt: ½–1 tsp (fine sea salt or table salt; adjust to taste)
- ● Pot or rice cooker: With a tight-fitting lid (stainless steel or non-stick works best)
- ● Measuring cups/spoons: For precision (no guesswork here!)
- ● Wooden spoon or fork: To fluff rice post-cooking
- ● Butter or oil (1 tsp) – for extra richness
- ● Garlic or herbs – to elevate flavor
- ● Timer – to avoid overcooking
Instructions for Perfectly Salting Rice
Here’s my foolproof method that transforms ordinary rice into perfectly seasoned, fluffy grains every time.
Measure Your Rice and Water Precisely
Start by measuring your rice using the standard 1:2 rice-to-water ratio for white rice. I always use a measuring cup specifically for dry ingredients to ensure accuracy. For 4 servings, you’ll want 1 cup of rice and 2 cups of water—this gives you that ideal balance of fluffiness and tenderness.
The key here is consistency. I’ve found that using the same measuring tools every time eliminates guesswork. Make sure to level off the rice in the measuring cup with a straight edge for perfect precision. This small step makes a surprising difference in the final texture of your rice.
Add Salt at the Right Time
Here’s the thing—salt should be added to the water before you add the rice. I use ½ teaspoon of salt for every 2 cups of water, which is the perfect amount to enhance flavor without making the rice taste salty. Stir the salt into the water until it completely dissolves before adding your rice.
This timing matters because it allows the salt to distribute evenly throughout the water. If you add salt after the rice, you risk uneven seasoning and might end up with some bites that taste bland while others are too salty. The dissolved salt also helps regulate the boiling process, contributing to more consistent results.
Cook with Consistent Heat
Bring the salted water to a rolling boil over high heat, then immediately add your rice. Stir just once to distribute the grains evenly, then reduce the heat to low and cover the pot with a tight-fitting lid. The moment you see steam escaping from under the lid, that’s your signal that the cooking environment is perfect.
Let the rice simmer undisturbed for 15-18 minutes—no peeking! The steam trapped inside is what cooks the rice evenly. I know it’s tempting to check, but lifting the lid releases precious steam and can lead to uneven cooking. You’ll know it’s done when you see small steam holes form on the surface of the rice.
Rest and Fluff for Perfect Texture
When the cooking time is up, turn off the heat but leave the pot covered for an additional 5-10 minutes. This resting period is crucial—it allows the steam to redistribute throughout the rice, ensuring every grain is perfectly cooked. You’ll notice the rice absorbs any remaining moisture during this time.
After resting, remove the lid and gently fluff the rice with a fork. I like to use a folding motion rather than stirring, which helps separate the grains without breaking them. The rice should be light and airy, with each grain distinct yet tender. If you’ve done it right, you’ll see that beautiful, even texture that makes perfectly cooked rice so satisfying.
Taste and Adjust if Needed
Before serving, taste a few grains from different parts of the pot. The salt should enhance the natural flavor of the rice without overpowering it. If you feel it needs just a touch more seasoning, sprinkle a tiny pinch of salt over the rice and fluff again to distribute.
Remember that rice absorbs flavors differently depending on the variety, so this final taste test is your insurance policy. The grains should be tender but still hold their shape, with a subtle but noticeable seasoning that makes each bite satisfying. This is when you’ll appreciate how that initial salt measurement created the perfect foundation for your dish.
Tips and Common Mistakes
Perfectly salted rice is all about precision and patience. Here’s what I’ve learned from making this countless times.
The Ratio Secret: That 1:2 rice-to-water ratio in Step 1 isn’t just tradition—it’s science. I always use a dry measuring cup for rice and a liquid one for water to ensure perfect consistency. The 1 cup rice to 2 cups water measurement creates the ideal steam environment for fluffy grains. Trust me, this small detail makes all the difference between mushy and perfect rice.
Salt Timing Matters: When you add the ½ teaspoon of salt in Step 2, make sure it fully dissolves before adding rice. I stir for at least 10 seconds to ensure even distribution. The salt doesn’t just season—it actually helps regulate the boiling process for more consistent cooking. If you skip this step, you’ll notice uneven texture in your final rice.
Heat Control: The transition from high heat to low in Step 3 is crucial. I watch for that first burst of steam escaping from under the lid—that’s my signal that the environment is perfect. During the 15-18 minute simmer, resist the urge to peek. Every time you lift that lid, you’re releasing steam that’s essential for even cooking.
Resting Period: Those 5-10 minutes of resting time in Step 4 aren’t optional. I’ve found that this is when the rice absorbs any remaining moisture and the grains firm up perfectly. If you skip this, you’ll lose that beautiful, distinct grain texture we’re aiming for. The fork fluffing at the end should be gentle—think folding rather than stirring to keep grains intact.
Pro Tips for Salt In Rice
- Perfectly salted rice is all about precision and patience. Here’s what I’ve learned from making this countless times.
- The Ratio Secret: That 1:2 rice-to-water ratio in Step 1 isn’t just tradition—it’s science. I always use a dry measur…
- Salt Timing Matters: When you add the ½ teaspoon of salt in Step 2, make sure it fully dissolves before adding rice. …
Frequently Asked Questions
How much salt should I add to 1 cup of rice?
For 1 cup of uncooked rice, start with ½ to 1 teaspoon of salt—adjust to taste. White rice needs slightly more (closer to 1 tsp), while brown rice benefits from ¾ tsp. If using salty broth or seasoned water, reduce by half. Pro tip: Taste the cooking water; it should be pleasantly seasoned, not overpowering.
When’s the best time to add salt—before or after cooking?
Always add salt before cooking! Stir it into the water or broth before bringing it to a boil. This lets the grains absorb flavor evenly. Adding salt after cooking leaves rice bland on the inside. Exception: For pre-cooked or instant rice, sprinkle lightly post-cooking and fluff.
Can I use alternatives like soy sauce or bouillon instead of salt?
Swap salt for:
- 1 tsp soy sauce (reduce water by 1 tbsp to balance liquid)
- ½ tsp garlic salt (for extra flavor)
- 1 bouillon cube (dissolved in the cooking water)
Why does my rice taste bland even after adding salt?
Common culprits:
- Under-salted water: Taste the water before adding rice—it should be slightly salty.
- Rinsing after cooking: Washes away surface flavor. Rinse only before cooking if needed.
- Wrong rice-to-water ratio: Too much water dilutes flavor. Stick to 1:1.5 or 1:2 (rice:water).
Does salt affect the cooking time or texture of rice?
Salt minimally slows water absorption, but the difference is negligible (~1 extra minute for white rice). Texture-wise, it enhances fluffiness by strengthening grain structure. Over-salting (2+ tsp per cup) can make rice tough—stick to the recommended amounts for perfect results!
Adding salt to rice isn’t just about flavor—it’s the game-changer for texture, aroma, and even digestion! 🌾✨ Whether you’re a beginner or a seasoned cook, a pinch of salt can transform your rice from sticky to perfectly fluffy every time. Now that you’ve got the know-how, why not experiment with different rice varieties or salt types? Grab a pot, try the tips today, and taste the difference for yourself!

Trained in classic French technique but raised on slow-cooked ribs and spicy rubs, she blends culinary skill with smoke and soul.
- Recipe for Boneless Pork Chops in Cast Iron Skillet: Sear and Baste to Juicy Perfection - October 3, 2026
- Recipe for Boneless Cross Rib Roast: Slow-Roasted Beef with Herb Crust - October 3, 2026
- Hamburgers in Sauce Recipe Crock Pot: Slow-Cooked Savory Delight - October 3, 2026