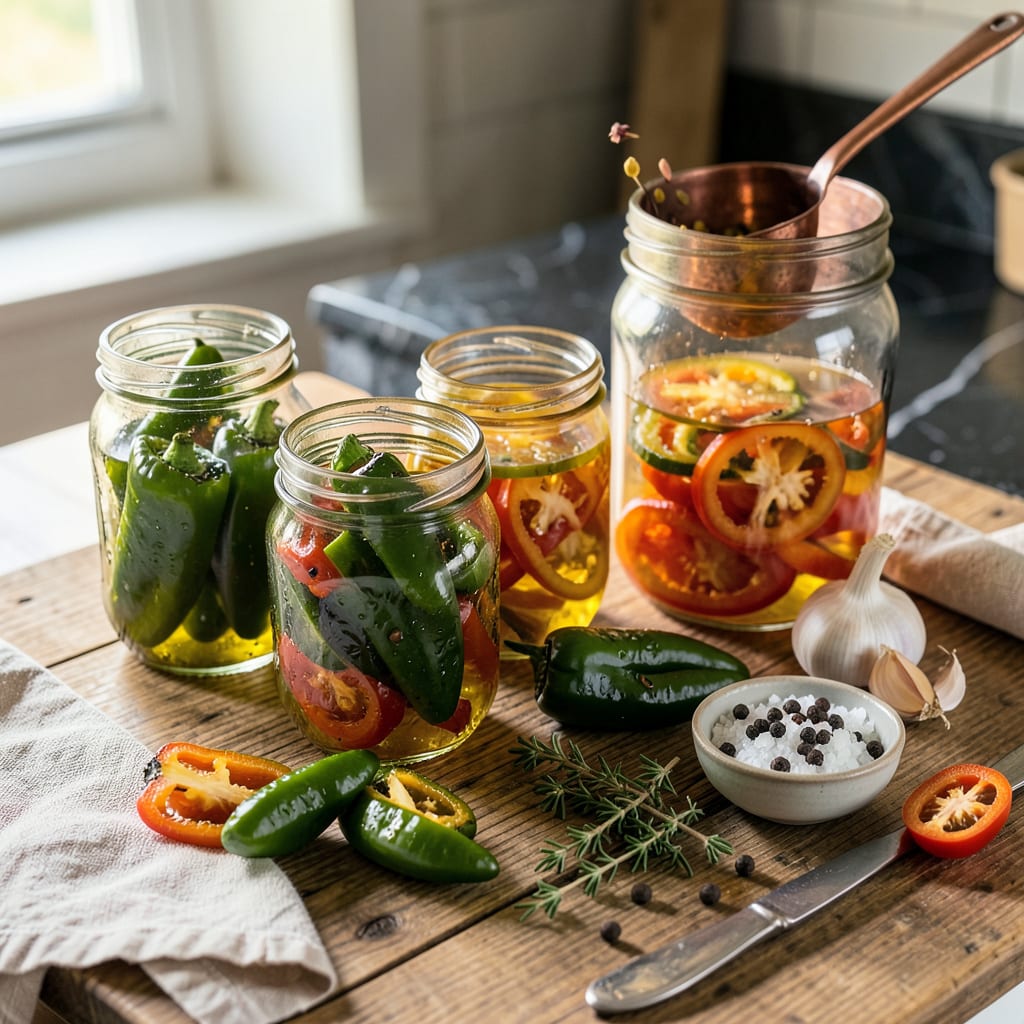
I’ll be real with you—preserving Anaheim peppers changed how I cook all year. Those mild, slightly sweet peppers deserve better than just a quick chop and sauté. After burning through more batches than I’d like to admit (lesson learned: always wear gloves), I’ve locked in three foolproof methods that keep their flavor alive for months.
Here’s the thing—whether you’re roasting them into smoky purée, pickling slices for tangy crunch, or fermenting into hot sauce, the process is simpler than you think. No fancy equipment needed, just some basic kitchen tools and patience. I’ve streamlined each method to avoid common pitfalls (like mushy pickles or bland purée) so you get consistent results every time.
The payoff? Jars of vibrant pepper purée ready to stir into chili, crisp pickled rings to top tacos, or homemade hot sauce that puts store-bought to shame. I keep all three versions stocked in my pantry—because when pepper season hits, you want to capture that freshness while it lasts.
Fair warning: once you taste home-preserved Anaheims, the grocery store versions won’t cut it. Let’s get those peppers prepped—the right way.
📚 In This Guide
- What You’ll Need
- Instructions
- Tips and Common Mistakes
What Youll Need
- ● Fresh Anaheim peppers – 5–10 lbs (choose firm, blemish-free peppers for best results) 🌶️
- ● Glass jars – 4–6 pint-sized (or 2–3 quart-sized) with airtight lids (sterilized)
- ● White vinegar – 2–3 cups (5% acidity for safe canning)
- ● Water – 4 cups (filtered or distilled preferred)
- ● Pickling salt – 1–2 tbsp (non-iodized to avoid cloudiness)
- ○ Garlic cloves – 4–6 (peeled, optional for extra flavor)
- ○ Dried oregano – 1 tsp (optional, for seasoning)
- ● Canning pot – Large enough to submerge jars (or a deep stockpot with rack)
- ● Sharp knife & cutting board – For slicing peppers evenly
- ● Kitchen gloves – 1 pair (recommended to protect hands from capsaicin)
- ● Tongs & jar lifter – For safe handling of hot jars
- ○ Food processor or blender – Optional (for making pepper purée or sauces)
- ○ pH strips – Optional (to test acidity if modifying recipes)
- ● Freezer bags – Quart-sized, heavy-duty (if freezing instead of canning)
- ○ Vacuum sealer – Optional (for long-term freezer storage)
Instructions
Here’s how to preserve your Anaheim peppers using three different methods—each one simple and effective.
Freezing Anaheim Peppers (Easiest Method)
Start by washing your peppers thoroughly under cool running water to remove any dirt or residue. Pat them completely dry with a clean kitchen towel—any remaining moisture will cause ice crystals to form, leading to freezer burn.
Remove the stems and slice the peppers according to how you plan to use them later. For stuffed peppers, leave them whole. For cooking applications, slice them into strips or dice them. Spread the prepared peppers in a single layer on a parchment-lined baking sheet, making sure they don’t touch.
Place the baking sheet in the freezer for 2-3 hours until the peppers are completely frozen solid. This initial freezing prevents the pieces from clumping together. Once frozen, transfer the peppers to airtight freezer bags or containers, removing as much air as possible. Label with the date—they’ll maintain best quality for 8-12 months in the freezer.
Pickling Anaheim Peppers (Tangy and Versatile)
Begin by sterilizing your canning jars and lids. I like to run them through the dishwasher on the hottest setting or boil them for 10 minutes in a large pot of water. While the jars sterilize, slice your Anaheim peppers into rings or spears, removing seeds if you prefer milder heat.
In a medium saucepan, combine equal parts white vinegar and water (I use 2 cups of each for a standard batch) along with 2 tablespoons pickling salt and 1 tablespoon sugar. Bring this brine to a rolling boil, stirring until the salt and sugar completely dissolve. You can customize the flavor by adding garlic cloves, dill seeds, or peppercorns to the brine.
Pack the sliced peppers tightly into the sterilized jars, leaving about ½ inch of headspace at the top. Pour the hot brine over the peppers, ensuring they’re completely submerged. Use a clean utensil to remove any air bubbles, then wipe the jar rims clean. Seal with lids and process in a boiling water bath for 10 minutes for pint jars or 15 minutes for quart jars. Let the jars cool completely before storing in a cool, dark place—they’ll be ready to enjoy in about 2 weeks and will keep for up to 1 year.
Drying Anaheim Peppers (Intense Flavor Concentration)
For drying, you’ll want to use fully mature Anaheim peppers as they have the best flavor concentration. Wash and dry the peppers thoroughly, then slice them into ¼-inch thick rings or leave them whole if you prefer. For whole peppers, make a small slit in each one to allow moisture to escape during drying.
If using an oven, preheat to its lowest setting, typically around 170°F. Arrange the pepper slices in a single layer on baking sheets lined with parchment paper, making sure they don’t overlap. Prop the oven door open slightly with a wooden spoon to allow moisture to escape. The drying process will take 6-8 hours, and you’ll need to rotate the pans and flip the peppers occasionally for even drying.
For a food dehydrator, arrange the pepper slices on the trays in a single layer, again ensuring they don’t overlap. Set the dehydrator to 135°F and let it run for 8-12 hours, checking periodically. The peppers are fully dried when they’re leathery and brittle with no moisture remaining. Store the dried peppers in airtight containers in a cool, dark place where they’ll keep for 6-12 months. To rehydrate, simply soak in warm water for 20-30 minutes before using in recipes.
Tips and Common Mistakes
Preserving Anaheim peppers is straightforward once you know these key details that make all the difference.
Preparation Matters: When freezing peppers in Step 1, make sure they’re completely dry before placing them on the baking sheet. Any residual moisture will create ice crystals, leading to freezer burn and a mushy texture when thawed. I use a salad spinner after washing to remove excess water, then pat them dry with paper towels. This extra step ensures your peppers stay fresh for the full 8-12 months.
Brine Customization: In Step 2, don’t be afraid to experiment with your pickling brine. The basic ratio of equal parts white vinegar and water works perfectly, but you can enhance the flavor by adding 2-3 smashed garlic cloves, a teaspoon of mustard seeds, or a few sprigs of fresh dill to each jar. Just remember to keep the vinegar-to-water ratio the same to maintain proper acidity for safe preservation.
Drying Technique: For Step 3, whether using an oven or dehydrator, the key is consistent airflow. In the oven, propping the door open slightly with a wooden spoon makes a surprising difference—it allows moisture to escape steadily. For the dehydrator, arrange the pepper slices so they don’t overlap, and rotate the trays every few hours. The 6-8 hours at 170°F or 8-12 hours at 135°F might seem long, but this slow process develops the deepest flavor concentration.
Storage Wisdom: After preserving, proper storage extends shelf life significantly. For frozen peppers, use heavy-duty freezer bags and squeeze out all the air before sealing. Pickled peppers should be stored in a cool, dark place like a pantry—light can cause the color to fade over time. Dried peppers keep best in airtight containers away from heat sources, which can cause them to lose their potency faster than the 6-12 month guideline.
Pro Tips for Preserving Anaheim Peppers
- Preserving Anaheim peppers is straightforward once you know these key details that make all the difference.
- Preparation Matters: When freezing peppers in Step 1, make sure they’re completely dry before placing them on the bak…
- Brine Customization: In Step 2, don’t be afraid to experiment with your pickling brine. The basic ratio of equal part…
Frequently Asked Questions
Got questions about preserving Anaheim peppers? You’re not alone! Here are the most common queries—with quick, practical answers to keep your peppers fresh and flavorful all year.
How long do preserved Anaheim peppers last?
Shelf life depends on the method! Dried peppers stay fresh for 6–12 months in an airtight container. Pickled peppers last 3–6 months refrigerated (or 1 year if canned properly). Frozen peppers keep for 8–10 months—just avoid freezer burn by using vacuum-sealed bags.
Can I preserve Anaheim peppers without a dehydrator?
Absolutely! Use your oven (lowest setting, 170°F for 4–6 hours) or air fryer (135°F for 3–4 hours, checking often). For sun-drying, hang peppers in a dry, sunny spot (70°F+) for 1–2 weeks—just cover them at night to deter pests.
What’s the best substitute if I run out of preserved Anaheims?
For mild heat and similar flavor, try poblano peppers (fresh or dried as “anchos”) or banana peppers. Need more kick? Mix in a pinch of dried guajillo peppers or canned green chiles. Adjust ratios to match your recipe’s heat level!
Why did my pickled Anaheim peppers turn mushy?
Mushy peppers usually mean overcooking (blanch just 2–3 minutes) or weak brine (use 1:1 vinegar-to-water ratio + 1 tbsp salt per cup). Always pack jars tightly, leave ½-inch headspace, and process in a water bath for 10 minutes to lock in crunch.
Can I freeze Anaheim peppers whole, or should I chop them first?
Both work! Whole peppers are great for stuffing later (just thaw and roast). Chopped or sliced peppers save prep time—spread on a tray to freeze individually before bagging. Pro tip: Label bags with the date and use within 8 months for best texture.
Preserving Anaheim peppers is your ticket to bold, smoky flavors any time of year! Whether you choose freezing, drying, or pickling, each method locks in that signature mild heat and versatility. 🌶️ Now that you’re equipped with the know-how, pick your favorite technique and start stocking your pantry—your future tacos, salsas, and stir-fries will thank you!
Ready to dive in? Grab a batch of fresh peppers and try Method #1 today—your taste buds won’t regret it!

Trained in classic French technique but raised on slow-cooked ribs and spicy rubs, she blends culinary skill with smoke and soul.
- Recipe for Cream of Rice: Silky Smooth Breakfast Comfort - October 3, 2026
- Old Fashioned Beef and Noodles Recipe Crock Pot: Set-It-and-Forget-It Hearty Meal - October 3, 2026
- Recipe for Deep Fry Turkey: Crispy Golden Skin and Juicy Meat - October 3, 2026